The day started with a run to the lumber store at 7:30 and ended 12 hours later with all the hull panels and bulkheads cut and lumber sawn to dimension. But in our haste to get as much done as possible we also cut twice as many bulkheads as needed. The extra bulkheads can be salvaged for a lot of small parts, but we'll need at least one more sheet of 4mm ply, maybe two.
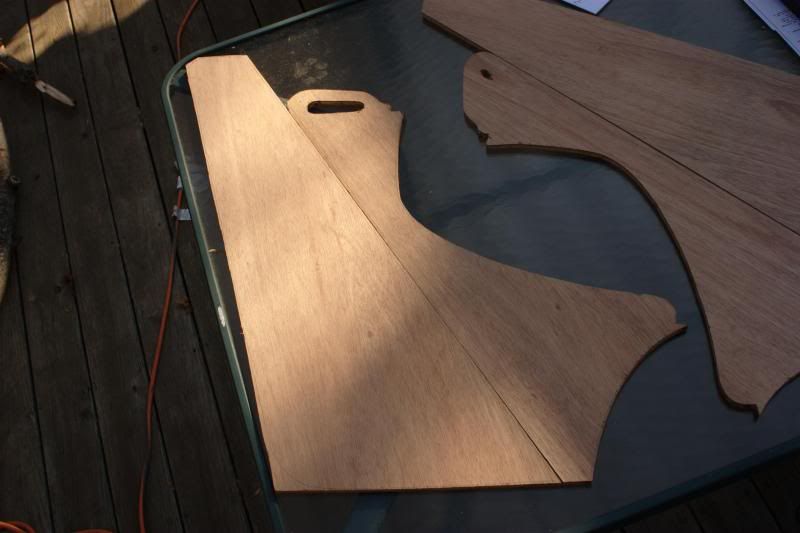
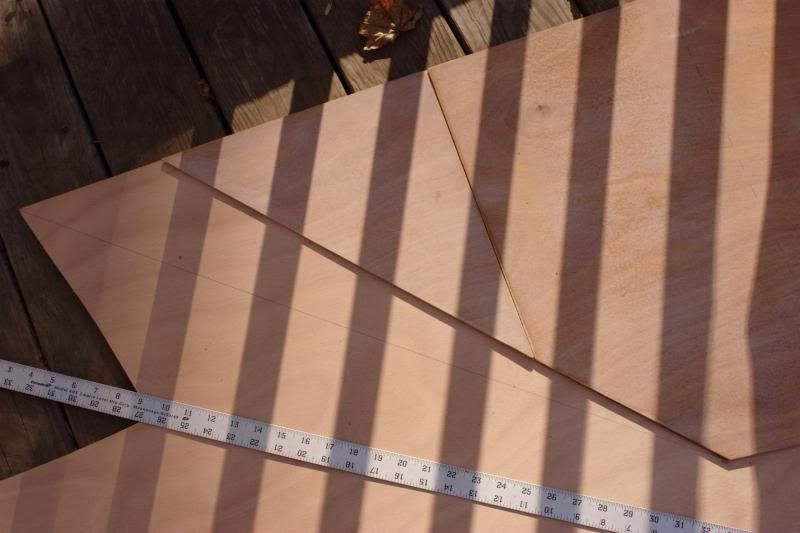
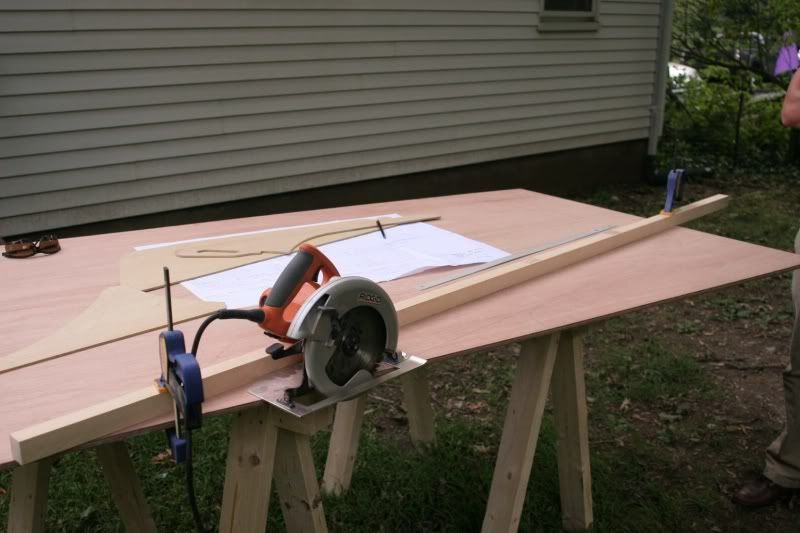
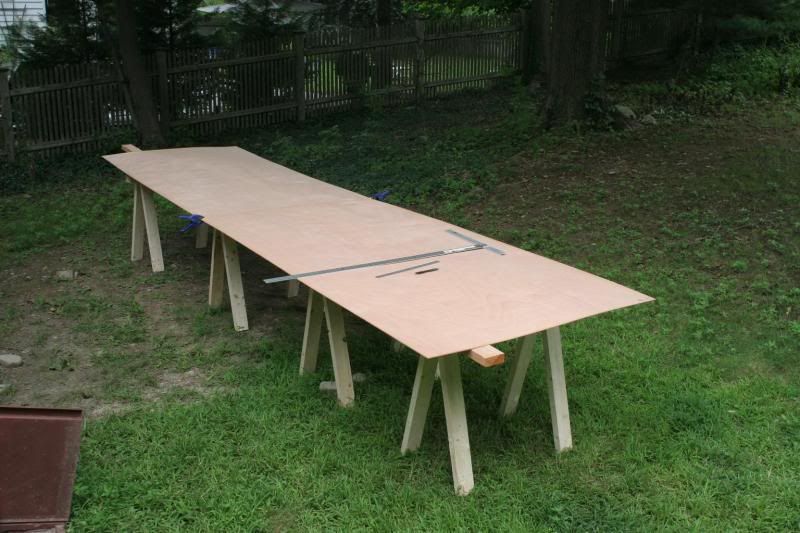
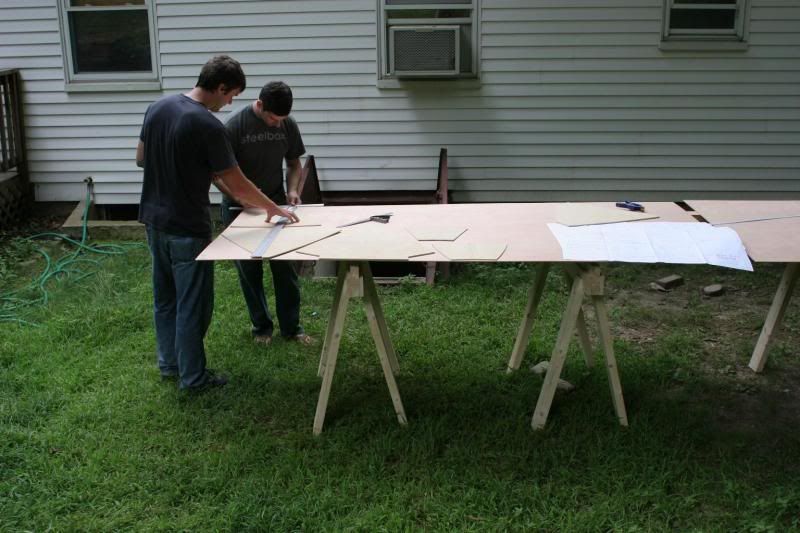
Everything began by laying out two sheets of the 4mm okoume plywood end to end and marking out all the measurements for the front and rear hull panels.
It took some double checking to get the outline and bulkhead locations to all agree, but pretty soon we had a batten through all the marks and could see hulls taking shape.
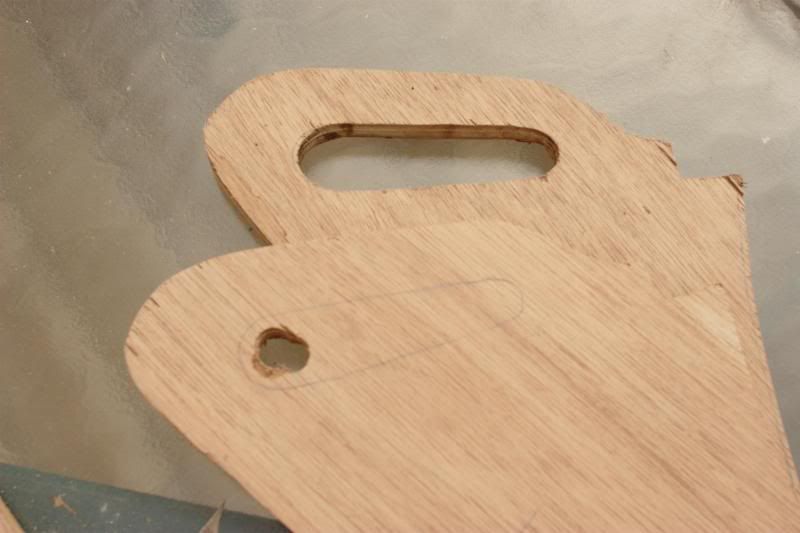
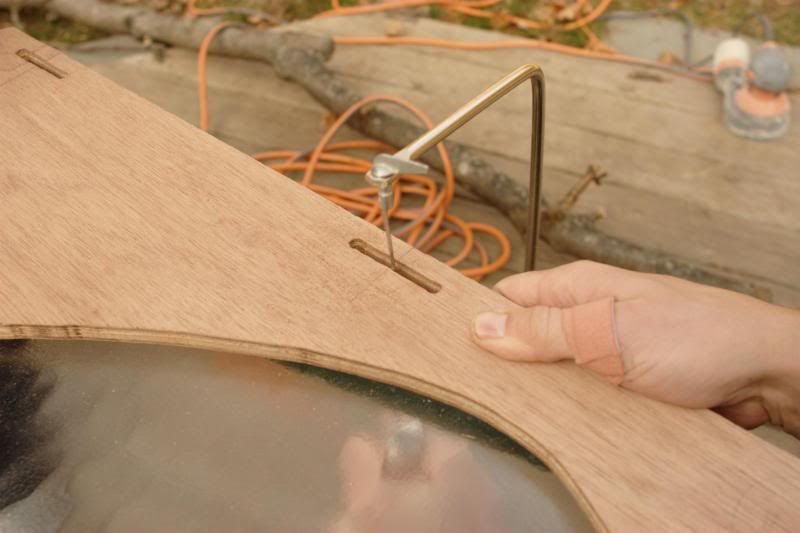
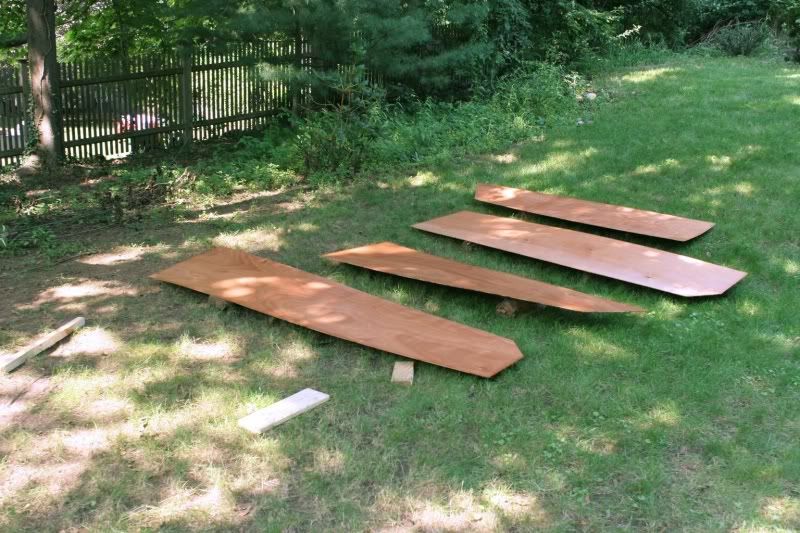
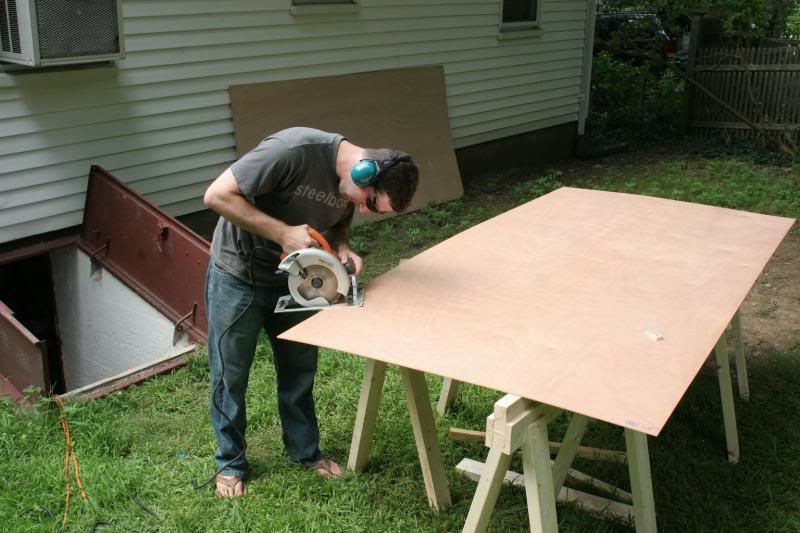
Then it was time to cut out the hull side panels and clean them up to serve as a template for the marking the rest.
We set up a temporary frame on the deck using the douglas fir boards that would eventually become the keels and stringers to slide the panels by the sander. Once the shape was close we finished by hand with a sanding block right to the pencil lines.
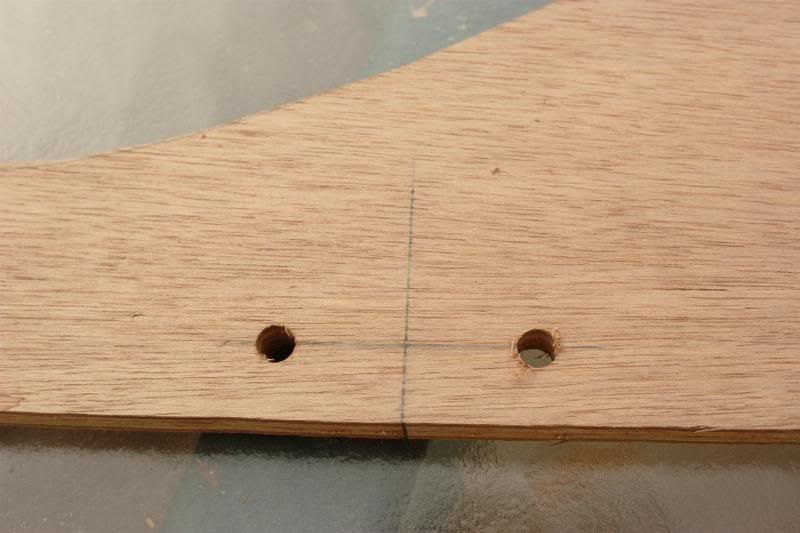
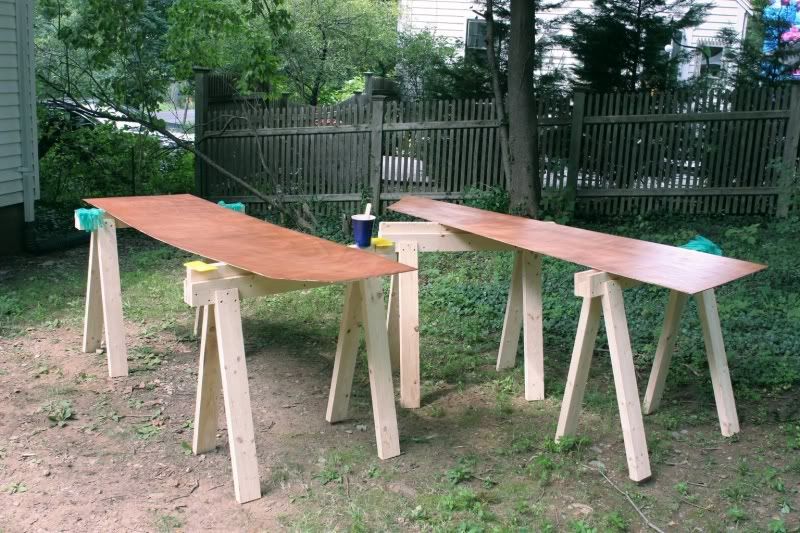
Next we used the first set of hull panels to mark and rough cut the other three pairs. We didn't want to waste any plywood (the irony!) by mixing up which sheet had been used for fore or aft panels so we laid out the bulkhead templates based on the layout guide in the plans and cut them out as well. Unfortunately we marked them out on all eight sheets instead of the four sheets required.
Lesson learned - if it's hot and you're tired and in a hurry to make progress, you're likely to make mistakes. We slowed down substantially after we realized what we had done and made sure to re-consult the plans at every step.
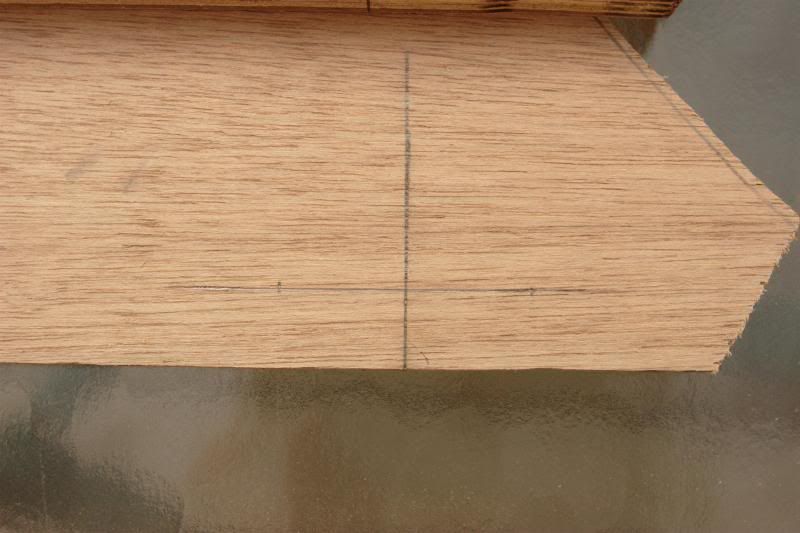
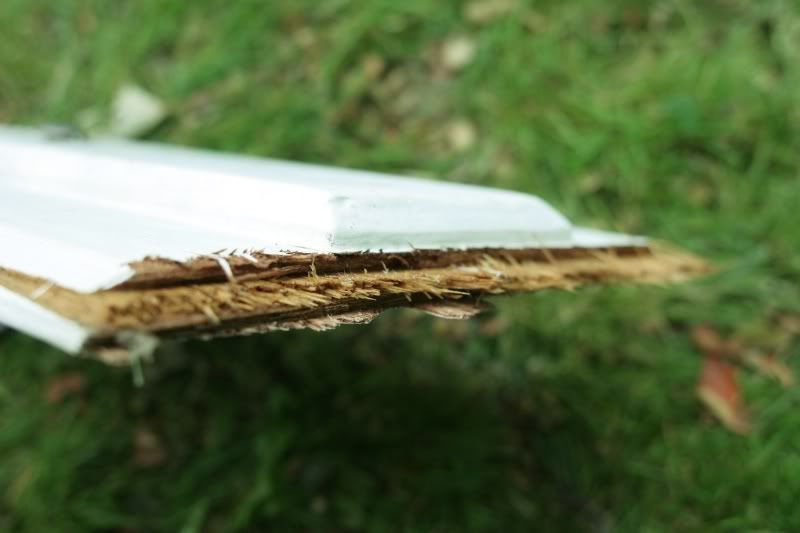
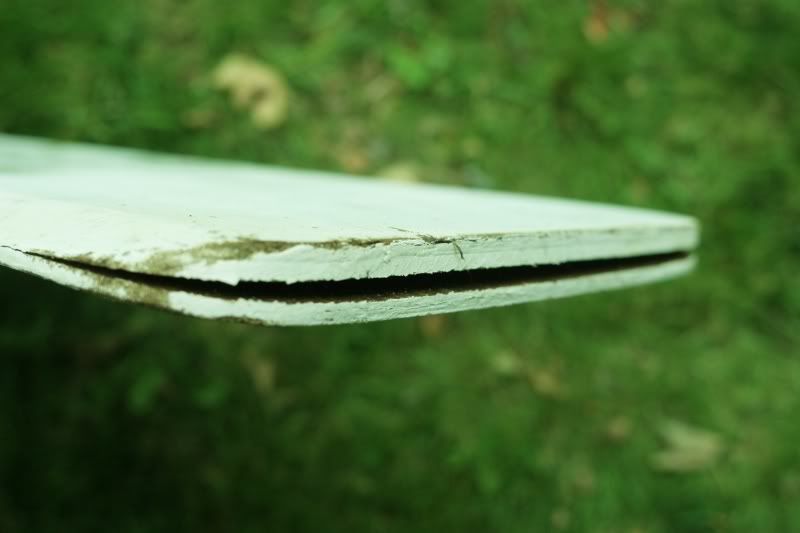
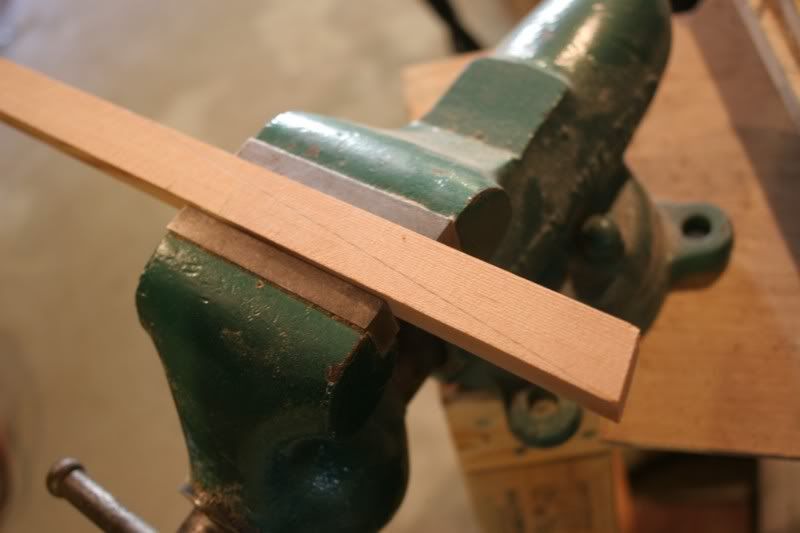
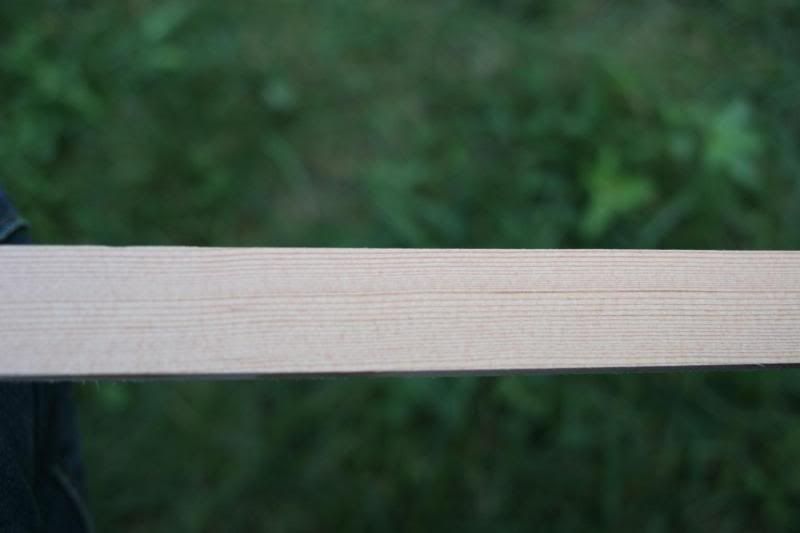
Next we took a break from the plywood and started to re-saw the douglas fir into the 3/4" x 1/2" keels and 1" x 1/2" stringers. Here you can see the grain spacing on a 1" wide strip.
By the time we were done re-sawing it was time to call it a day and to clean up the small mountain of sawdust under the table saw.
Tomorrow all the hull panels will get cleaned up on the router table and then coated in epoxy.


