Monday, February 27, 2012

Making the mains'l sprit

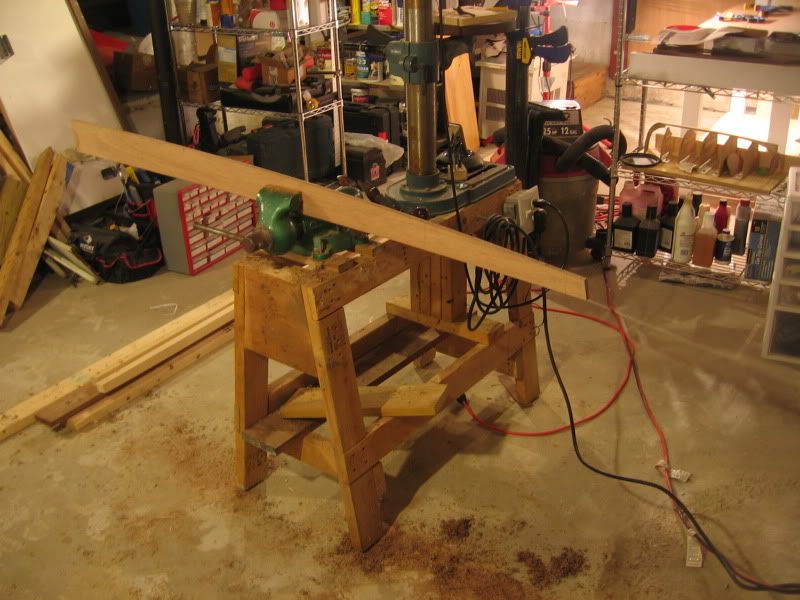
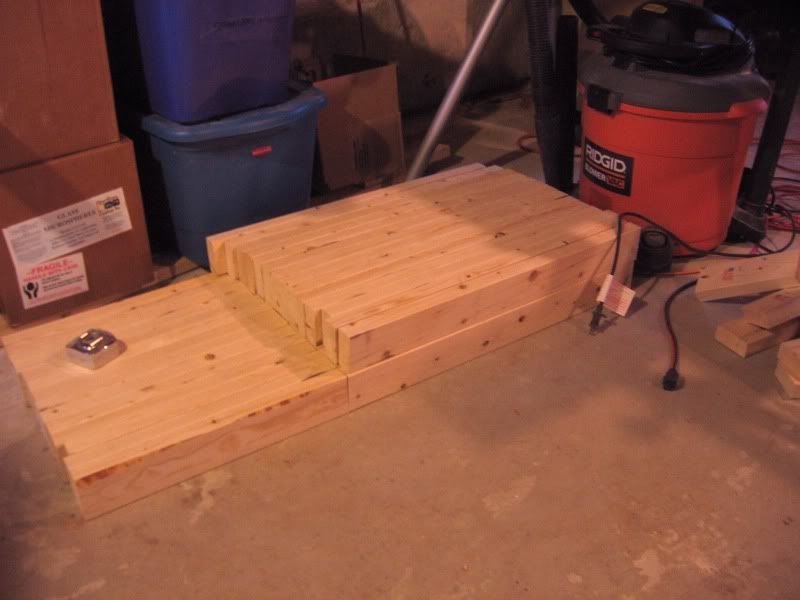
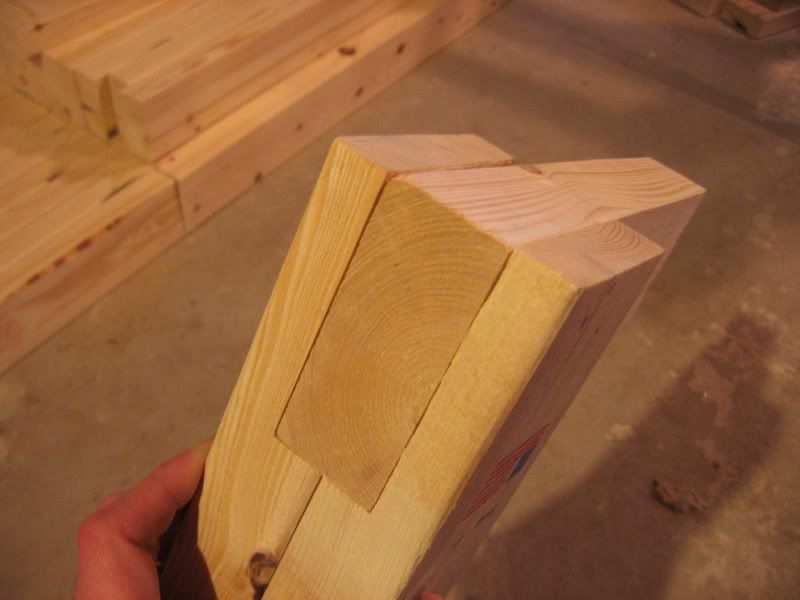
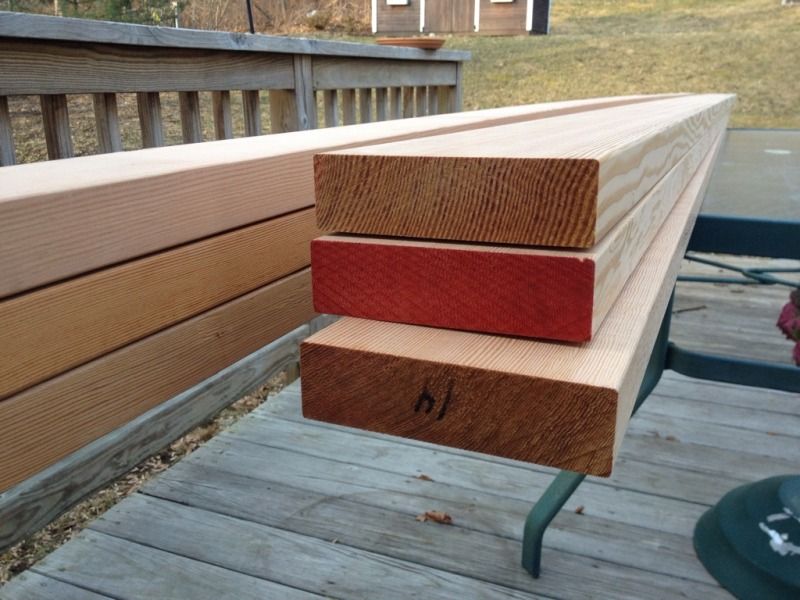
While buying the wood for the beams we went ahead and got enough for the mast and sprit as well. All the spars will be made out clear vertical grain Douglas Fir. These are the best sticks I could find in the stack at Hingham Lumber and man are they pretty.


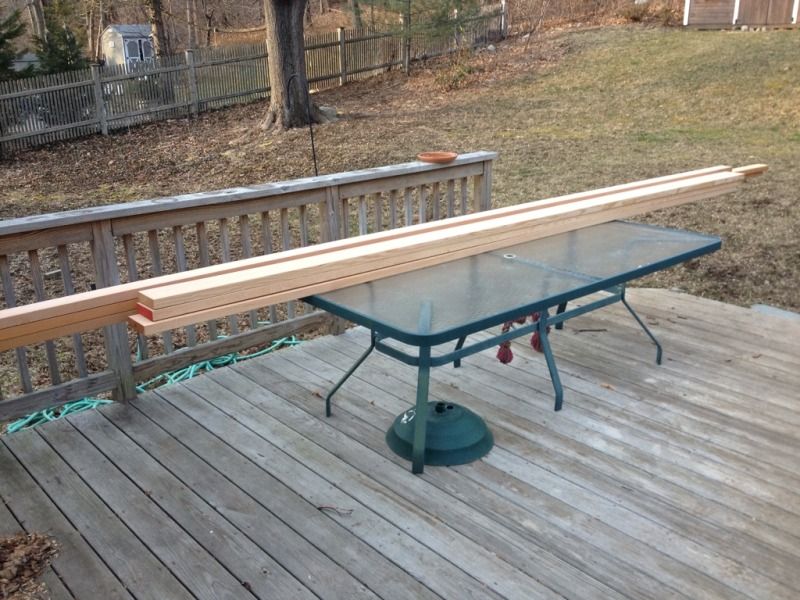
The 2x6s will become the beam tops and bottoms, the 2x4s will become the mast and sprit.


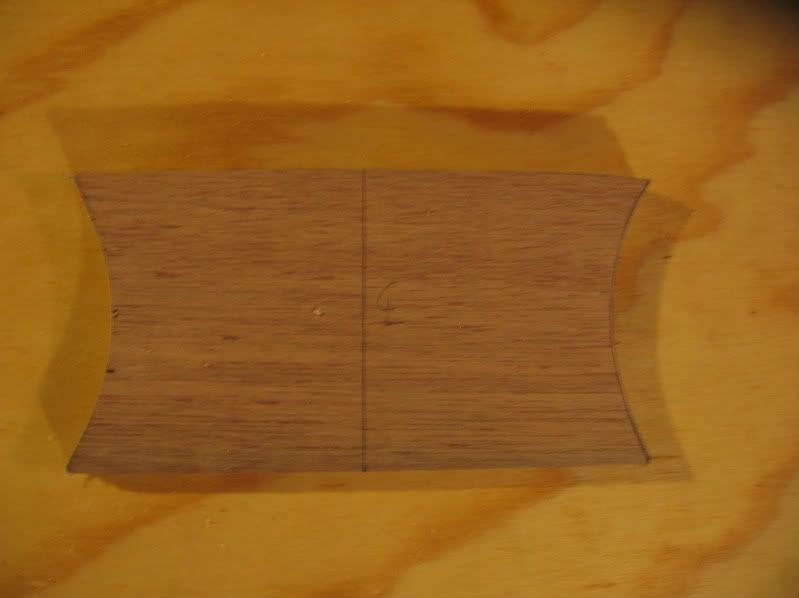
Before going any further, I should point out what "mains'l" and "sprit" mean for non-nautical speakers. "Mains'l" is short for "main sail" which and the "sprit" which we are building now is the pole that holds up the peak of the main sail and is marked in green below. It is curved to allow the sail to have some shape when the wind is blowing towards the side the sprit is on.


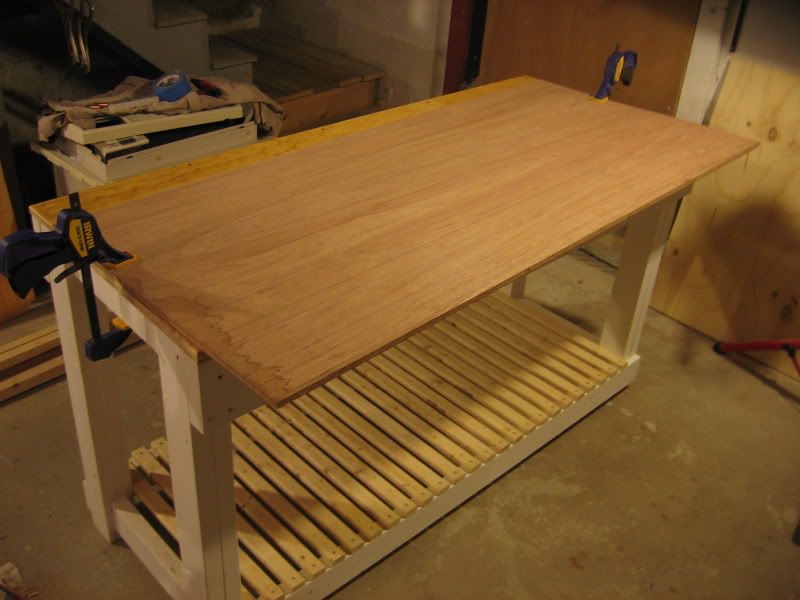
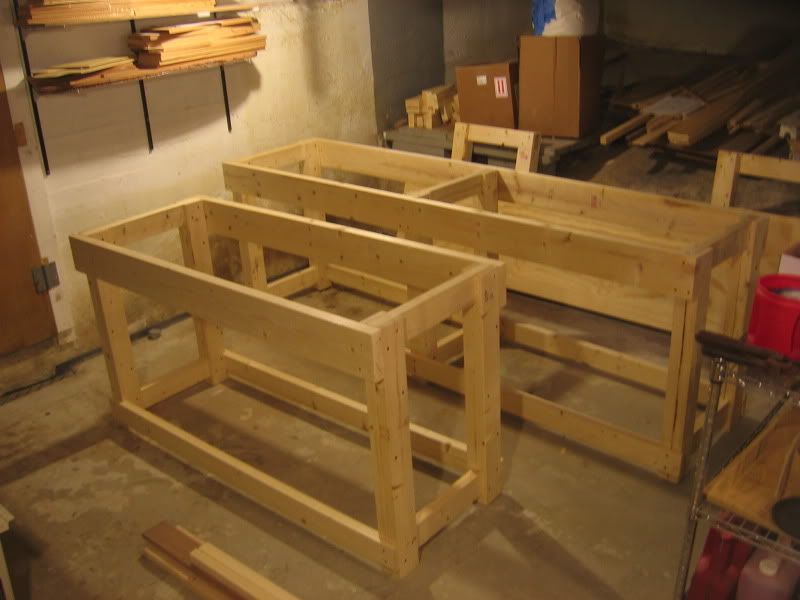
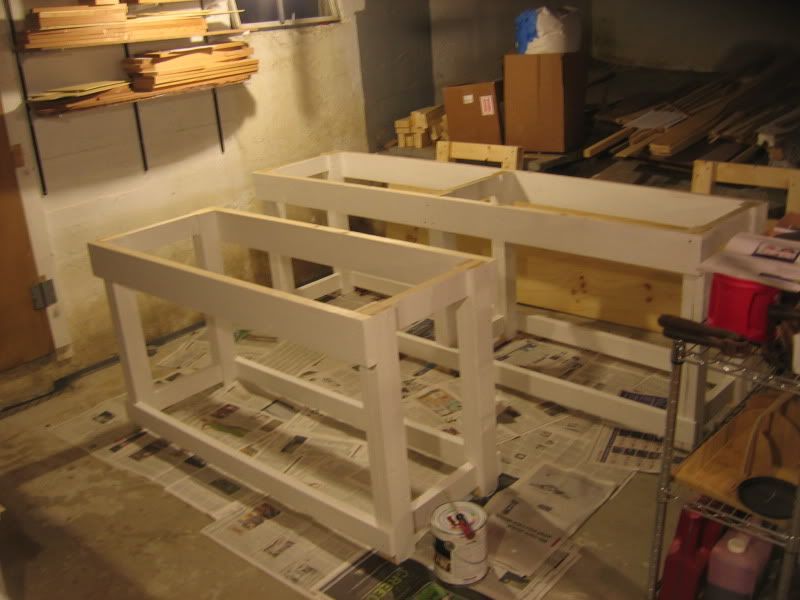
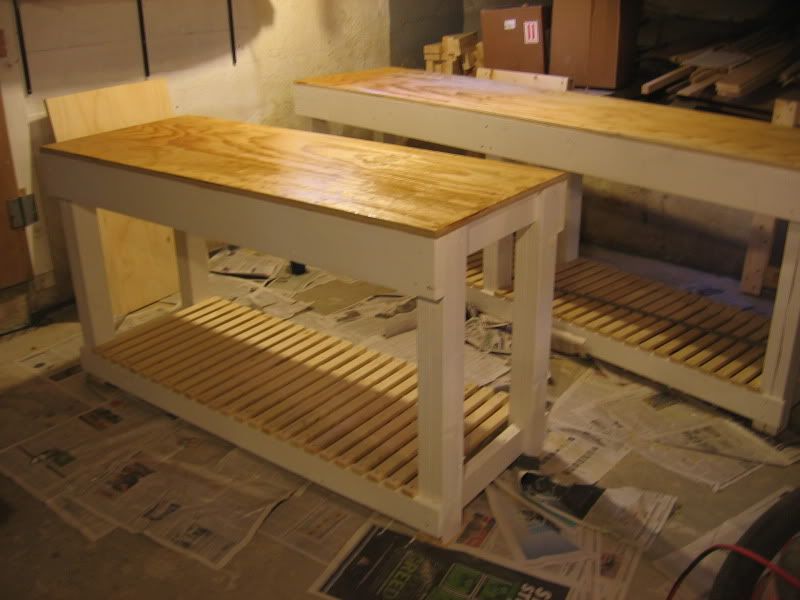
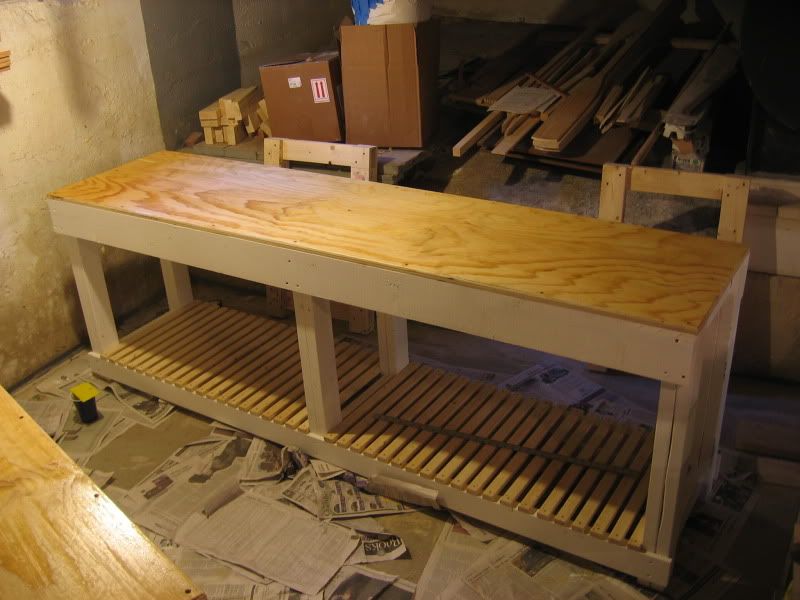
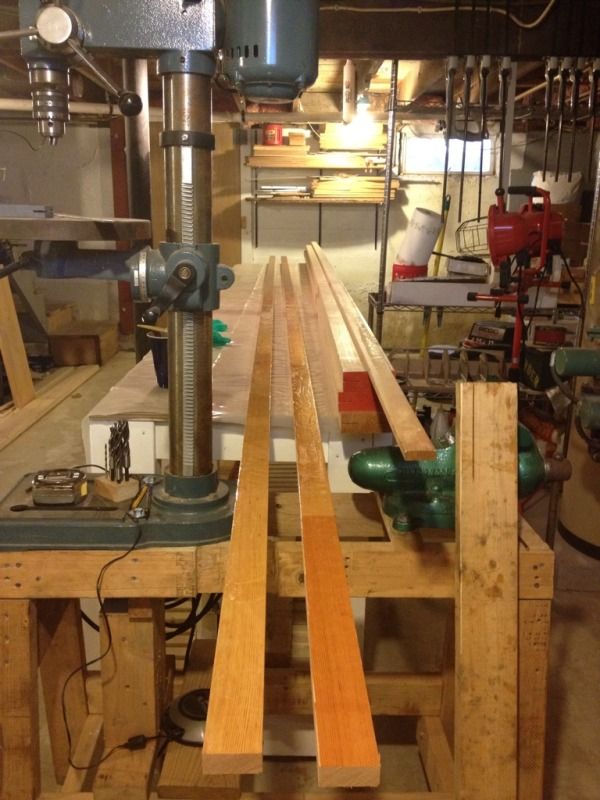
I took advantage of the modular workbenches to re-arrange the basement for spar making. Right after this picture I rolled out a sheet of plastic over the work surface to get ready for lots of gluing and all of a sudden the workshop looked like a scene out of Dexter.


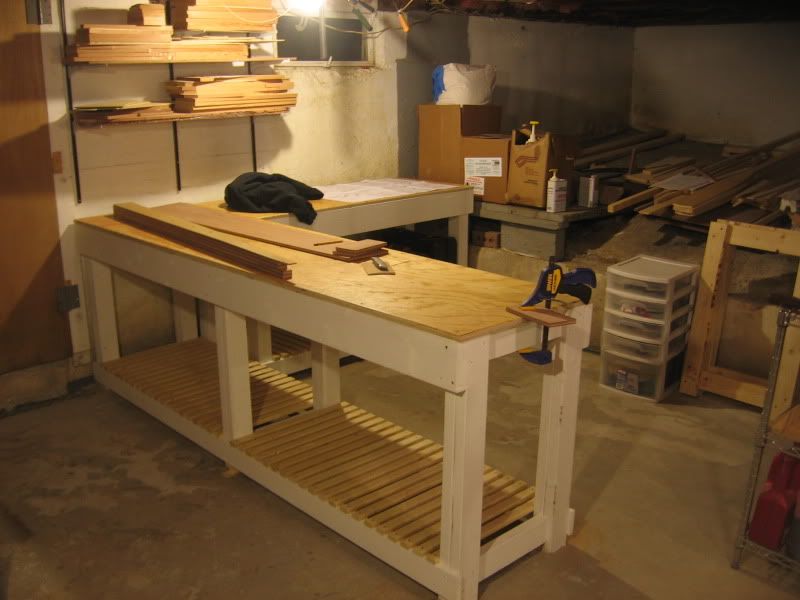
The two halves of the sprit were each coated with raw epoxy and allowed to tack up. I then realized that I hadn't turned one board end-over-end to reverse the grain orientation. So one board went very carefully back out of the basement through the bulkhead, spun around in the back yard and put back on the workbench.


The ends are propped up with boards and the middle held down with a paint can to get the right amount of curve based on the plans. The spring back for a two layer laminate should reduce the height of the curve by 1/4 to 1/3 so that has been factored in. The tape method of clamping is adapted from Michael Storer of Goat Island Skiff fame where you clamp then wrap  in tape to hold. The tape will support quite a bit of pressure, certainly enough to get a good amount of squeeze out.


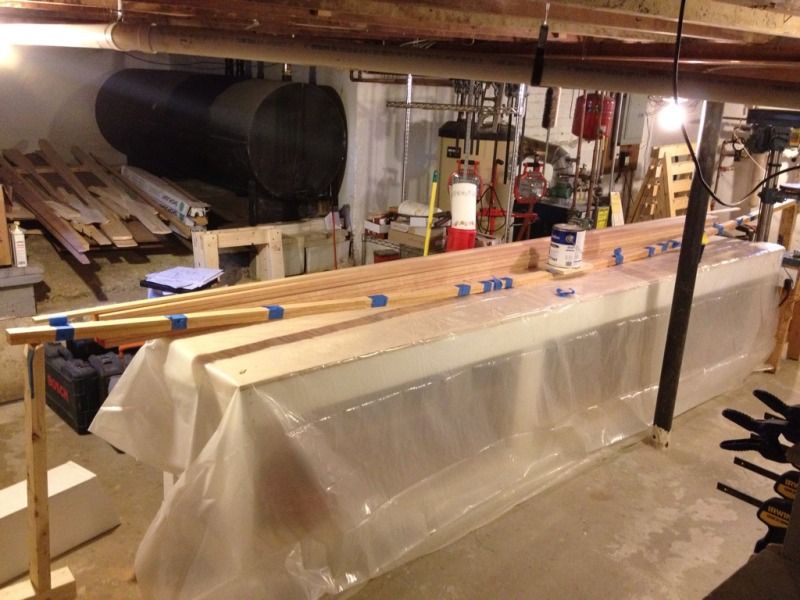
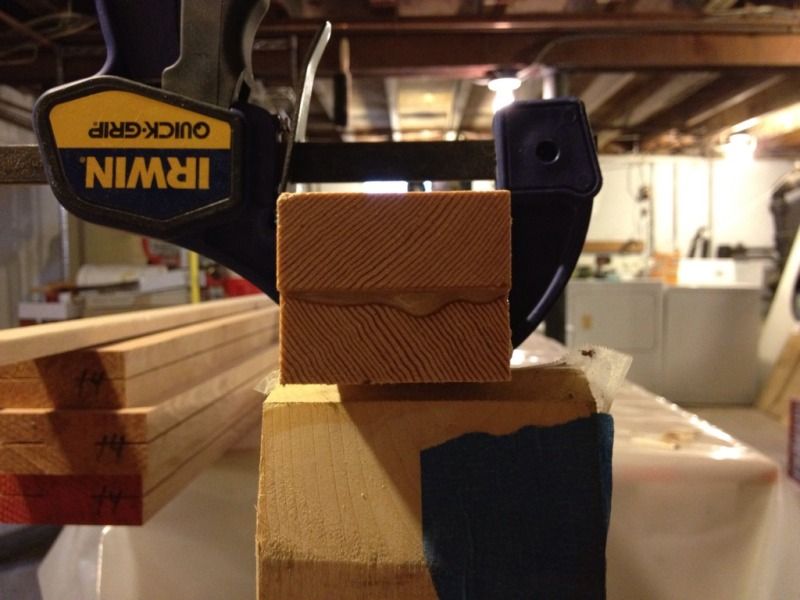
Next I put on clamps over the taped sections, not to hold the two boards together, but to align the edges and keep them from sliding. Here you can see how the grain has now been reversed to prevent warping.


The next steps when the epoxy dries will be to round over the corners with a router, trim to final length, attach the thumb cleats and start varnishing. 

Sunday, February 5, 2012

Gluing the cross beam halves

There is still one pair of beam pieces to cut from the plywood and a few hours before the Super Bowl starts so no time to waste. I'm still waiting on longer clamps to arrive so in the mean time Cam is using the tried and true butt clamp method while he saws. Using the saw at a very shallow angle seemed to help the blade follow the curve of the cut nicely.


The shim helps prevent the plywood from grabbing the saw blade.


Next the beam halves are matched up and glued using the butt blocks. Small nails keep the butt blocks from sliding and a board, clamps and shims apply the pressure. The girls have been making all kinds of snacks while we've been working so now it's off to Cam's house for the game while the epoxy sets.

Saturday, February 4, 2012

Starting on the cross beams

The Hitia 17, like most cats, uses three cross beams to hold the hulls together which also support the mast and platform. The plans call for curved and tapering I-beams using plywood for the vertical portion and douglas fir for the tops and bottoms. All three beams share the same profile, but are cut to different lengths to follow the taper of the outside of the hulls.

The beam template is made from cheap plywood and a bit taller than the plans call for to increase the strngth of the beams. We drew a line  perpendicular to the factory edge before cutting it out and then drilled holes along this line. This will allow using the big t-square to mark perpendicular lines on the good plywood and sight through the holes as a reference point later on to make sure the template is square so the beams all end up with the same amount of curve. To lay out the patterns I marked six lines on the plywood spaced so that there was a 1/2" margin between each piece to allow for cutting.


Then it's as easy as lining up the template with the line by sighting through the holes. This allows for much greater precision than just trying to line up the short edge by feel.


With all six beam halves traced the plywood got clamped to the new workbench and cut with the Japanese pull saw.

And then the edges planed down to the pencil line with a jack plane I picked up for $6 at a yard sale last year. I don't think there is any faster way to get to a piece of wood to your exact template than a hand plane.


Next come the butt blocks that join the two halves of each beam. These are also 1/2" plywood and curved to match the top of the beam.


So that's it for today. The center and aft beams are cut and shaped, the fore beam is waiting for longer clamps so I can safely cut it, and all three butt blocks are cut and shaped. The plan is for all three beams to get glued together tomorrow morning before the Super Bowl starts. Maybe now that we can lay out the plans and work at the same time we won't keep making so many mistakes!


Friday, February 3, 2012

New workbenches - Part 2

Here is where we left last time with the structure of the two benches assembled and ready for finishing touches. Both are 24" wide and 33" tall with the long one at eight feet in length and the shorter one at five feet.


I took this opportunity to paint the structure while it was still easy to reach all the surfaces. This is the coverage after one coat of a mildew resistant white primer. I had planned on two coats but for now the coverage is pretty good and I need to get work done more than I need even prettier workbenches.


The paint had plenty of time to dry over last weekend while I was busy with a business case competition and so now it's time to finish them off. The tops are made from 3/4" A/C plywood and cut to be flush with the top boards. This way i can clamp things to the face of the top board and use it like a bench vise.


Once the top panels are cut to size and clamped in place it was once again time to break out the fuller coutersink drill bit set which is getting even more use than I imagined when I bought them. Pre-drilling keeps the plywood from splitting and sinks the screw head below the work surface. As a side benefit it also makes lining up the top easier when the top is sliding around on glue. Speaking of glue, next came a bead of PL Premium construction glue and dropping on the top.


And here is the final product! The top edge was radiused with a router and then the plywood got a coat of epoxy to help the soft plywood stand up to hard use. The bottom shelf is made with 1x2 strapping spaced 3/4" between slats and fastened with galvanized nails.


The eight foot bench is now ready for making beams this weekend and when put end to end with the five foot benches (one more yet to build) will be long enough for making the mast.


Now back to working on the Hitia ...

New workbenches - Part 1

You have probably noticed that all of our work so far has been on temporary (and my wife might argue inappropriate) surfaces. Well no more working on the floor or the washing machine, we're going to build some permanent workbenches for my basement.

The first step was coming up with a design by browsing the web to see what other people were building. I wanted to use construction lumber and keep it fairly simple and cheap. In the end I combined several elements from each design to come up with something I liked and then worked out the measurements so the final product would be 24" wide and 33" tall. Here are enough 2x4 pieces cut to length to make three benches which can be moved around the shop.


This joint is one element I borrowed from a design I found online that is pretty simple to make and very strong when the surfaces are glued in addition to screws. The two stacked 2x4s will become a leg of the workbench.


This sort of joint will connect across each pair of legs near the top and floor.


After a LOT of cutting and chiseling I ended up with seven of these pairs of legs which are the basic building block of my workbench design. The two five foot benches will use two of these while the eight foot will have three to add more support in the middle. Probably overkill but I want these to be sturdy.


Here is one of the five foot benches coming together. The bottom cross pieces will hold the legs and also support a shelf for more storage.


I was going to just put the cross pieces on the surface but i decided to cut another lap joint to make it look nicer and also be stronger because the leg is supported by the face of the lap.

So here are the structures of the first two benches. The top supports are 2x8s which will give a good vertical surface for clamping boards to plane on edge, etc. You can see how the upper boards will hold the plywood top and the lower boards will form a storage shelf.


See Part 2 for the finishing touches ...