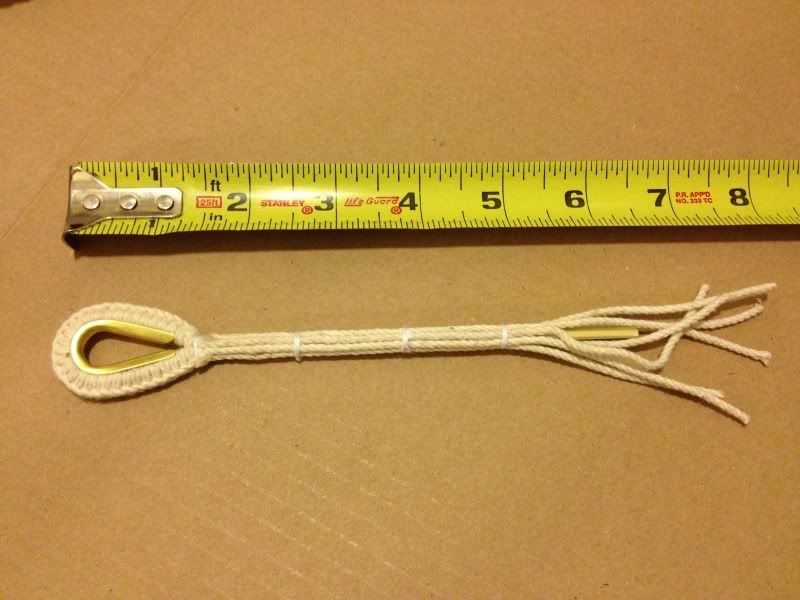
So here is where I left off last time. The eye of the bellrope is done and the central core is made around a bamboo skewer and held tight with constrictor knots and a few strategic drops of super glue.
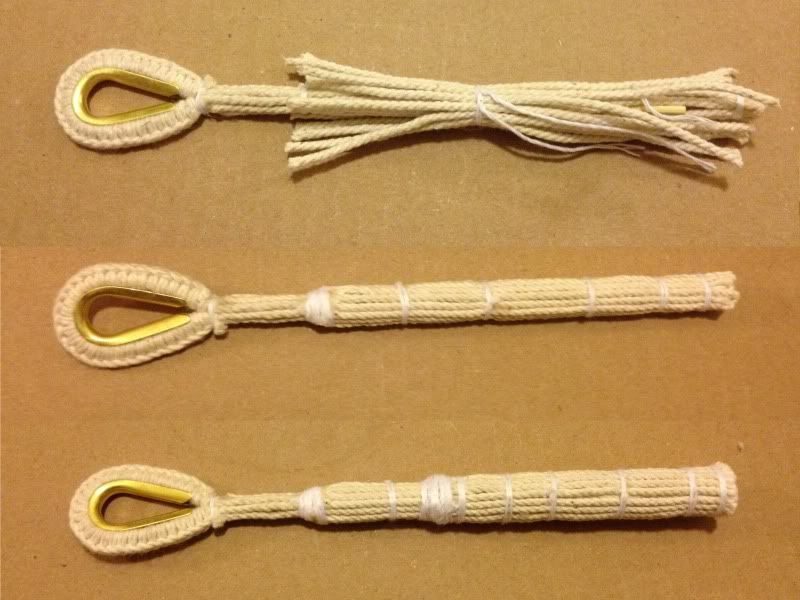
The next step is to build up the graduated taper with layers called 'pudding'. Each layer is held down with constrictor knots and trimmed. At each change in diameter I added wraps of sail twine to create a taper which will help smooth out the transition when the puddings are covered. A turkshead knot will eventually cover each diameter change to create the stacked cylinder effect in the final bellrope.
Now the core is done and it's time to add the final covering. This can either be hitching or grafting, but I thought hitching would be easier for my first attempt. The hitching is tied in rings of over two hitches, there is a good tutorial here. The slight left twist is from having too many hitches which don't have room to tighten enough for perfectly straight rows.
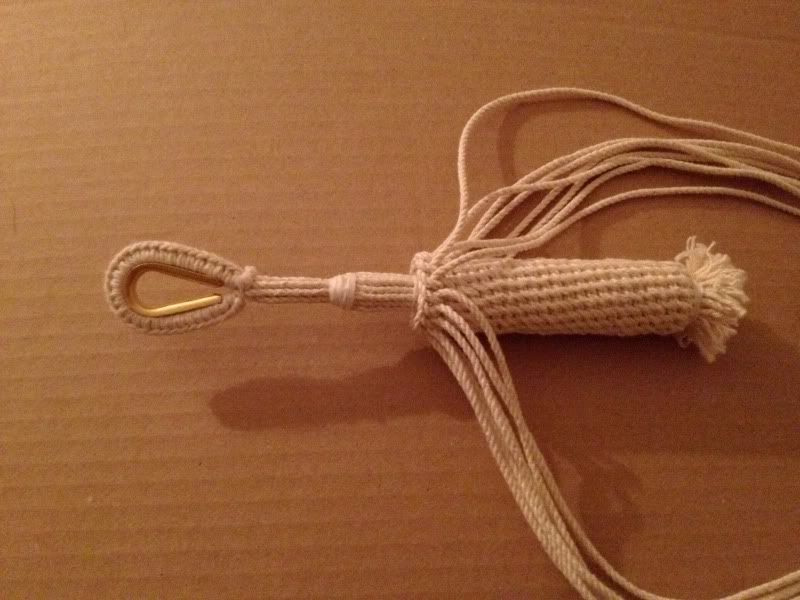
Here you can see how the circles of hitches cover the 'pudding' layers. At each step down a couple of strands need to be clipped and glued so that the circle of hitches can shrink to the new diameter. It takes trial and error to see how many need to be removed. In this case I tried to match the left hand twist of the first stage.
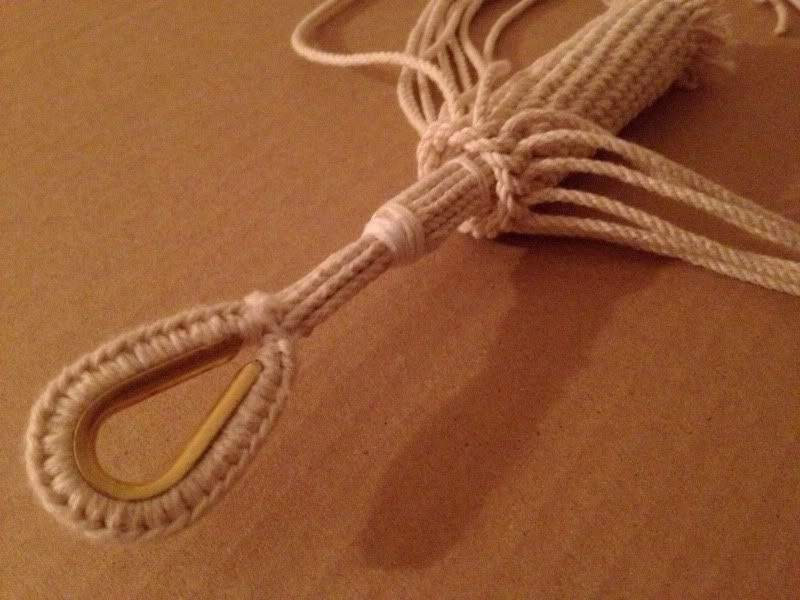
Unfortunately I don't have a picture with the hitching complete, I was in too big a hurry to put on the turkshead knots. Here are the top three turksheads which cover the transitions from the eye to the hitching and then each step in the pudding. Each one is a slightly different combination of number of bytes and number of passes to introduce some variety.
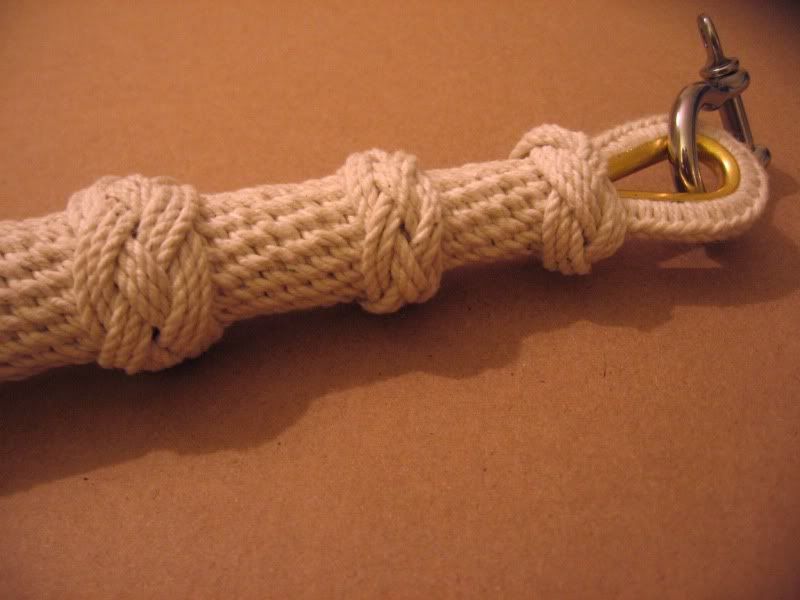
All that is left is finishing off the bottom of the bellrope which I'll leave for the final installment.
No comments:
Post a Comment