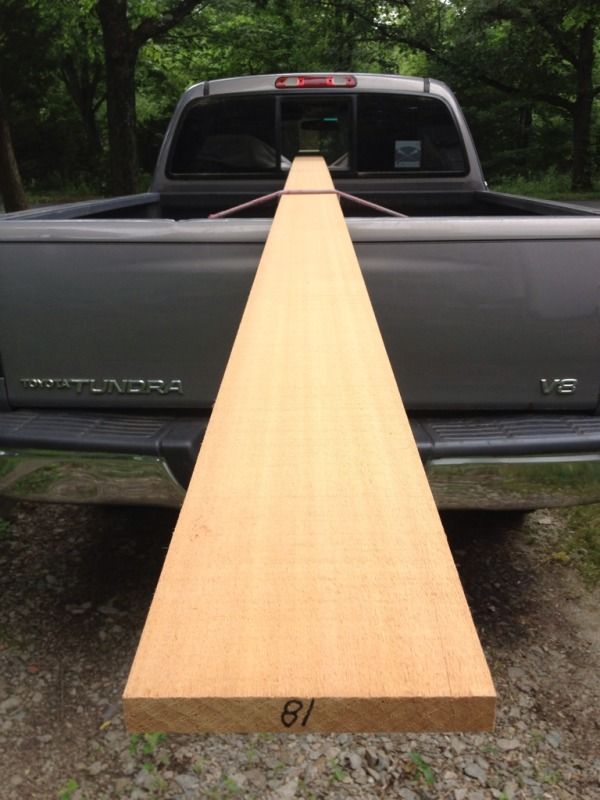
Not much time left to get these chairs done! I picked up more wood from the lumber yard and got down to business.
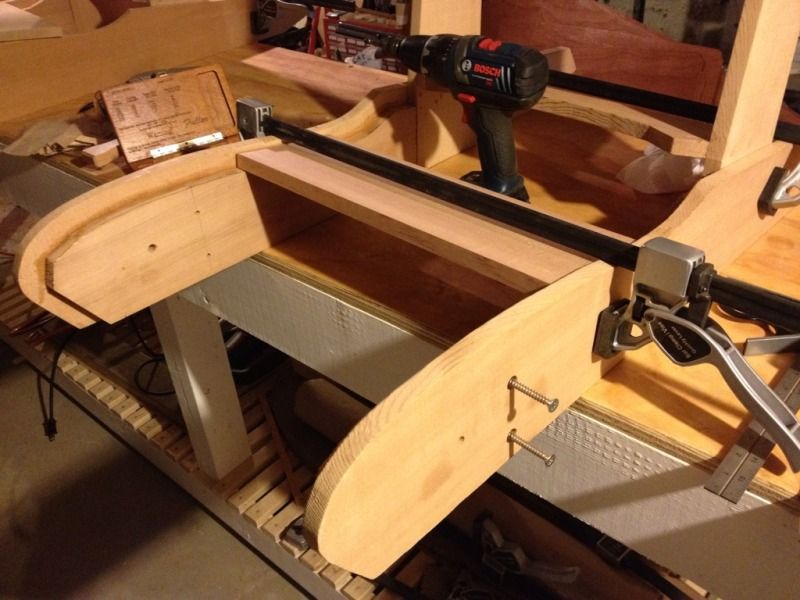
Each seat back is slightly different so the bottom slats are cut based on the seat back width for that chair. From now on I'll have to keep these together, but since one is 1/16" of an inch wider than the other I should be able to tell from the fit. Using the seat slat stock as a guide, I clamped the bottom of the chair together and drilled for the cross braces. The front brace calls for #14 x 3" stainless steel screws which seem awfully big even to me.
Next the back two cross pieces are clamped, glued, and screwed together. These two cross pieces do not meet at 90 degrees and so the edges of the boards need to be adjusted to fit the angle.
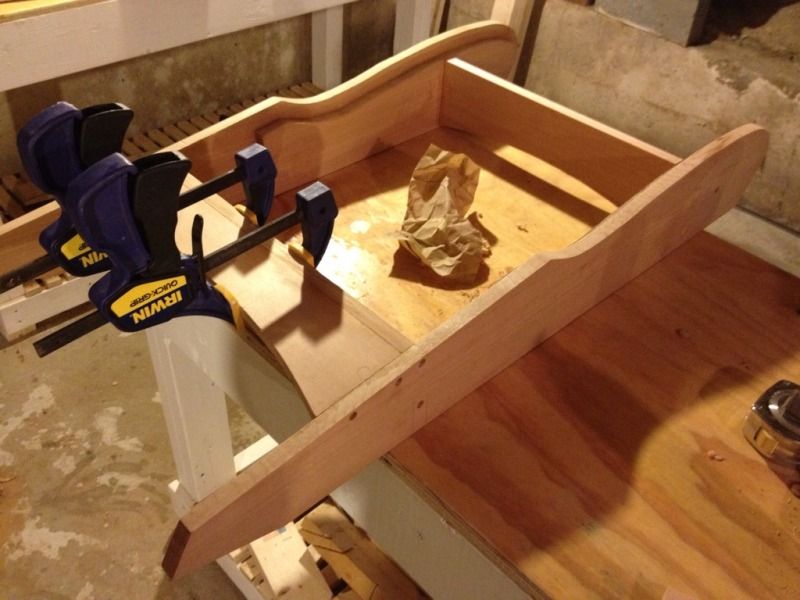
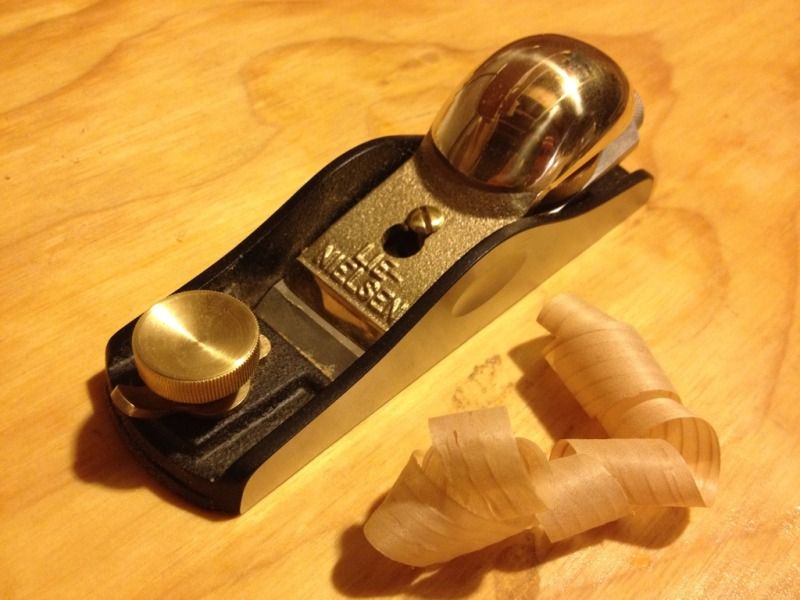
Sounds like a great job to break in my new low angle block plane which handled the job beautifully.
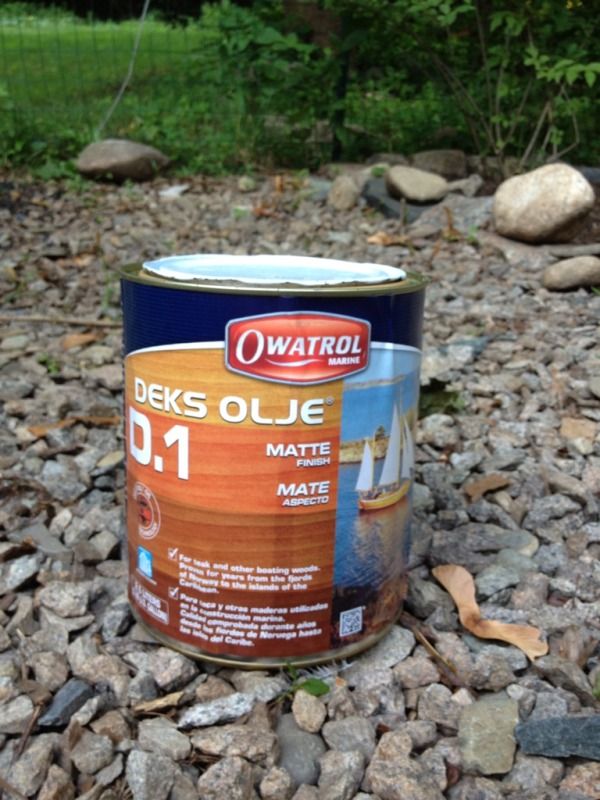
All the holes were plugged just like before and then all the assembled pieces were sanded up to 220 grit. I'm using Deks Olje for the finish. It's a Scandinavian marine oil finish that fills the pores of the wood and leaves a semi-gloss finish once the surface of the wood is saturated. Another overkill step, but I want these chairs to last a long time and if it's good enough for wooden boat hulls it should be good enough for a lawn chair!
I hung up the chair bottoms from the dog run cable and brushed on the first coat. The cedar almost changes colors as you look from different angles. All the plugs have the grain oriented perpendicular to the surrounding grain so they really stand out.

Here they are after the second coat working by shop lights. From this angle the main boards appear lighter and the plugs darker.

It will probably take 6 coats or more to fill up the grain and get a nice even finish so I better keep at it.
No comments:
Post a Comment