Saturday, May 12, 2012

The big glue day - Part 1

The big day of gluing is finally here. The temperature is up and no rain in the forecast means it's time to get busy on our gluing ordeal. With any luck we can get all the rounds of gluing in one after the other in one drawn out process and then be done with it.

First the hulls need to come back out of the basement one more time and get set up at working height.


The aft stems were never stitched and so I attempted to do that while also pulling the panels into alignment. There is so much tension in the hull panels from the twisting that I couldn't get the stitches to hold so I went with screws instead which worked out much easier and pulled the hull panels in tight with the stem. This photo is after the gluing surfaces got a coat of raw epoxy to soak down into the nooks and crannies so that is where the small drips are coming from.


Now is also the time to check that everything is straight and level. With hardly any adjusting the hulls were perfectly lined up.


The gaps along the keel and stem are epoxied with a milled fiberglass and silica mix. These batches were mixed pretty loose so that they can settle into the gaps and make sure there are no voids.


More of the first glue round along the keel ...


Now we wait until this layer sets up and then the big fillets along the keel and bulkheads will follow. After the fillets dry if there is any daylight left we will epoxy in the fiberglass tape over the keel fillet.

To be continued ...

Friday, May 11, 2012

Attaching the mast step

Wharram seems to like interesting mast steps, and the Hitia 17 is no different. The mast as feet that lock it to the beam fore and aft and "locating chocks" that locate the base of the mast laterally. The front block also prevents the mast from rotating and the middle portion gives a curved initial contact point for the foot of the mast to hook onto as the mast is rotated up into place.


So here is the plan for the front block, I have made it a bit wider than the sketch which I think looks better and will give more epoxy surface area to prevent shearing along the glue joint.


Now the mast step doubling block and the block are epoxied on. The sequence here was fillets, doubling block then mast foot block.


The block liked to slide around particularly with the clamps on the angled faces. It took some adjusting but eventually it sat centered and flush with the top surface.


Now that the epoxy has cured it's time to make sure the proportions and shapes look right.


Overall I'd say the mast step is looking pretty good and I seem to be getting the hang of the fillets. The second round worked out much neater than the first though you can see that i need to go back and clean up some of the excess.


We're still struggling to find a free day with good weather to do the hulls, but they are poised and waiting should the opportunity arise.

Thursday, May 10, 2012

Continuing on the main beam

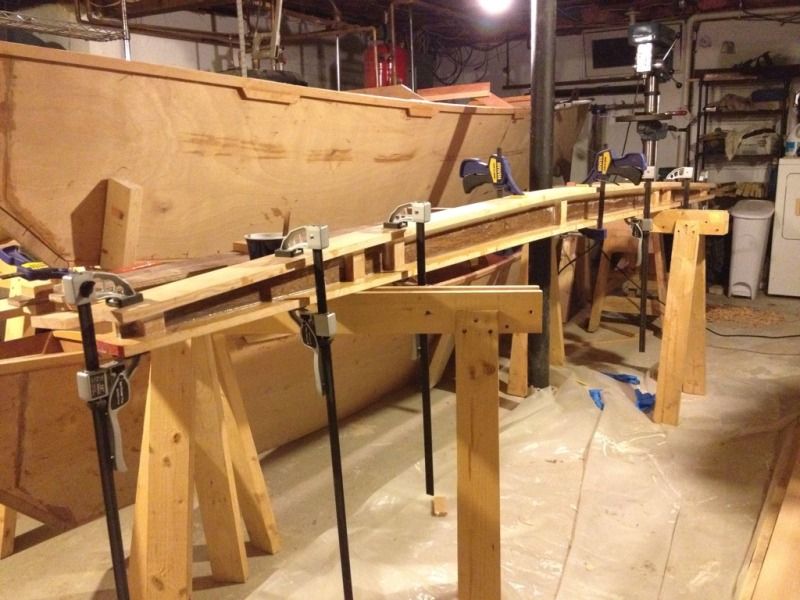
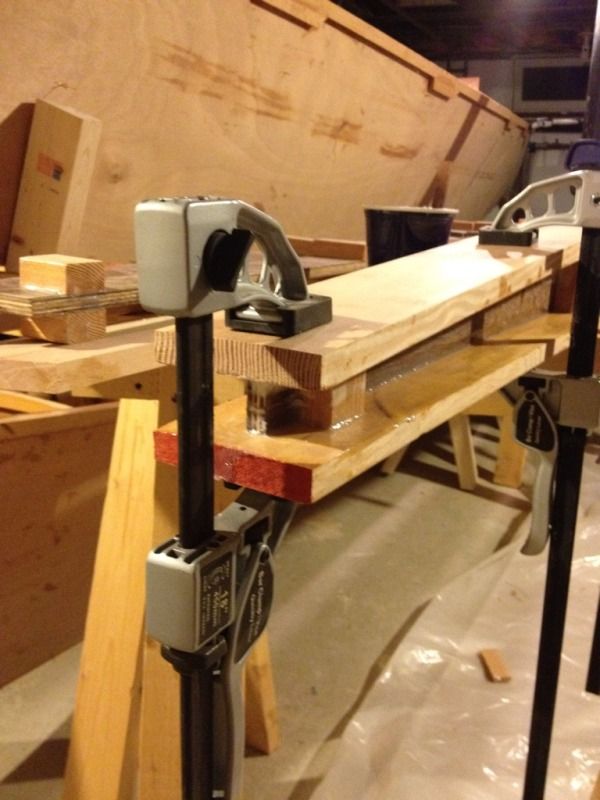
A quick update on the main beam. The bottom was glued on and cured over night.


The compression blocks pretty much assure that it the top and bottom are parallel, though in some cases there was some room for adjustment based on small changes in the clamping location particularly on the ends.


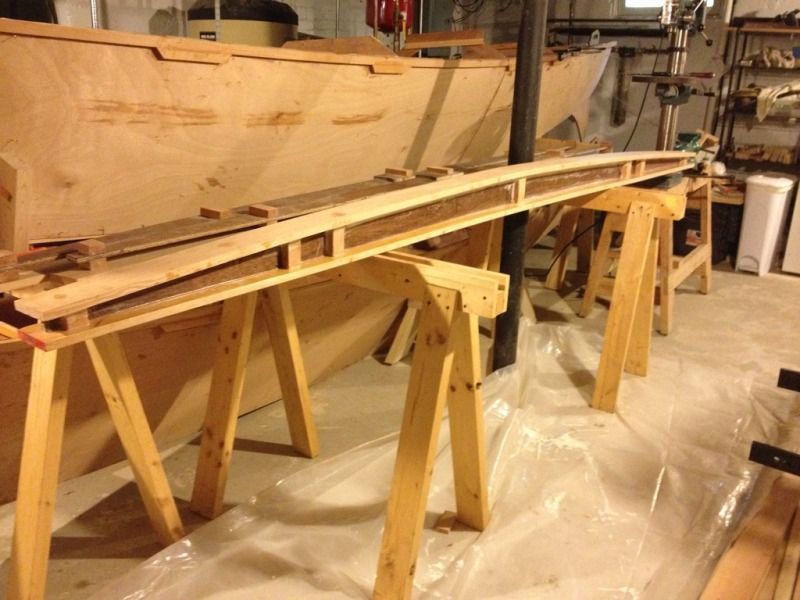
And here is the main beam all glued up and man is this thing sturdy. I'm feeling better about these beams being the only thing keeping us out of the water.


Now we just have to keep up the sequence: glue, wait, fillet, wait, glue, wait, fillet, wait ...