Wednesday, August 8, 2012

Fiber glassing the hulls

Now that the hulls are assembled they won't fit back into the basement any more. It's been ok to keep them outside so far but the sunshine won't last forever so we are moving up the fiber glassing job to protect them while they are out in the weather.

The paint job looks a bit messy up on the saw horses but all those areas won't show.


All the stitches are out and the keel has been rounded over so we can put a piece of glass tape along the keel joint. This area is going to get the most abuse pulling the boat up on beaches so it gets a triple layering of fiberglass. The first layer is this tape and then the two side pieces will overlap over keel as well. We also put a bead of epoxy down to build up the radius and add more protection to the wooden keel strip.


Next we unrolled the 4oz fiberglass over the size of the hull and tacked it in place some epoxy where we couldn't hold it with tape.


Then we finally got down to spreading on the epoxy. We had been dreading the fiber glassing job and what would happen if we messed it up but it really wasn't that bad.


The fiberglass cloth does want to wrinkle as it laps over the curved edge of the keel but we kept at it and got all the wrinkles spread out.


The fiberglass also wraps up onto the skeg  and smooths out the transition. This area is probably going to require some filler and sanding later but is looking pretty good.


We also had to notch the cloth around the lash pad supports. We ended up just glassing down to the edge and trimming with a razor blade which made a pretty clean edge.


Then we just had to keep moving back between the two hull as each fiberglass job cured.


Monday, July 9, 2012

Painting and keel fairing

Building a boat involves a lot of firsts, and today was the first time we applied paint to the boat. We're using bright white Easypoxy for just about everything that isn't varnished until we sort out a final color scheme - likely white and grey. The outsides will be rolled and tipped, but for the insides we're just brushing.


The sections under the fore and aft decks is fair game for paint at this point as is the area under the seats. These are going to be too hard to get to once the decks and floors are glued on so we're painting them in advance.


We could have just left it with an epoxy coating but it seems prudent to protect the wood as well as possible in case any water works its way into the bilge. The paint is such a bright white it's hard to look at in the sunlight and kind of hard to photograph too. It should be fine for the topsides but it's giving us second thoughts about using it for the deck.


Once the paint dried a bit we flipped the hull over and started fairing around the keel to prep for fiberglassing. All the gaps around the keel are filled with thickened epoxy as well as fairing around the skeg.


The stem is also faired but we stopped short of where the rigging will attach using a heavy duty u-bolt. We put a smaller fillet at the u-bolt location to make room for the backing plates and will blend it into the rest of the stem fairing later.


The last bit of fairing was to tie the stem into the ends of the sheer stringers. Once the epoxy dries we can sand the corner down to make a nice curve.


We also used the extra bits of epoxy to fill the screw, staple and stitching holes. With a bit of sanding the hull should have a nice smooth surface for the fiberglass to lay over. We left some air bubbles in the keel fiberglassing that needed filling so it would be nice to prevent that on the hulls if we can.

Thursday, June 28, 2012

Adirondack chairs - Part 2

Wife: "You know the fourth of July is next Wednesday right?"

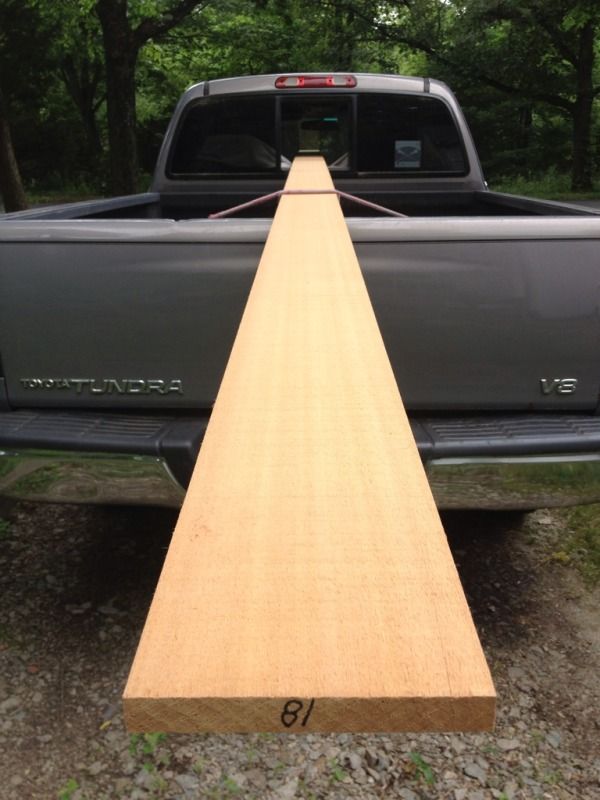
Not much time left to get these chairs done! I picked up more wood from the lumber yard and got down to business.


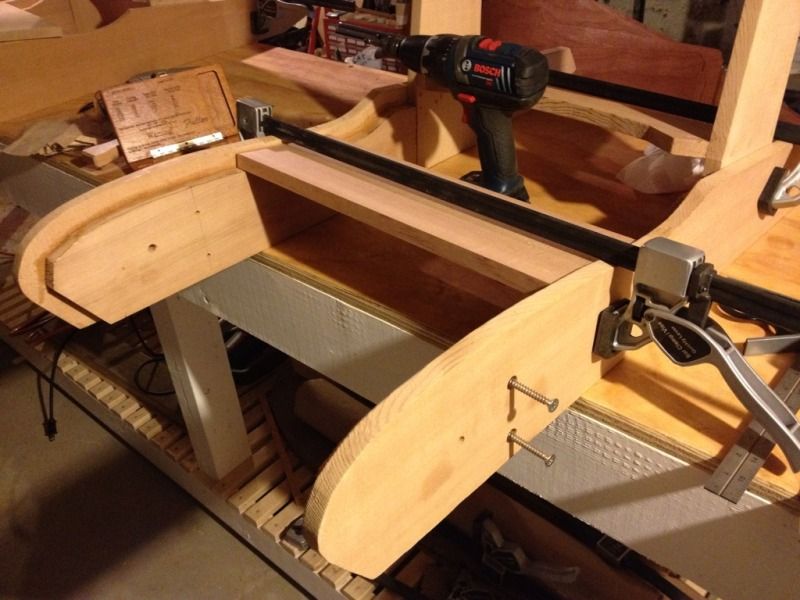
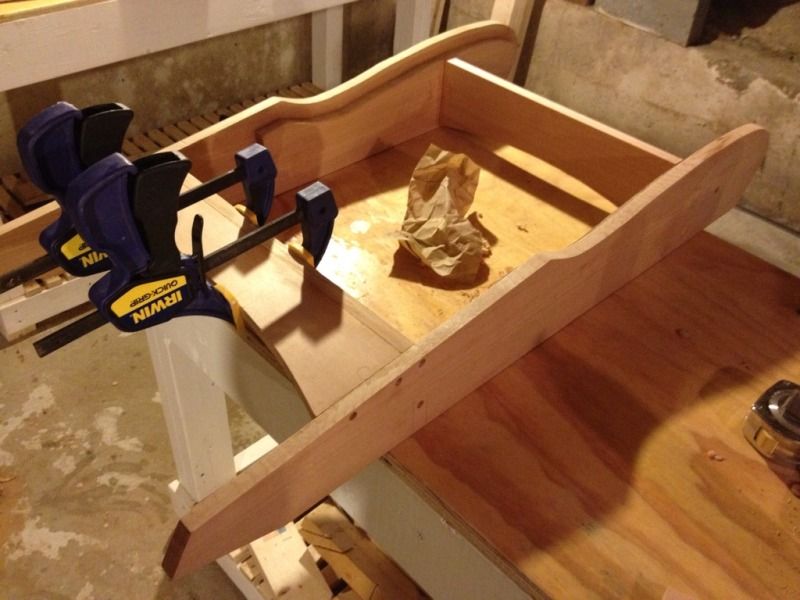
Each seat back is slightly different so the bottom slats are cut based on the seat back width for that chair. From now on I'll have to keep these together, but since one is 1/16" of an inch wider than the other I should be able to tell from the fit. Using the seat slat stock as a guide, I clamped the bottom of the chair together and drilled for the cross braces. The front brace calls for #14 x 3" stainless steel screws which seem awfully big even to me.


Next the back two cross pieces are clamped, glued, and screwed together. These two cross pieces do not meet at 90 degrees and so the edges of the boards need to be adjusted to fit the angle.


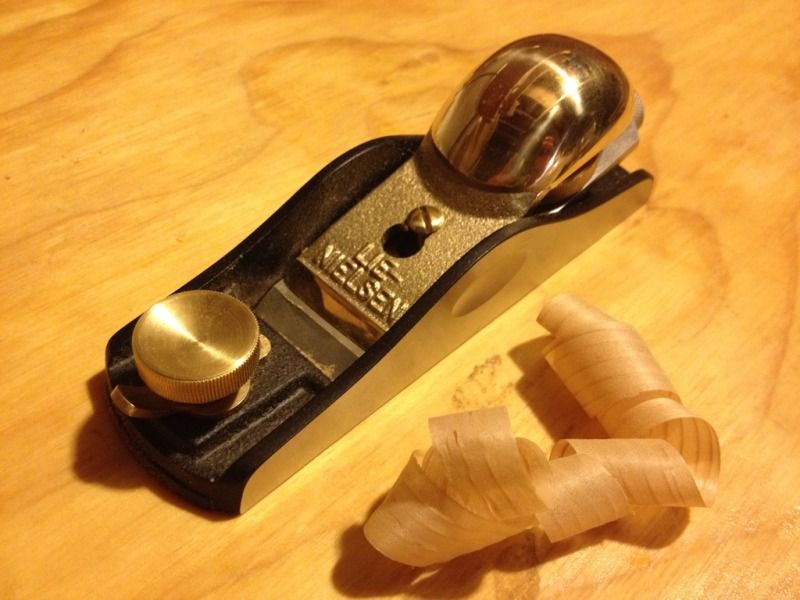
Sounds like a great job to break in my new low angle block plane which handled the job beautifully.


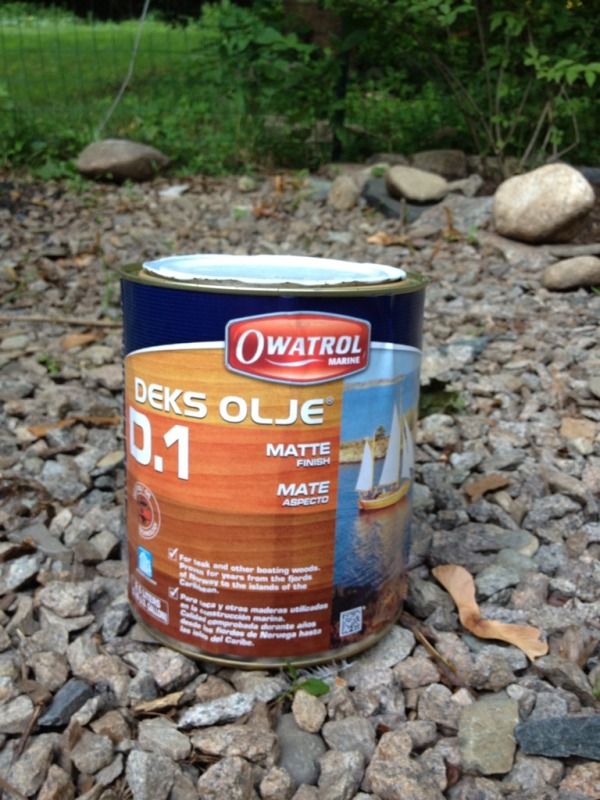
All the holes were plugged just like before and then all the assembled pieces were sanded up to 220 grit. I'm using Deks Olje for the finish. It's a Scandinavian marine oil finish that fills the pores of the wood and leaves a semi-gloss finish once the surface of the wood is saturated. Another overkill step, but I want these chairs to last a long time and if it's good enough for wooden boat hulls it should be good enough for a lawn chair!


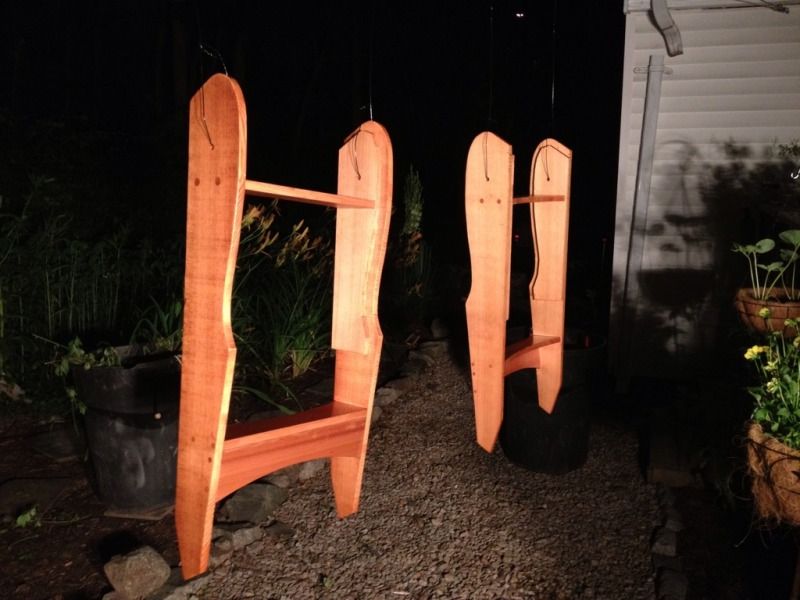
I hung up the chair bottoms from the dog run cable and brushed on the first coat. The cedar almost changes colors as you look from different angles. All the plugs have the grain oriented perpendicular to the surrounding grain so they really stand out.


Here they are after the second coat working by shop lights. From this angle the main boards appear lighter and the plugs darker.


It will probably take 6 coats or more to fill up the grain and get a nice even finish so I better keep at it.