Showing posts with label Sanding. Show all posts

Monday, July 9, 2012

Painting and keel fairing

Building a boat involves a lot of firsts, and today was the first time we applied paint to the boat. We're using bright white Easypoxy for just about everything that isn't varnished until we sort out a final color scheme - likely white and grey. The outsides will be rolled and tipped, but for the insides we're just brushing.


The sections under the fore and aft decks is fair game for paint at this point as is the area under the seats. These are going to be too hard to get to once the decks and floors are glued on so we're painting them in advance.


We could have just left it with an epoxy coating but it seems prudent to protect the wood as well as possible in case any water works its way into the bilge. The paint is such a bright white it's hard to look at in the sunlight and kind of hard to photograph too. It should be fine for the topsides but it's giving us second thoughts about using it for the deck.


Once the paint dried a bit we flipped the hull over and started fairing around the keel to prep for fiberglassing. All the gaps around the keel are filled with thickened epoxy as well as fairing around the skeg.


The stem is also faired but we stopped short of where the rigging will attach using a heavy duty u-bolt. We put a smaller fillet at the u-bolt location to make room for the backing plates and will blend it into the rest of the stem fairing later.


The last bit of fairing was to tie the stem into the ends of the sheer stringers. Once the epoxy dries we can sand the corner down to make a nice curve.


We also used the extra bits of epoxy to fill the screw, staple and stitching holes. With a bit of sanding the hull should have a nice smooth surface for the fiberglass to lay over. We left some air bubbles in the keel fiberglassing that needed filling so it would be nice to prevent that on the hulls if we can.

Tuesday, June 19, 2012

Cutting the decks and floors

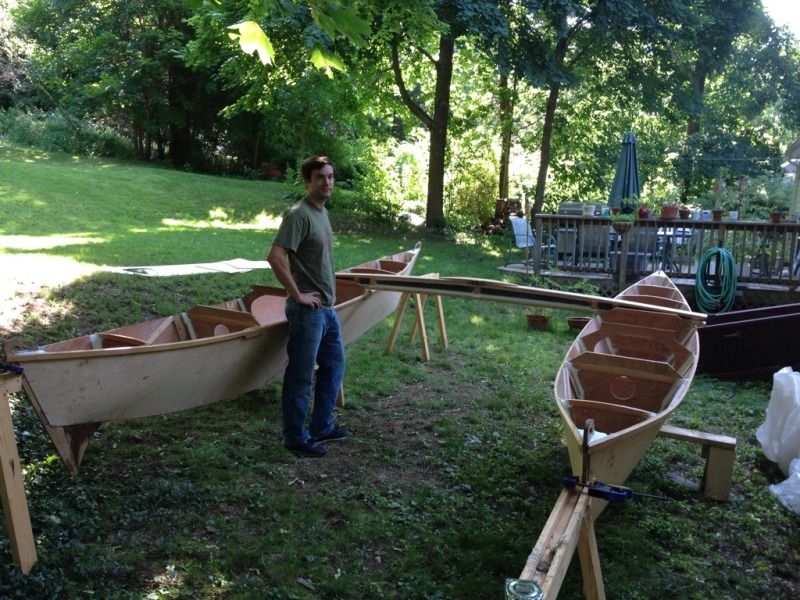
Another free day so we're keeping the momentum going. The hulls were already set up at their proper distance to get a sense of scale so we couldn't help but throw the main beam on to see how it looks. But enough daydreaming, today we are making the floors, fore decks, aft decks and side decks.


The first order of business was bringing out the scraps of plywood and seeing what we could get out of each piece to best use the material we had left. We knew after cutting all the bulkheads twice that we wouldn't have enough to finish, but we would like to buy as little extra as possible.

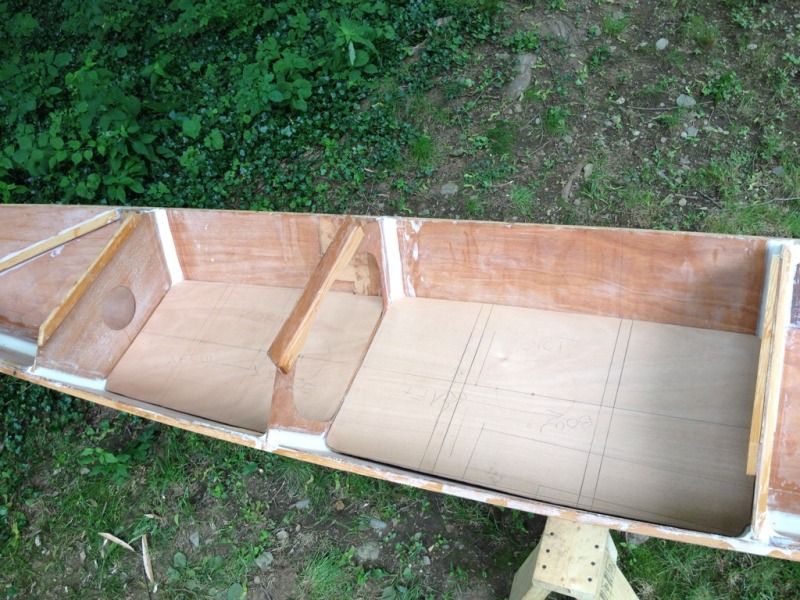
The first pieces cut were the floors. These two floors should be almost the same length according to the plans, but bulkhead 5 which forms the aft face of the aft most floor is about 5" too far forward. Not sure how this happened but we're going with it and will change some of the details on the hatches to make it all look right. The mast will be in the right place and that's what counts so hopefully we don't miss the extra seating space too much. In the end I don't think anyone will notice.


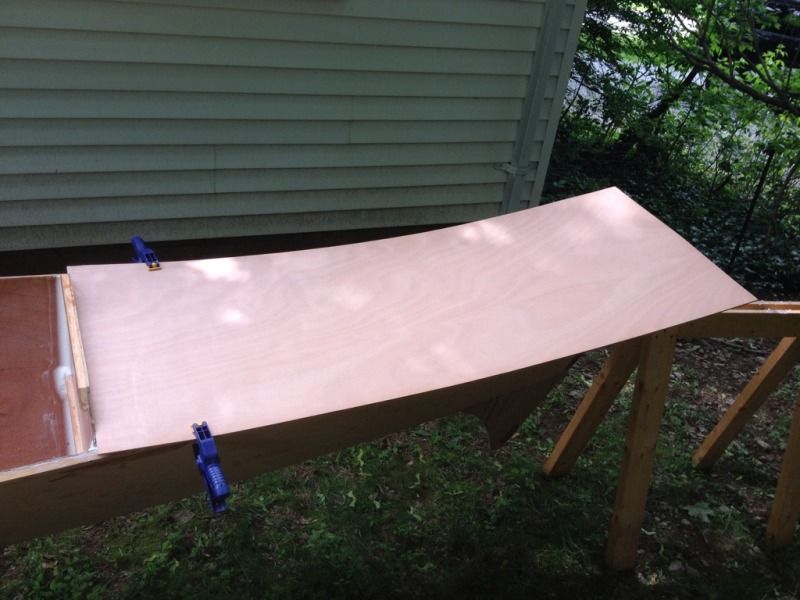
Here is our process for making the main decks. We start with a piece about the right size and put a straight edge up against the bulkhead. Clamps hold it tight against the bulkhead and centered across the hull.


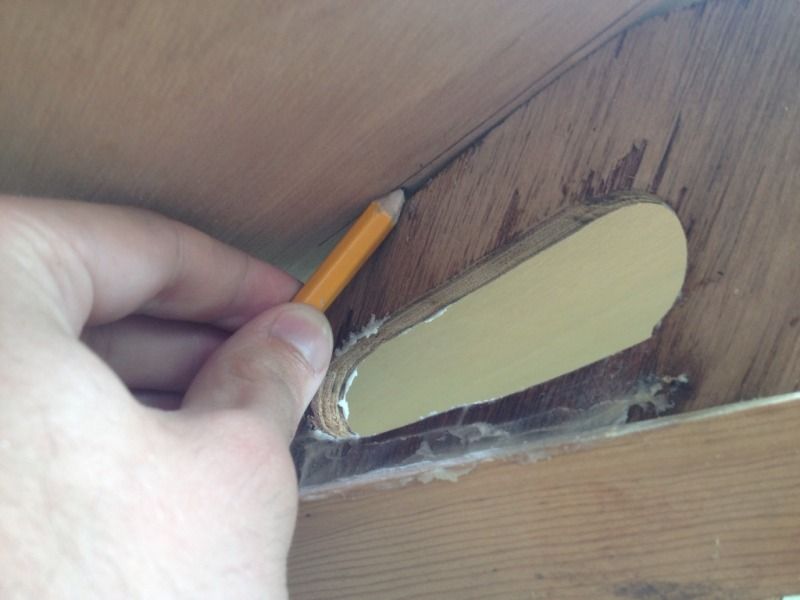
The stem location is marked on the underside holding the edge of the pencil point flush with the plywood.


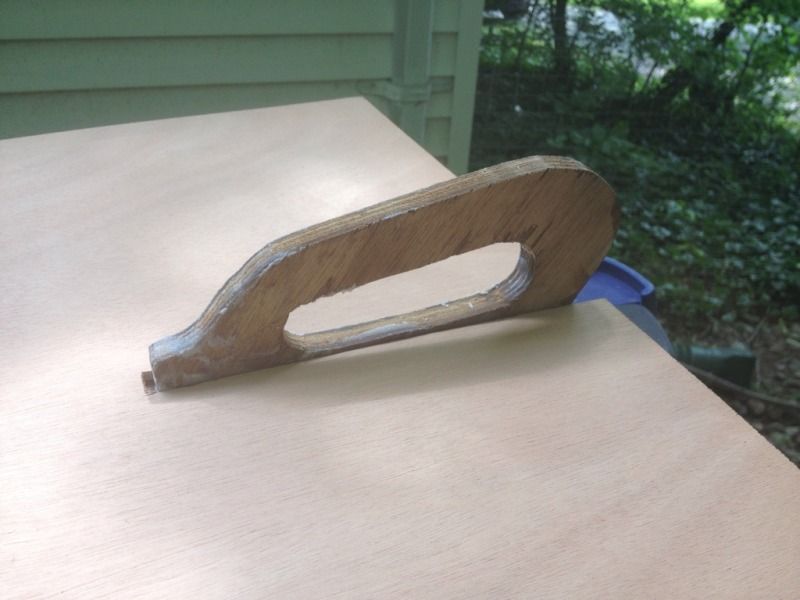
Then cut out the slot and fit it over the stem handle. Next it's pretty straight forward to mark the edges of the hull and trim it down with the jig saw.


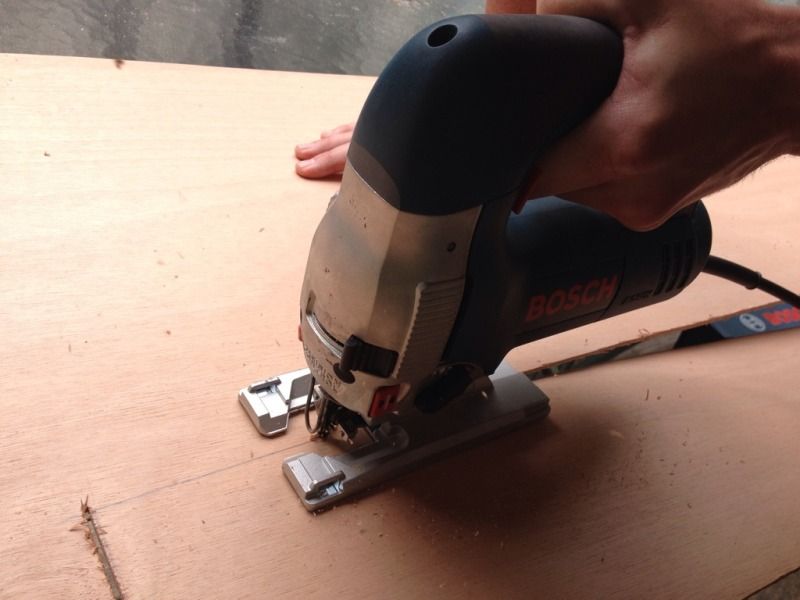
Speaking of the jig saw, this is my new Bosch saw which got quite a workout today. I can't believe we made it this far without one and this one is very heavy duty which helps with making nice smooth cuts.


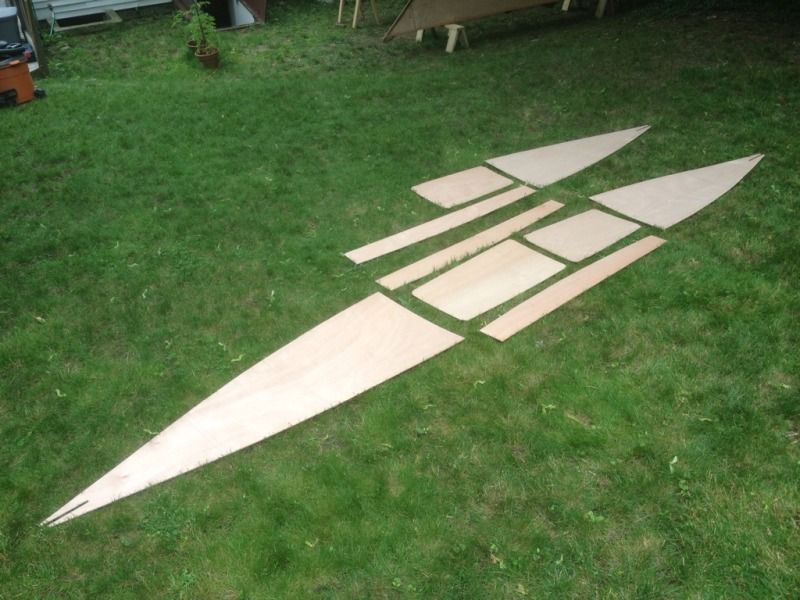
So after all that jig sawing this is what we have to show for it: noth aft decks, both aft floors, three side decks, one front floor and one front deck.


Next up: more epoxy coating, gluing on more fir stringers and back to the lumber store for another sheet of Okoume plywood. Pretty soon we'll be painting the interior and under sides of the decks to get them ready for glue and fiber glassing over the floors.

Sunday, September 11, 2011

Sanding and gluing

We had hoped that this would be the day to get the hulls ready for stitching but that was not to be. The day started with a trip to the store for 80 grit sandpaper and sanding the insides of the hulls.


The sanding seemed to take forever, but by lunch time all the hull panels were done.


Finally time to start gluing!! We cut up some scrap pieces of spruce from my oar project to make drywall screw clamps. the bottoms get a piece of tape to release from the epoxy. You definitely want to make sure you have enough ready BEFORE you start gluing.


The gluing surfaces, including the butt block, get a coat of raw epoxy. Once the epoxy went tacky we mixed up epoxy with milled glass and silica to mayonnaise consistency and slathered up the butt blocks.


Here it is clamped in place with the screws and wood clamping washers. I later added a spring clamp here and there to help along the edges.

It looks like everything is flush, we'll see when the screws come out tomorrow. I've learned my lesson about waiting too long to scrape off the excess glue, so I'll be checking in regularly to see when they are ready.


We only had time to do two hull panels, so from now on one hull may be a step ahead of the other.

Thursday, August 18, 2011

Fixing some mistakes

We were planing to finish sanding the bulkhead templates tomorrow night, but it's going to rain all afternoon. Looks like we'll just have to sit around and drink beer instead.

To keep things moving for the weekend I got all the bulkheads sanded down to the lines. While I was doing this I found a mistake in bulkhead #1. We forgot to draw in the curve on top and cut it straight across. Had to draw up a new one but now all the bulkhead templates are done. I'm glad we're making the mistakes in the cheap ply and not the BS1088 okoume.

Last item before Saturday is to finish up the make shift router table that we'll use to follow the templates.