Tuesday, June 19, 2012

Cutting the decks and floors

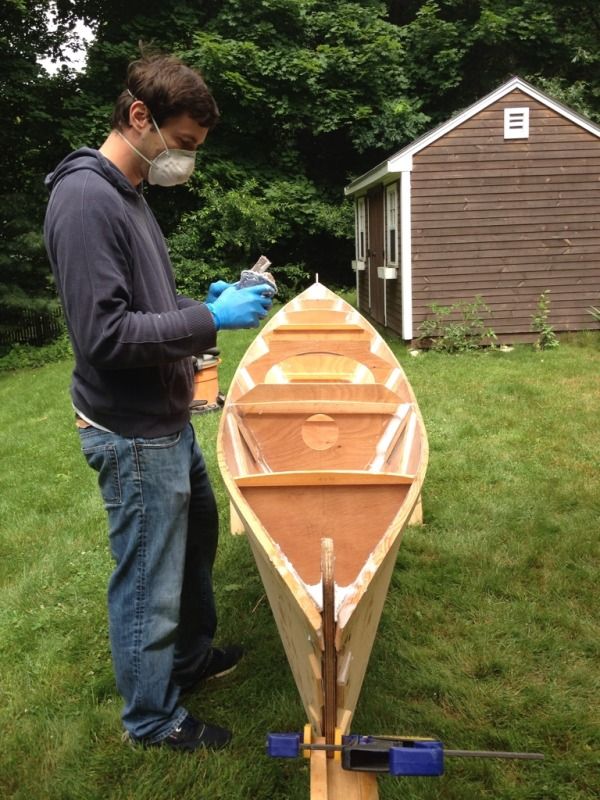
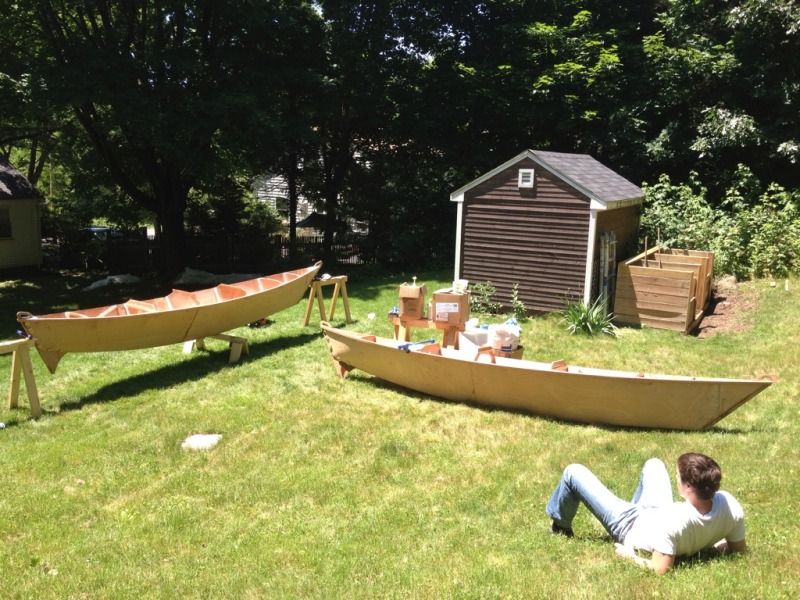
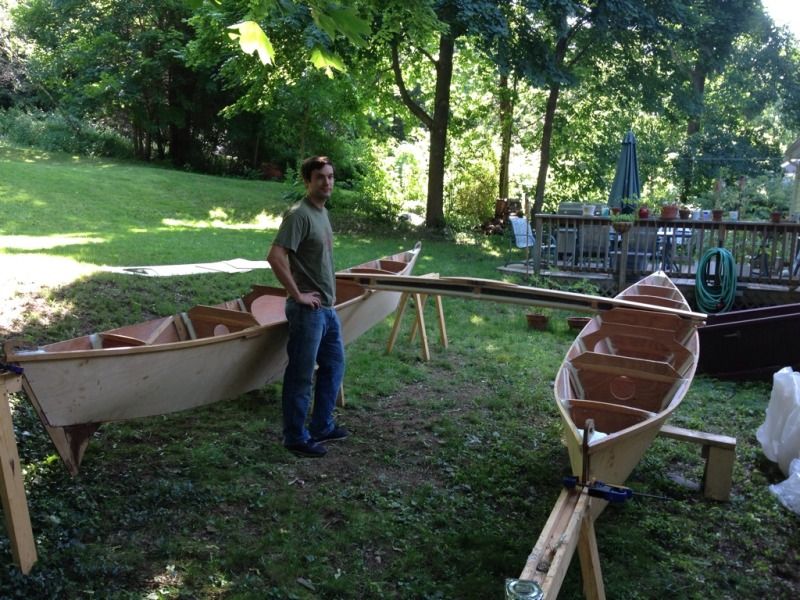
Another free day so we're keeping the momentum going. The hulls were already set up at their proper distance to get a sense of scale so we couldn't help but throw the main beam on to see how it looks. But enough daydreaming, today we are making the floors, fore decks, aft decks and side decks.


The first order of business was bringing out the scraps of plywood and seeing what we could get out of each piece to best use the material we had left. We knew after cutting all the bulkheads twice that we wouldn't have enough to finish, but we would like to buy as little extra as possible.

The first pieces cut were the floors. These two floors should be almost the same length according to the plans, but bulkhead 5 which forms the aft face of the aft most floor is about 5" too far forward. Not sure how this happened but we're going with it and will change some of the details on the hatches to make it all look right. The mast will be in the right place and that's what counts so hopefully we don't miss the extra seating space too much. In the end I don't think anyone will notice.
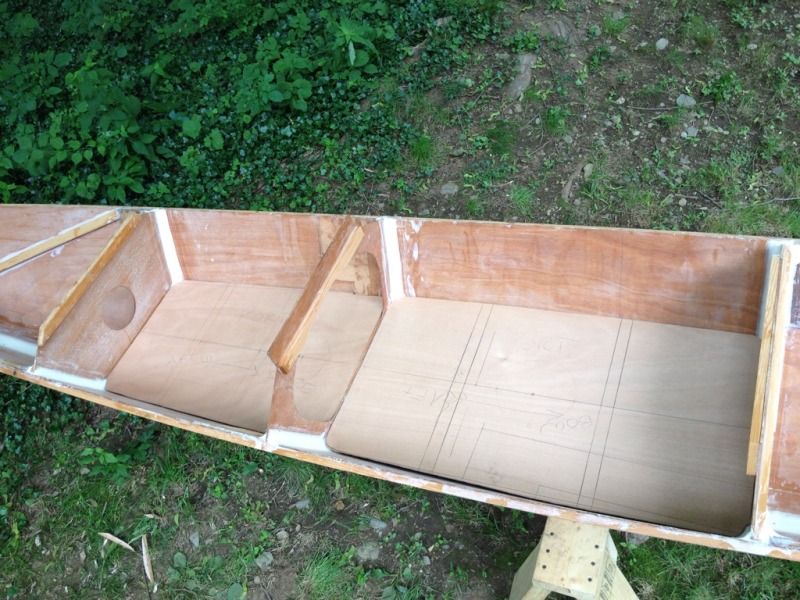


Here is our process for making the main decks. We start with a piece about the right size and put a straight edge up against the bulkhead. Clamps hold it tight against the bulkhead and centered across the hull.
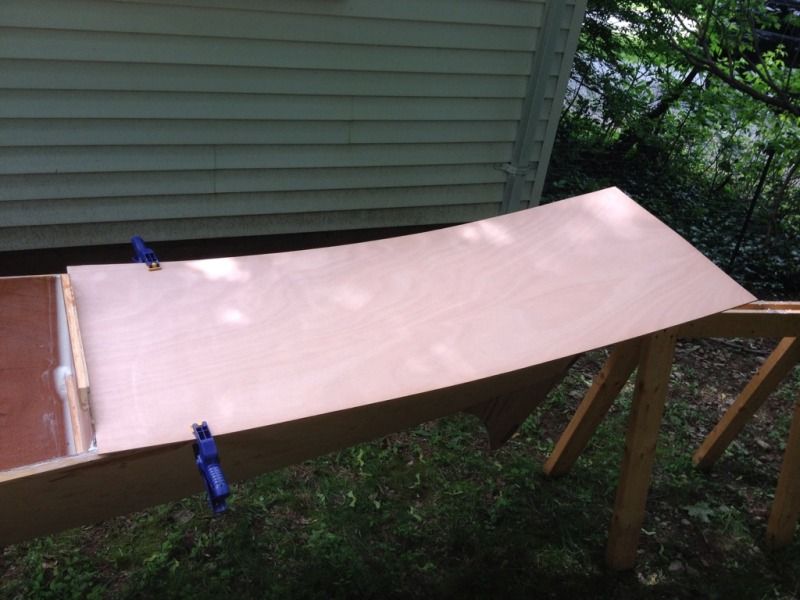

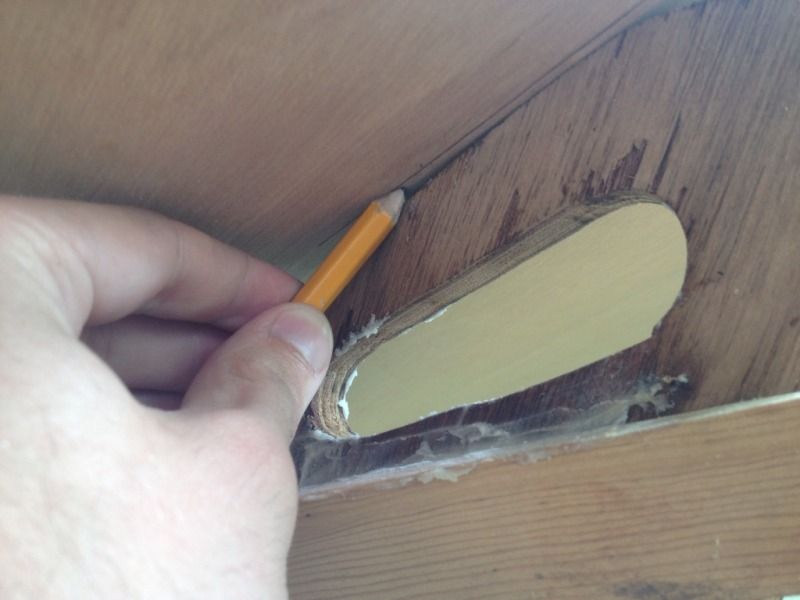
The stem location is marked on the underside holding the edge of the pencil point flush with the plywood.

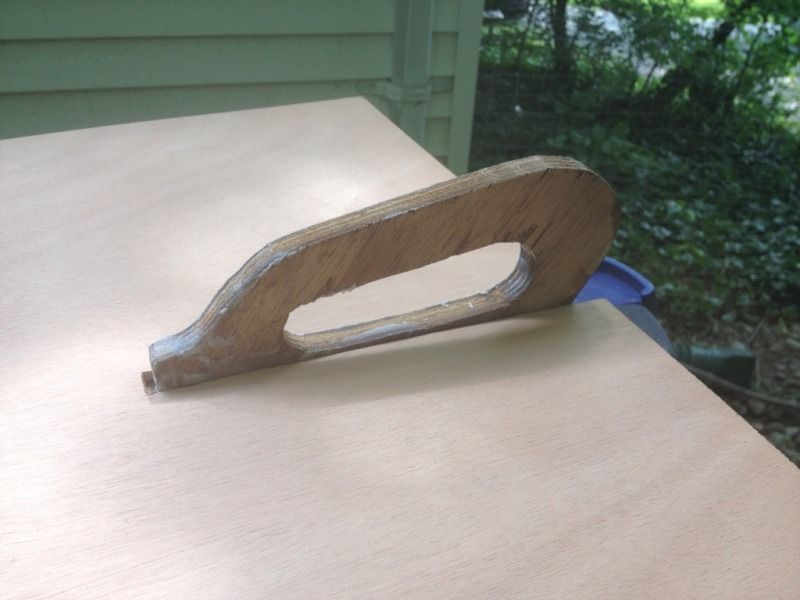
Then cut out the slot and fit it over the stem handle. Next it's pretty straight forward to mark the edges of the hull and trim it down with the jig saw.

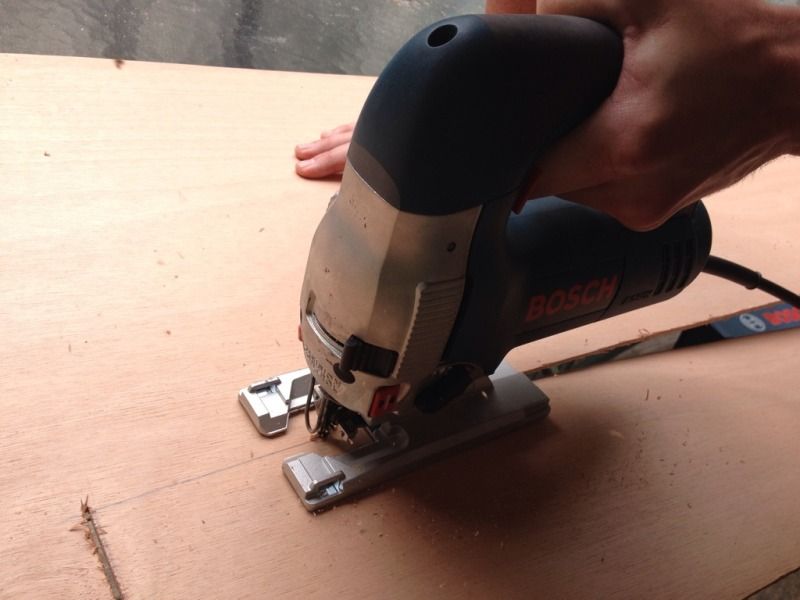
Speaking of the jig saw, this is my new Bosch saw which got quite a workout today. I can't believe we made it this far without one and this one is very heavy duty which helps with making nice smooth cuts.

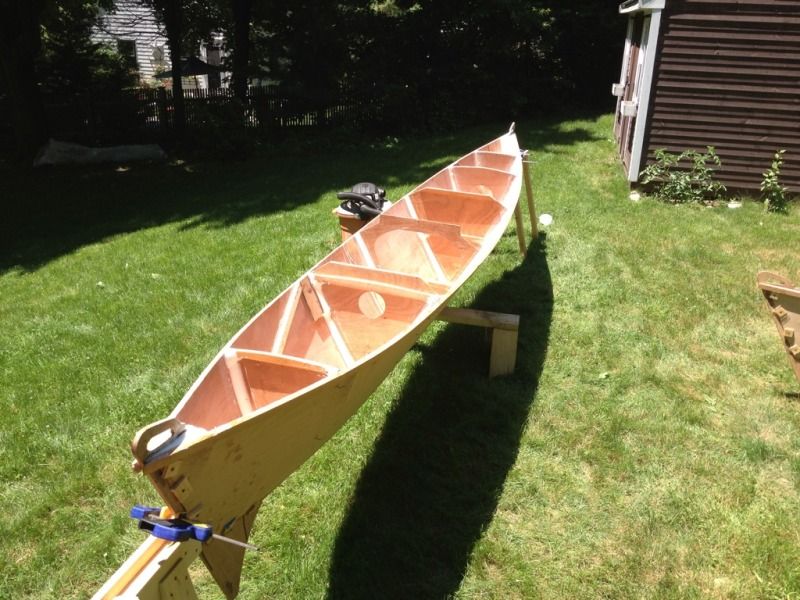
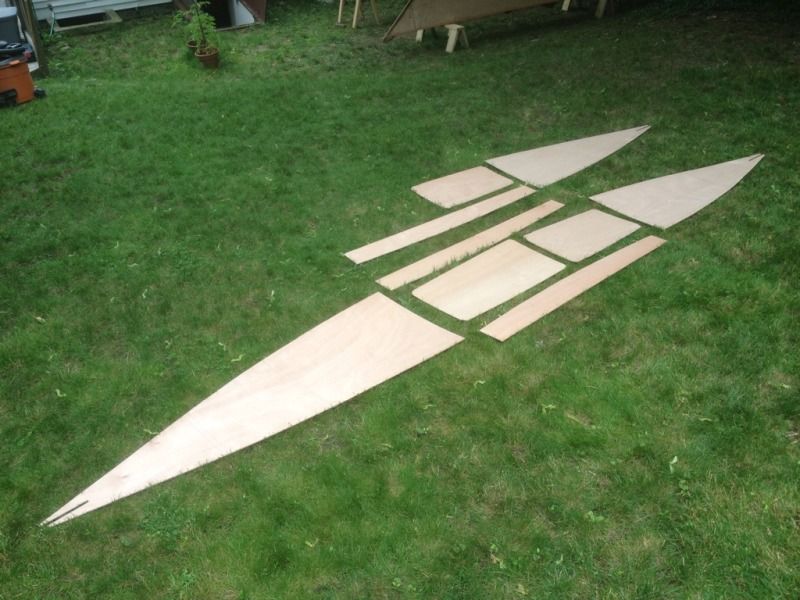
So after all that jig sawing this is what we have to show for it: noth aft decks, both aft floors, three side decks, one front floor and one front deck.

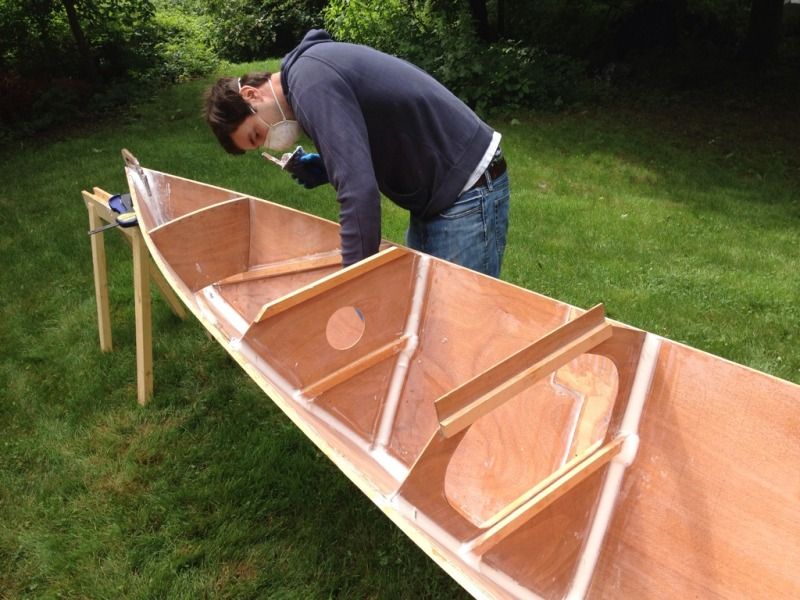
Next up: more epoxy coating, gluing on more fir stringers and back to the lumber store for another sheet of Okoume plywood. Pretty soon we'll be painting the interior and under sides of the decks to get them ready for glue and fiber glassing over the floors.

Thursday, June 14, 2012

The even bigger gluing day

It's been a long time since we were able to work on the boat and it was time for a big push. The last big push only accomplished about a quarter of what we set out to do. But the days have gotten much longer and today we weren't going to stop until all the fillets were in both hulls and all the keel joints were fiber glassed.

The first hull was already half filleted, so the remaining fillets went pretty quickly. Part of the speed increase was because we moved our epoxy mixing station outside near where we were working to cut down on trips to the basement.


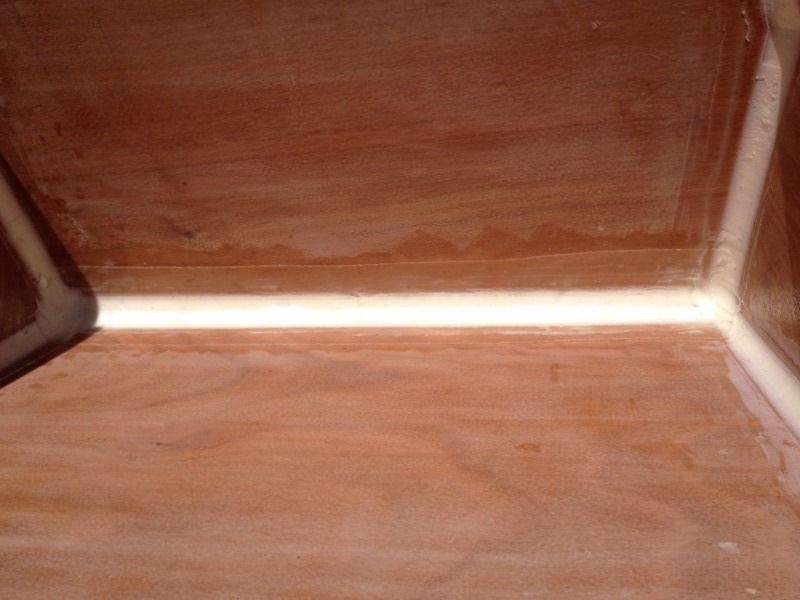
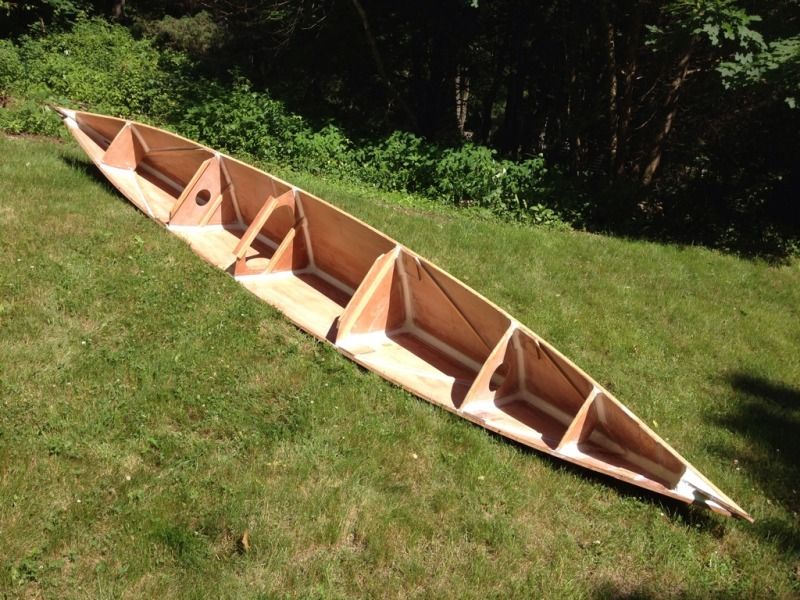
Before we knew it the first hull was fully filleted and ready for fiberglass.


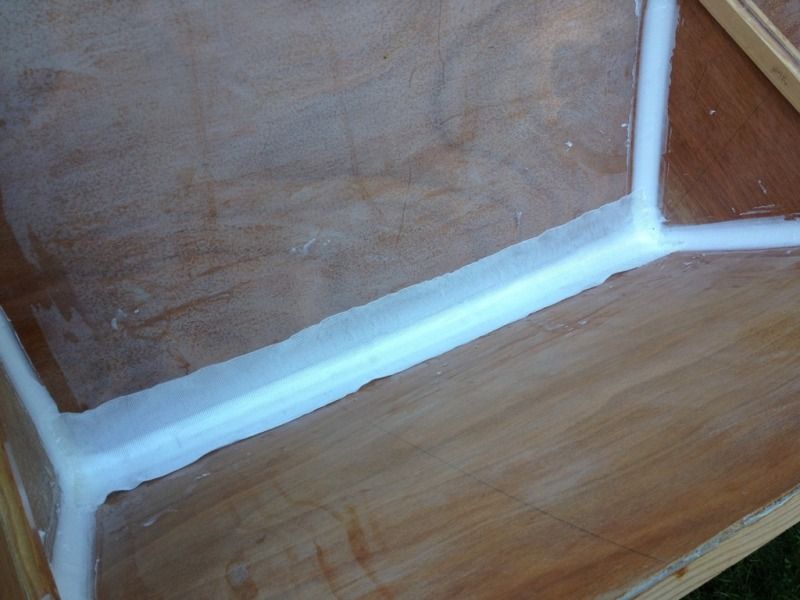
Most of the keel joints were fresh so we were able to press in the fiberglass tape while the epoxy was the consistency of a firm gel. This made smoothing out any bumps or edges easy and let the fiberglass sit nice and smooth against the fillet without any sanding.


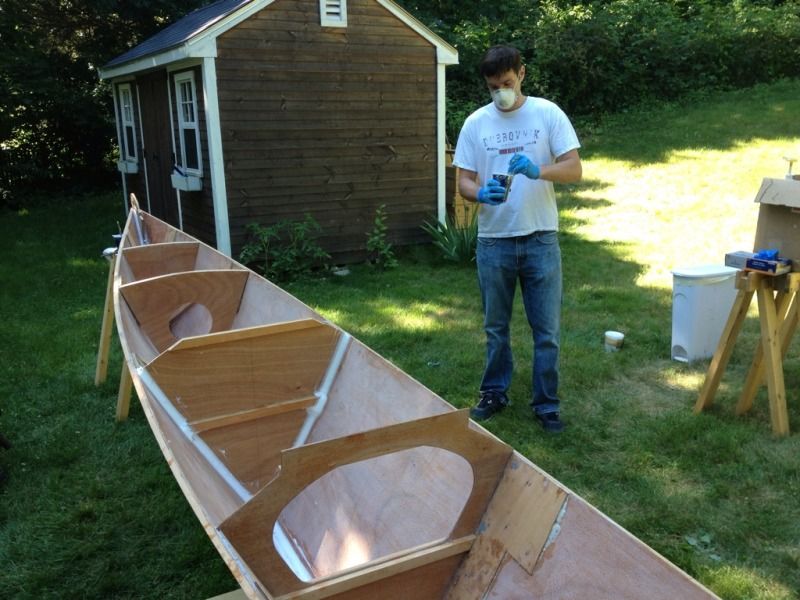
Then we brushed on epoxy with a 2" chip brush and worked the tape with a gloved finger like a squeegee. All in all this was much easier than we thought it would be. The only trouble was a bit of unraveling at the ends when we were a bit rough with the tape.


By lunch time the first hull was filleted and taped and curing in the sun.


So we could take a small break, looked out over our work and get psyched up for the next round. The second hull had no epoxy at all, and we had about 6 hours of daylight to finish it.


After lunch the first hull was cured enough to move off the saw horse and finish curing in the sun.


The second hull went just like the first with two exceptions. First, at the filleting stage we filled the stems in three to four passes to prevent excess heat buildup. Second, we worked one 'bay' at a time doing keel, then bulkheads and then glassed the keel. That way as we moved down the boat we left the previous segment complete. Here we have just completed the middle segment and are about to put another layer in the stems.


By the time we brushed epoxy on the last piece of fiberglass the sun was hanging low in the sky but we had reached our goal. We cleaned up our mess and called it a day.

Saturday, May 12, 2012

The big glue day - Part 2

Earlier in the day we put down two layers of epoxy around the keel and stems, the first layer raw and the next mixed to a runny consistency with milled fiberglass. These layers were to seal down in all the nooks and crannies before adding the fillets to make sure there are no voids. Now that these layers are cured and our lunch break is over it's time to get epoxying again. Doesn't look like we are going to get through both hulls like we thought and turns out we didn't even get the one hull fully filleted.

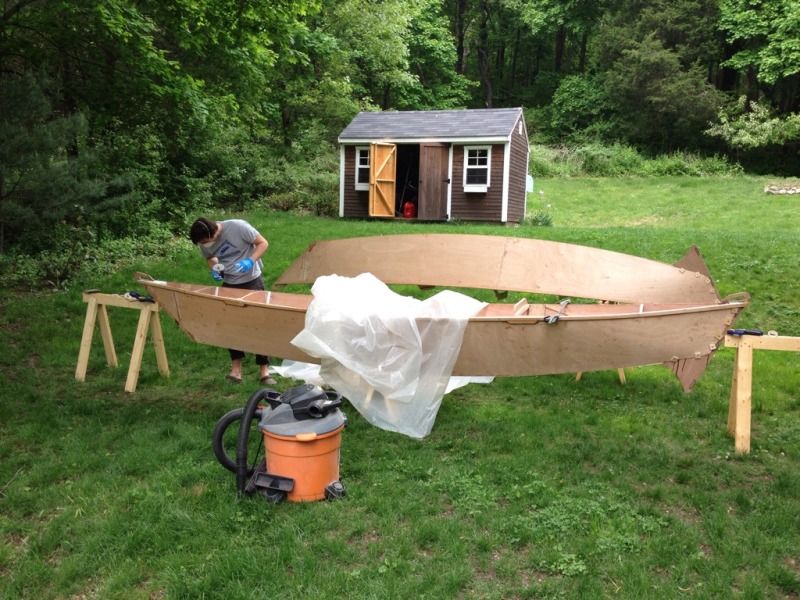
We had trouble with bugs and leaves falling out of the tree the areas we weren't currently working on were covered with plastic.


I miss read the plans when drilling out plywood fillet smoothing tools and mistook a radius for a diameter and so the first attempts at hull fillets were half the proper size. Compare the ones on the right which is what we started doing, with those on the left which are correct. Glad we caught our mistake early!


The stems take up a huge amount of epoxy to fill but end up very strong and solid. We made the mistake of applying all this fillet in one go which caused the epoxy to get very hot. In the future we will build up to thicknesses like this in multiple passes.


By the time the sun was going down we had only made it through half of one hull. Not the kind of progress we were hoping for if this boat is going to take us sailing this season.