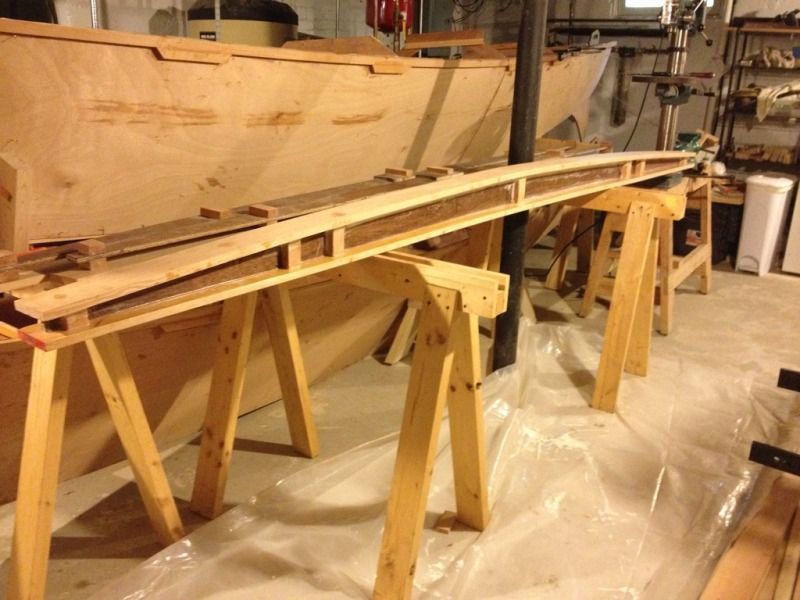
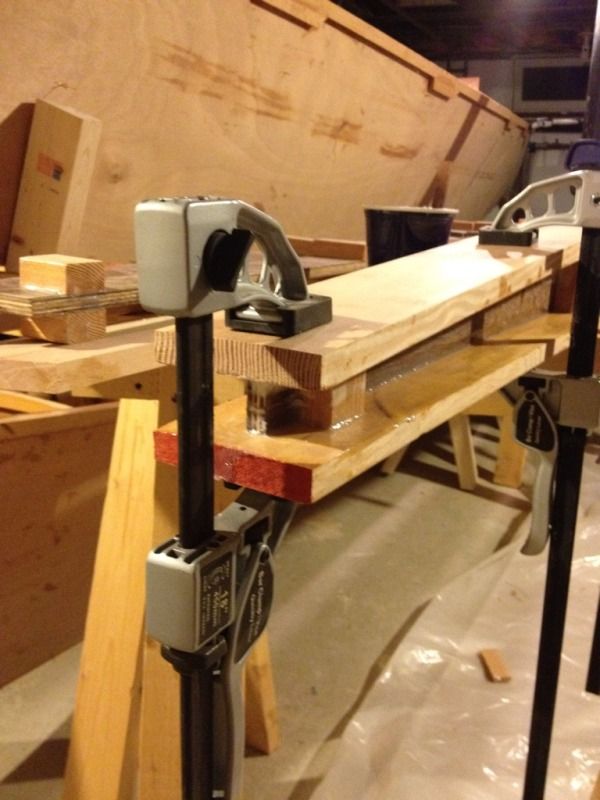
A quick update on the main beam. The bottom was glued on and cured over night.
The compression blocks pretty much assure that it the top and bottom are parallel, though in some cases there was some room for adjustment based on small changes in the clamping location particularly on the ends.
And here is the main beam all glued up and man is this thing sturdy. I'm feeling better about these beams being the only thing keeping us out of the water.
Now we just have to keep up the sequence: glue, wait, fillet, wait, glue, wait, fillet, wait ...
This blog will document the construction and sailing adventures of a Hitia 17 beach cruising catamaran designed by James Wharram.
Thursday, May 10, 2012
Wednesday, May 9, 2012
Carving the mast step block
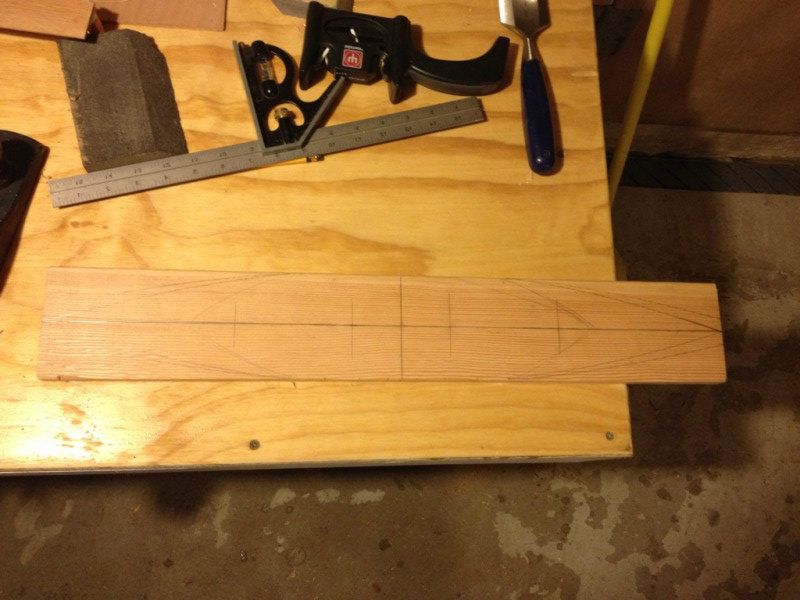
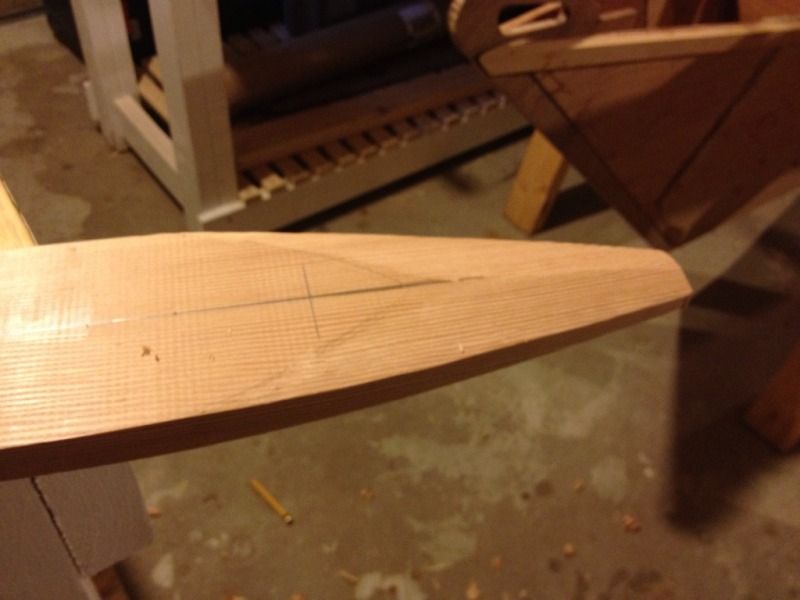
Another rainy day working in the basement instead of outside, but I made some progress on the mast step for the main beam. The top of the main beam is doubled up under the mast step with a block that tapers on each end "to a pleasing shape" according to the plans. I marked a shape that looked good on a cutoff and got to shaping. At first I thought I would bring the edges to a point, but then decided to leave the edge flat at about an inch wide.
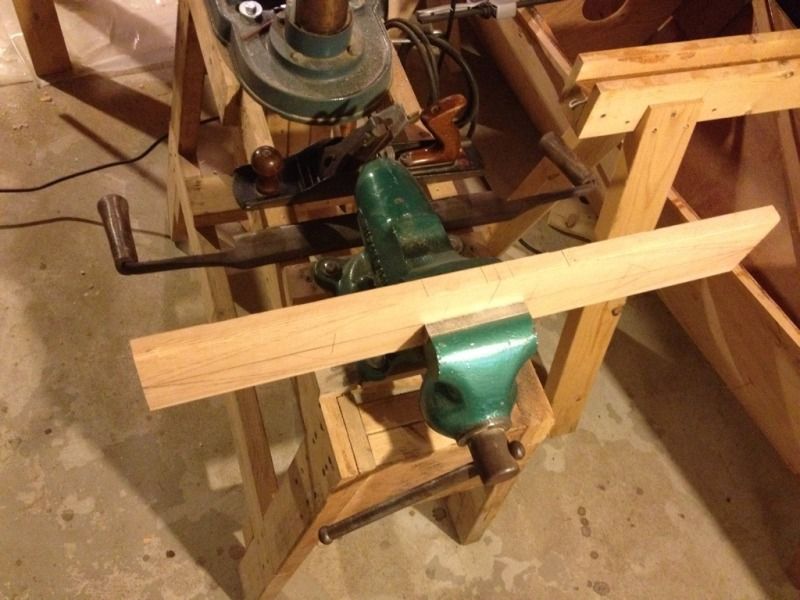
I've recently found how much I like working with an old draw knife I picked up a long time ago and this was another good use for it. It's 14" along the blade and 24" between the handles so a bit big but very handy.
In no time at all the blank was worked down to shape and then planed to the lines.
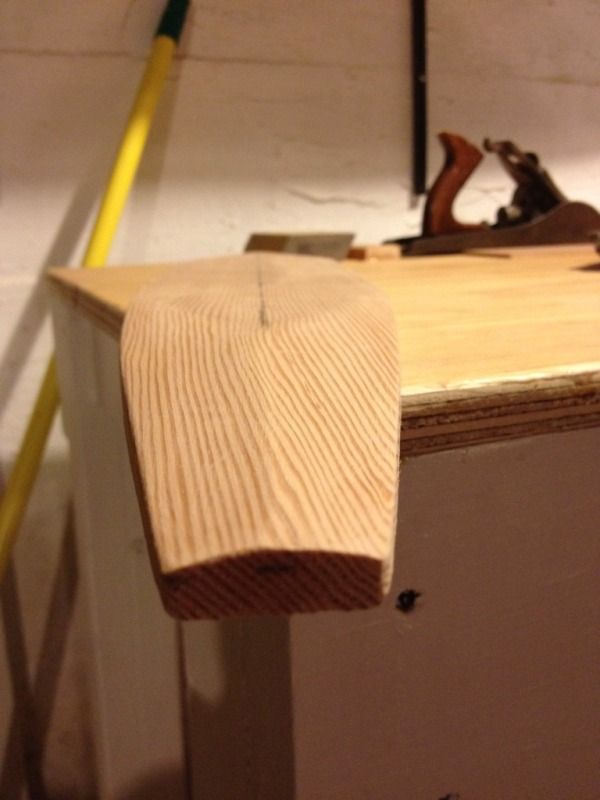
The next step was to taper and bevel the edges to lighten up the appearance of the mast step block. The top edge of the bevel was drawn on freehand to miss the blocks that form the step so that they have a flat mounting surface. The rest was trimmed down by eye with the draw knife.
Here it is getting pretty close to the final shape, but not quite even. This was all with the draw knife so far.
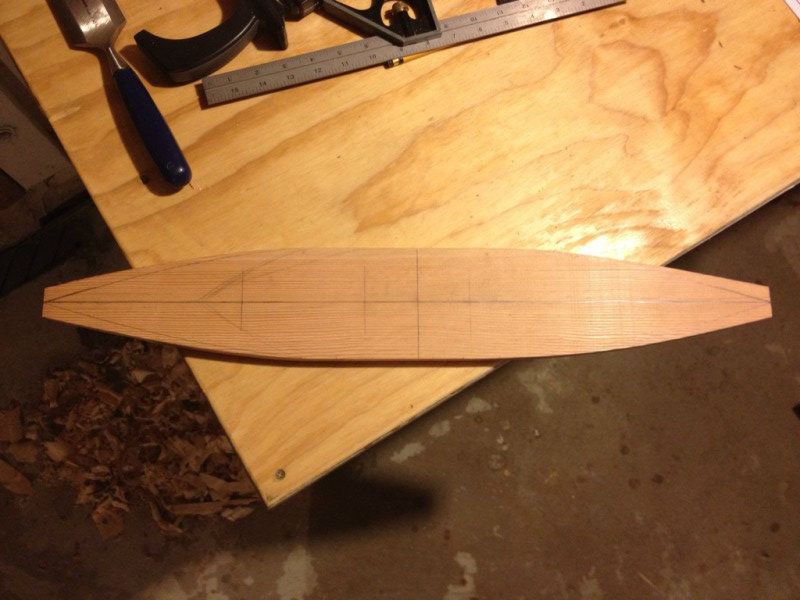
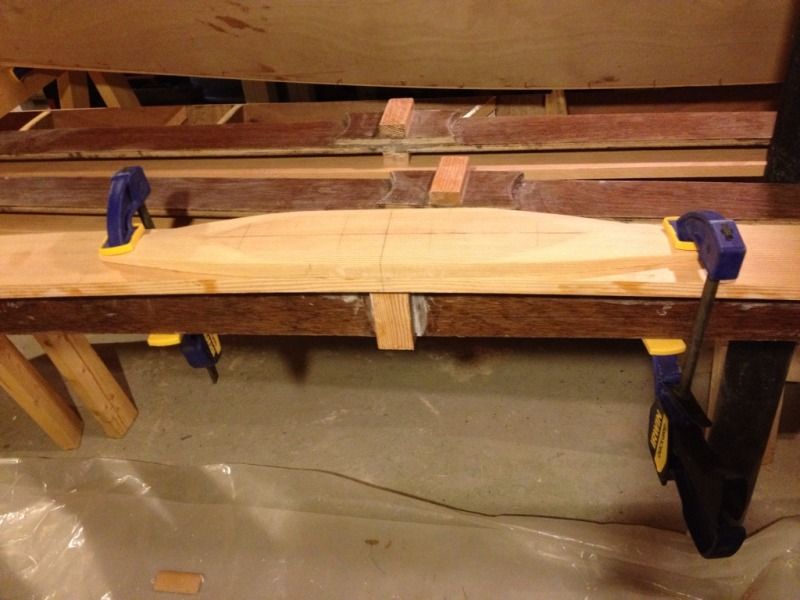
A bit more work with a sanding block and it was done and ready for a test fit. The short piece didn't want to take the bend but eventually settled in nicely. I'm happy with how the tapered ends turned out and how they flow with the curve of the beam.
I've recently found how much I like working with an old draw knife I picked up a long time ago and this was another good use for it. It's 14" along the blade and 24" between the handles so a bit big but very handy.
In no time at all the blank was worked down to shape and then planed to the lines.
The next step was to taper and bevel the edges to lighten up the appearance of the mast step block. The top edge of the bevel was drawn on freehand to miss the blocks that form the step so that they have a flat mounting surface. The rest was trimmed down by eye with the draw knife.
Here it is getting pretty close to the final shape, but not quite even. This was all with the draw knife so far.
A bit more work with a sanding block and it was done and ready for a test fit. The short piece didn't want to take the bend but eventually settled in nicely. I'm happy with how the tapered ends turned out and how they flow with the curve of the beam.
That's it for now on the mast step until the bottom of the beam is glued on. This beam is getting pretty close to done, two more to go.
Tuesday, May 8, 2012
Starting the main beam
Today we found ourselves with a free day to spend working on the boat and then it rained non-stop. The weather is always gorgeous when one or the other of us is busy, but we can't let that stop us getting out on the water. Since we are confined to the basement we decided to work on the beams and save the hulls for another day.
The compression support blocks were trimmed pretty close when we glued them, but needed some adjustments so that the top and bottom boards of the I-beams would sit level. We are trying to keep all of the saw dust generating activities out of the basement but it was raining so this was our compromise. The saw-rasp evened things up pretty quickly
We took advantage of a brief break in the rain to sand the epoxy coated faces of the center beam pieces. There was some concern with the metric conversions that we may have made the beams too narrow so we double checked while measuring for the top board of the main beam. It is actually an inch long which means we'll get that much more room when sailing.
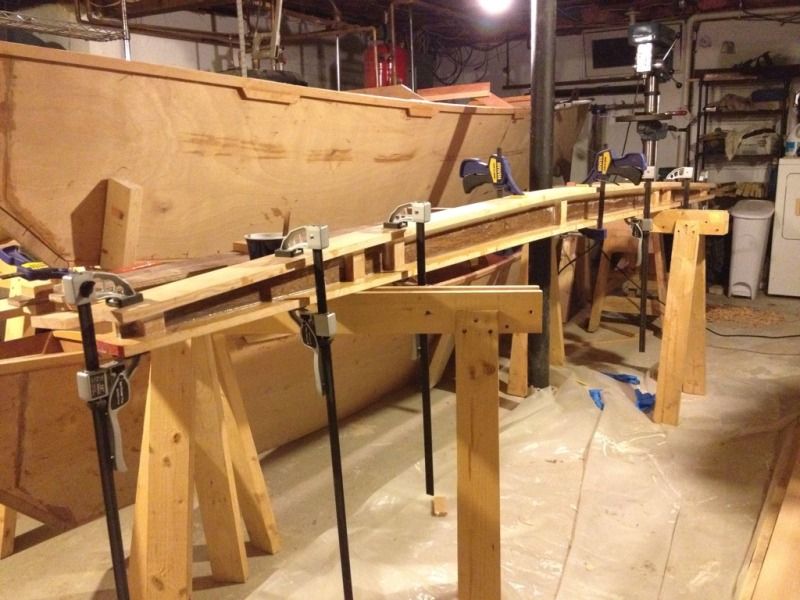
In the dry test fit it looked like we could get away with four clamps and use the stiffness of the board to close all the gaps in a fair curve.
In reality it took 7 clamps, good thing we only epoxied up one at a time! This was about the time Cam said, "If we just had more space and more clamps, think about how much we could get done!"
Sighting down the beam makes sure that the it is straight and centered. Right after this photo we adjusted the closest part a bit to the right as you can see that it is a little off.
After a few hours it was time for more fillets. Here is the glue joint smoothed out with our finger.
The middle two sections get a 1.25" radius fillet.
The outside sections step down to a 5/8" fillet which you can just see in the corner of this picture. Probably could have done the fillets once both boards are on but it seemed easier to do now while there was better access. For the next ones I'll wait till the clamps are out of the way, it's hard to keep the epoxy off of them.
One half of one beam down, can't wait for the weather to clear so we can move outdoors. That will solve the space issue, I'm not sure I'll ever have enough clamps though.
The compression support blocks were trimmed pretty close when we glued them, but needed some adjustments so that the top and bottom boards of the I-beams would sit level. We are trying to keep all of the saw dust generating activities out of the basement but it was raining so this was our compromise. The saw-rasp evened things up pretty quickly
We took advantage of a brief break in the rain to sand the epoxy coated faces of the center beam pieces. There was some concern with the metric conversions that we may have made the beams too narrow so we double checked while measuring for the top board of the main beam. It is actually an inch long which means we'll get that much more room when sailing.
In the dry test fit it looked like we could get away with four clamps and use the stiffness of the board to close all the gaps in a fair curve.
In reality it took 7 clamps, good thing we only epoxied up one at a time! This was about the time Cam said, "If we just had more space and more clamps, think about how much we could get done!"
Sighting down the beam makes sure that the it is straight and centered. Right after this photo we adjusted the closest part a bit to the right as you can see that it is a little off.
After a few hours it was time for more fillets. Here is the glue joint smoothed out with our finger.
The middle two sections get a 1.25" radius fillet.
The outside sections step down to a 5/8" fillet which you can just see in the corner of this picture. Probably could have done the fillets once both boards are on but it seemed easier to do now while there was better access. For the next ones I'll wait till the clamps are out of the way, it's hard to keep the epoxy off of them.
One half of one beam down, can't wait for the weather to clear so we can move outdoors. That will solve the space issue, I'm not sure I'll ever have enough clamps though.
Subscribe to:
Posts (Atom)