Saturday, March 10, 2012

8-Siding the Mast and adding fillets

The mast halves have cured and were run through the table saw with the blade at 45 degrees to get down to eight sides. The mast foot fits into recesses cut into two halves and here is the rough fit.


The next step is to support the inside corners of what is essentially a rounded box section with epoxy fillets mixed with 50/50 colloidal silica and micro balloons. There will be a lot of fillets when we get to the hulls (soon!) so this is good practice.


Filler blocks are used to make the mast solid at the ends where the foot and sheaves are supported. The plans call for 1/2" ply but we had 1 1/2" x 1/2" fir scraps so we're using those instead which should be stronger and lighter. To reduce stress points from the sudden change in stiffness at the filler pieces we used the excess epoxy mix to taper the transition.


When we're happy with all the fillets we leave the mast halves to cure.


The recesses for the foot are done, the recess for the masthead sheaves will be next and then we can glue the mast halves together and put it aside until later for the final finishing.

Sunday, March 4, 2012

Gluing the mast halves

Yesterday I rounded the edges on the sprit with a router which means the gluing table is clear so now we can work on the mast. The plans call for a box section with epoxy fillets which is then rounded using the normal progression of 4-sided to 8-sided to 16-sided to round. 

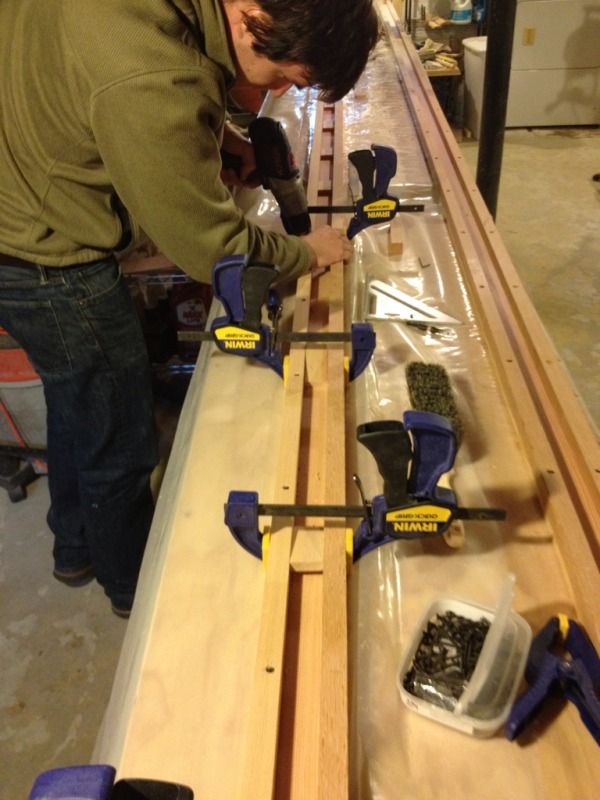
The first step is to make the two 'U' shaped halves, insert the mast foot and halyard sheaves and then glue the two halves together. Wharram suggests using screws to temporarily clamp the square pieces onto the larger flat pieces then remove and fill with thickened epoxy. Here is our plan to avoid screw holes showing in the final piece, though we ended up angling the screw to provide more depth.


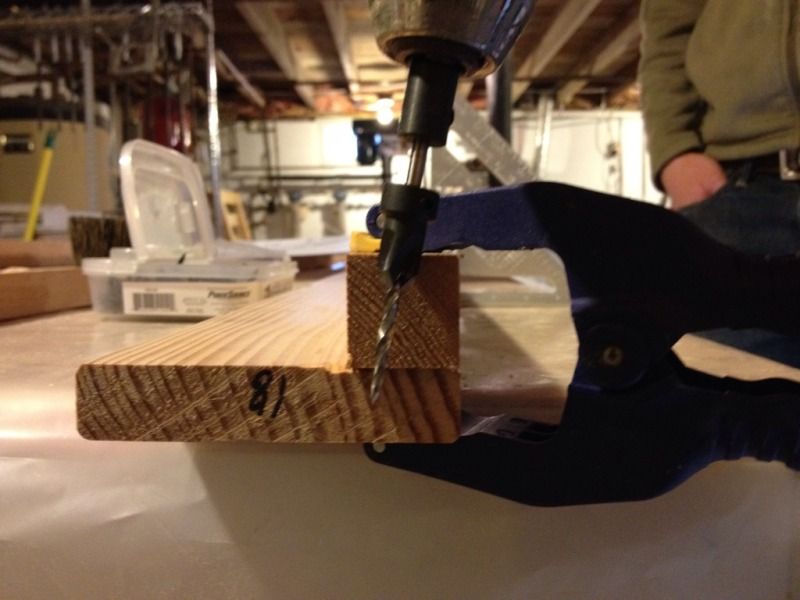
The last thing we want is for the fir to split so each screw location s pre-drilled with a countersink bit. Here is the bit set for the right depth and the angle we decided to use.


To get the spacing right we used 1 1/2" wide cutoffs as spacer blocks. the square pieces are 1" square so that makes a 3 1/2" diameter mast.


Once both halves were aligned and screwed we could back out the screws, coat epoxy and then re-assemble.  It was a long day but getting the spars done will be a huge landmark on the way to sailing this spring.


Friday, March 2, 2012

Assembling the mast foot

Wharram uses a foot on the bottom of the mast and cleats on the cross beam to easily locate and establishes the rake of the mast. The mast foot also holds the cleats for the jib and main halyards as well as the mains'l downhaul.

The Hitia 17 uses two layers of 1/2" plywood for the foot, here the is the outline for one half drawn out on the plywood. You can see that the top of the cross beam is doubled where the mast steps and that a rounded block is added to the aft face which allows you to hook and then rotate the mast into place.


Here it is cut out including shaping the opening where the down-haul line runs down through the foot and back up to gain more purchase when tensioning the luff of the sail.


Next the two halves are epoxied together and clamped while keeping all the edges aligned.

Extra epoxy and wood flour mix is spread around the down-haul hole to make sure that the plywood is protected from any abrasion.


Once it dries it will be ready to glue between the two mast halves during final mast assembly.