Thursday, June 28, 2012

Adirondack chairs - Part 2

Wife: "You know the fourth of July is next Wednesday right?"

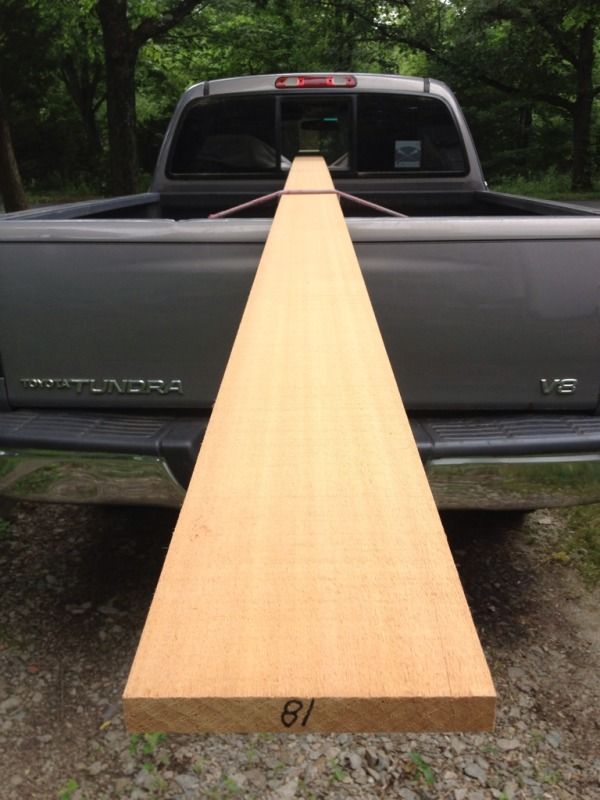
Not much time left to get these chairs done! I picked up more wood from the lumber yard and got down to business.


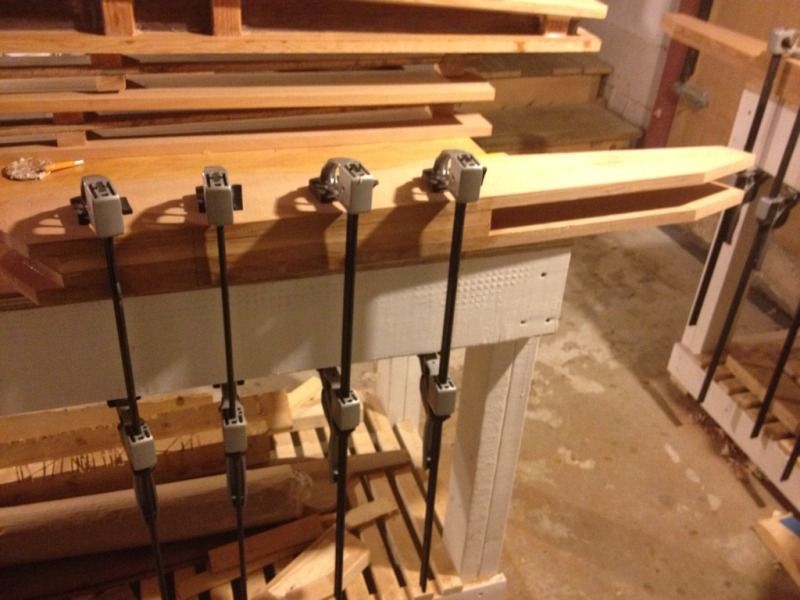
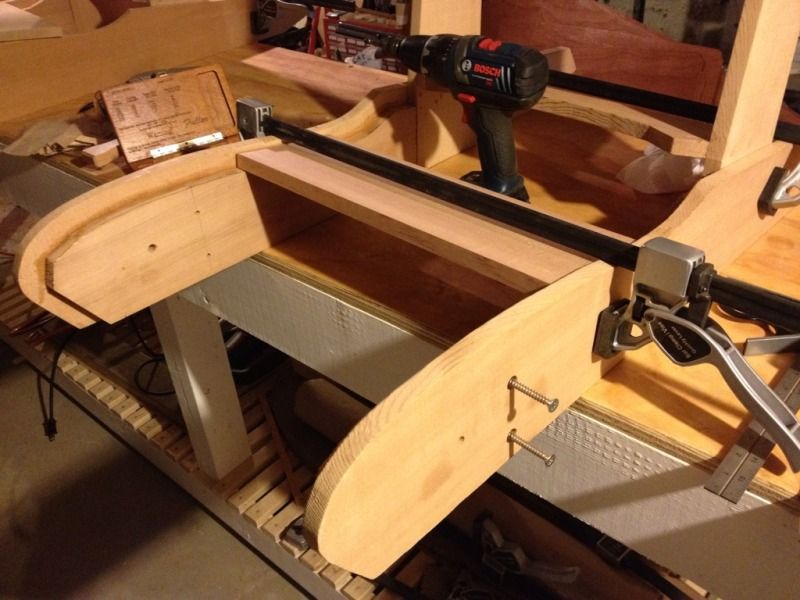
Each seat back is slightly different so the bottom slats are cut based on the seat back width for that chair. From now on I'll have to keep these together, but since one is 1/16" of an inch wider than the other I should be able to tell from the fit. Using the seat slat stock as a guide, I clamped the bottom of the chair together and drilled for the cross braces. The front brace calls for #14 x 3" stainless steel screws which seem awfully big even to me.


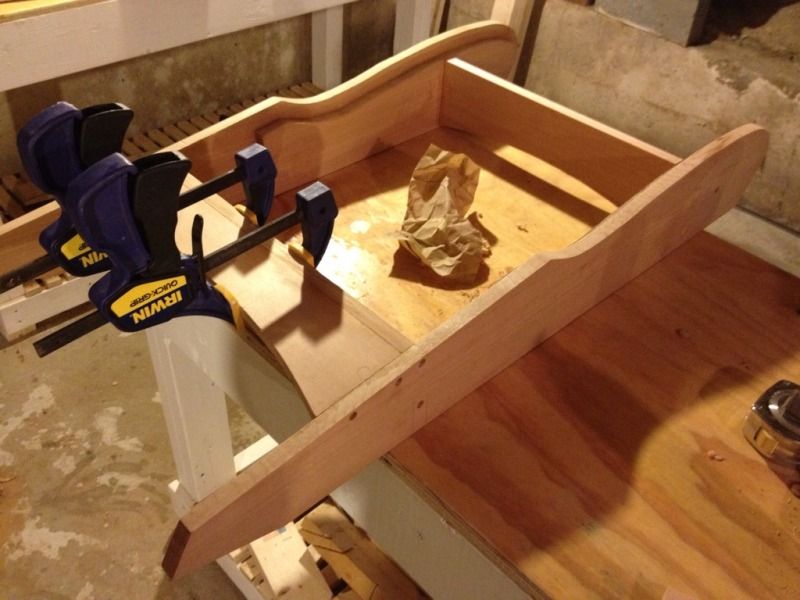
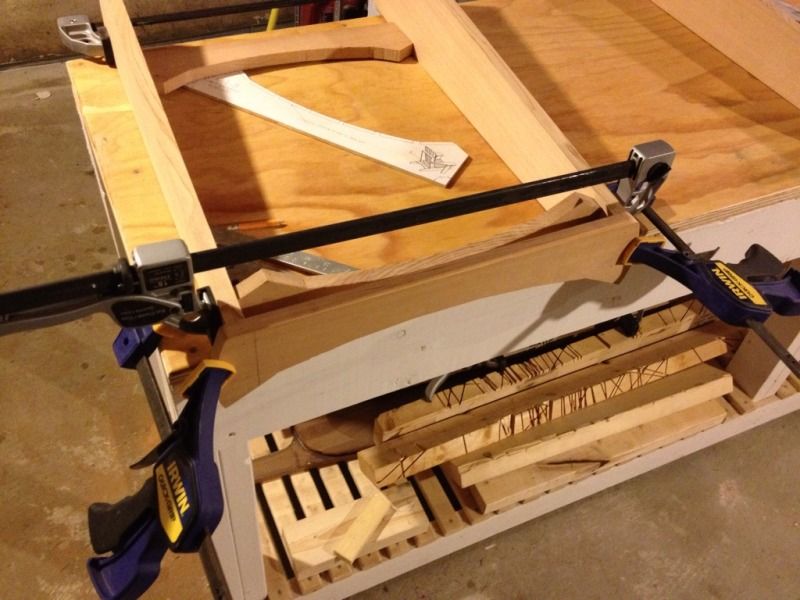
Next the back two cross pieces are clamped, glued, and screwed together. These two cross pieces do not meet at 90 degrees and so the edges of the boards need to be adjusted to fit the angle.


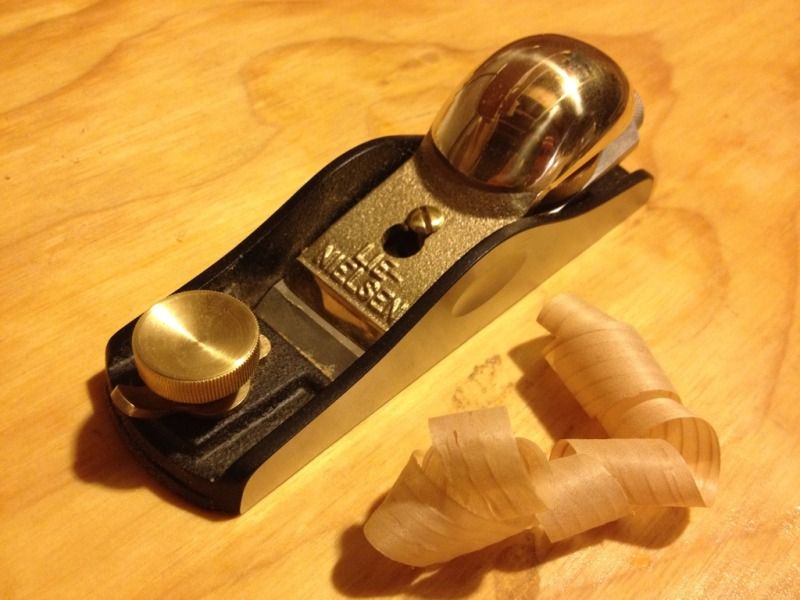
Sounds like a great job to break in my new low angle block plane which handled the job beautifully.


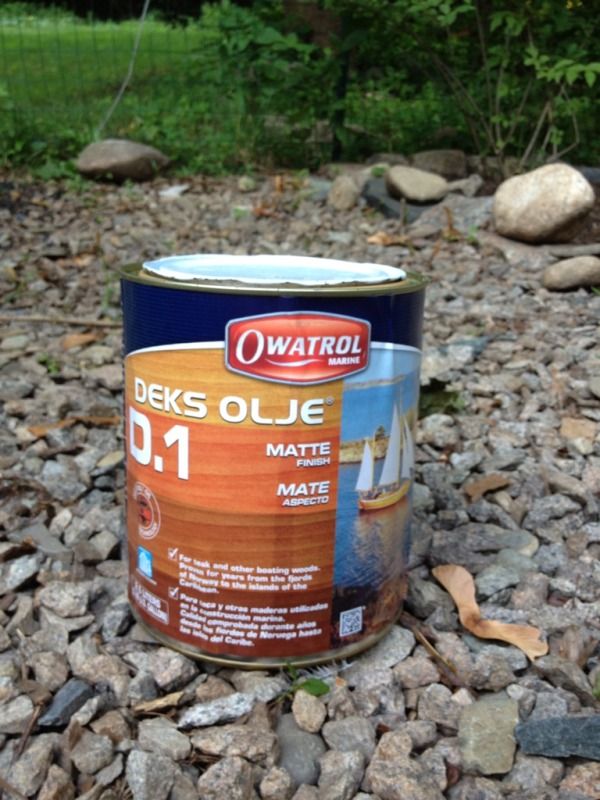
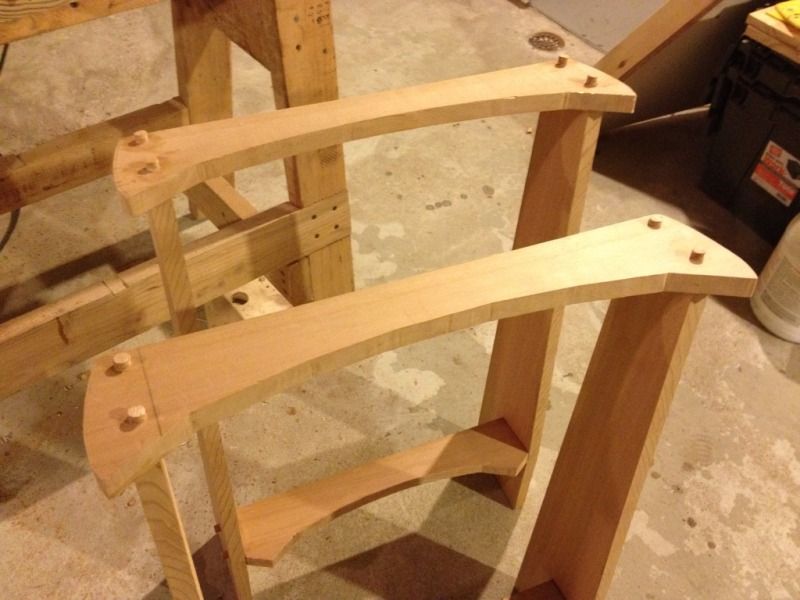
All the holes were plugged just like before and then all the assembled pieces were sanded up to 220 grit. I'm using Deks Olje for the finish. It's a Scandinavian marine oil finish that fills the pores of the wood and leaves a semi-gloss finish once the surface of the wood is saturated. Another overkill step, but I want these chairs to last a long time and if it's good enough for wooden boat hulls it should be good enough for a lawn chair!


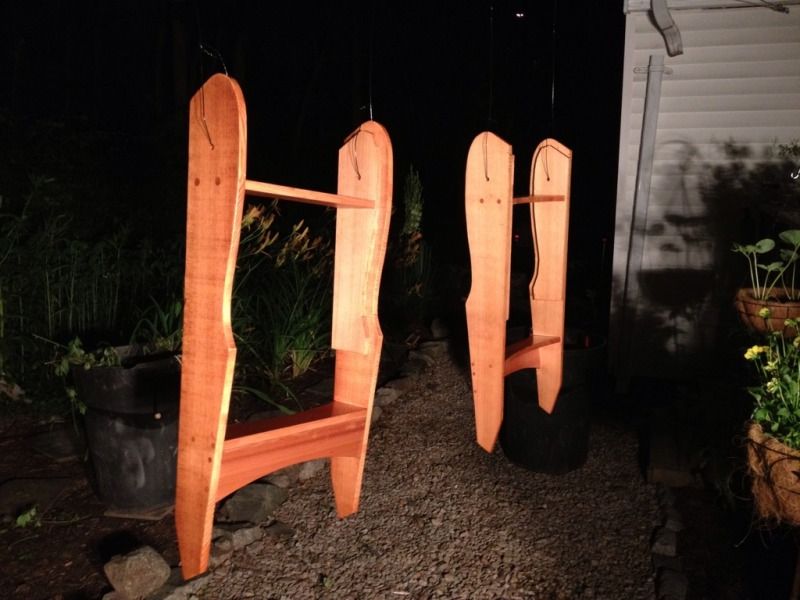
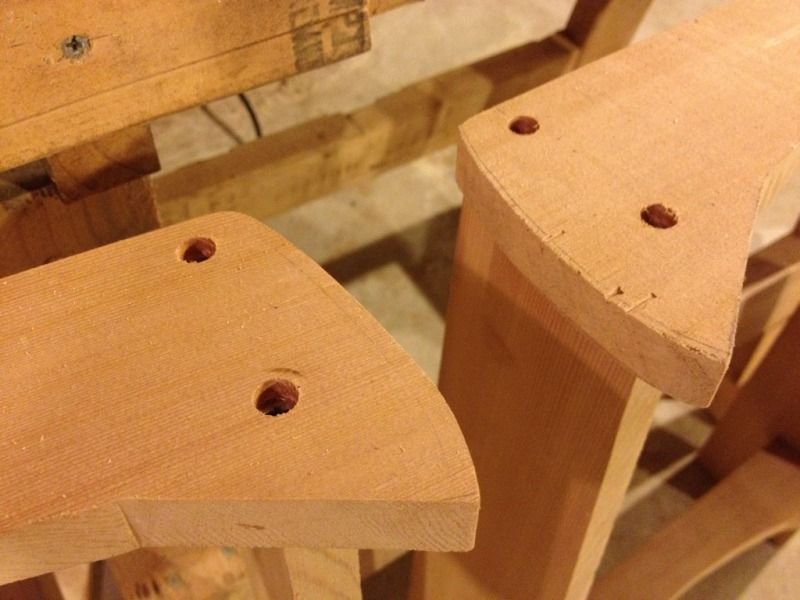
I hung up the chair bottoms from the dog run cable and brushed on the first coat. The cedar almost changes colors as you look from different angles. All the plugs have the grain oriented perpendicular to the surrounding grain so they really stand out.


Here they are after the second coat working by shop lights. From this angle the main boards appear lighter and the plugs darker.


It will probably take 6 coats or more to fill up the grain and get a nice even finish so I better keep at it.
Monday, June 25, 2012

Adirondack chairs - Part 1

I would have called this post "Adirondack chairs - the beginning" but this project started almost three years ago when I got plans and hardware for a pair of folding Adirondack chairs. Sure I could have just bought some chairs but wouldn't it be more fun to make them? And wouldn't they look so much nicer than store bought?

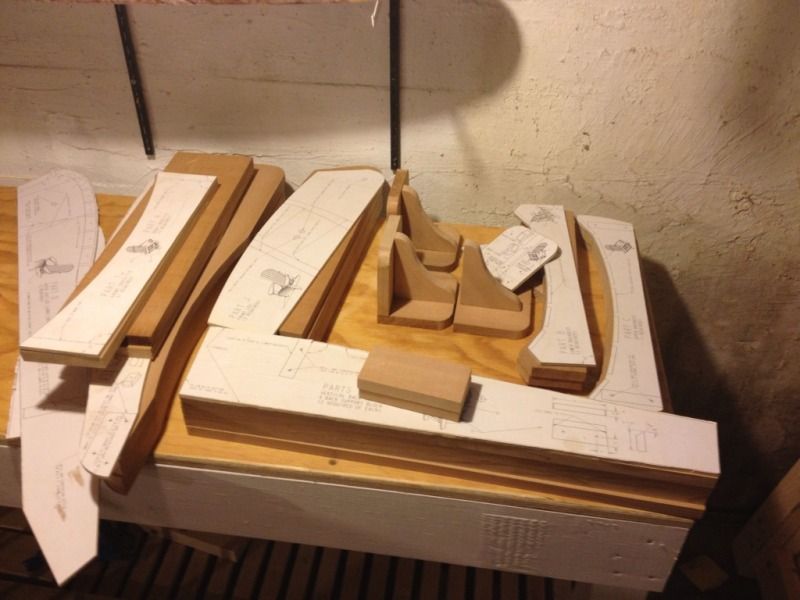
Well this project is off the back burner and will be done by the 4th of July so we can sit in them and watch fireworks. A while back I picked up some clear western red cedar boards and glued the plans onto plywood and cut out the shapes to use as templates.

I cut the WRC boards down roughly to shape back when I bought it but never finished shaping them. So the first step was to sit down with the jig saw for most of the day carefully tracing the patterns and cutting the parts.


Here is the hardware: #10 x 1 1/4",  #10 x 2", and #14 stainless steel screws plus the stainless bolts that come with the hardware kit.


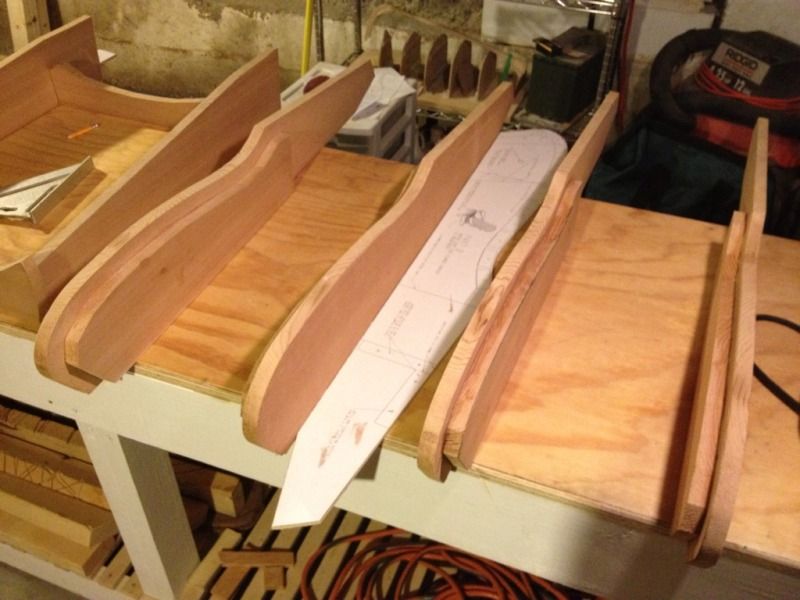
The bottom of the seat is made of boards glued up from two parts. The inner part holds the slats and the outer part is larger to cover the end grain of the seat slats


Here you can see how the seat slats will span between the two inner boars with the ends protected by the outer boards.


Next I started on the seat backs. The boards are clamped so that the screw holes can be drilled with a countersink bit. Then the joints are glued up and screwed together with #10 x 2" stainless steel screws.


The counter sink leaves a nice hole for a plug which will clean up the look of these chairs. This is way overkill but that's the fun of making instead of buying.


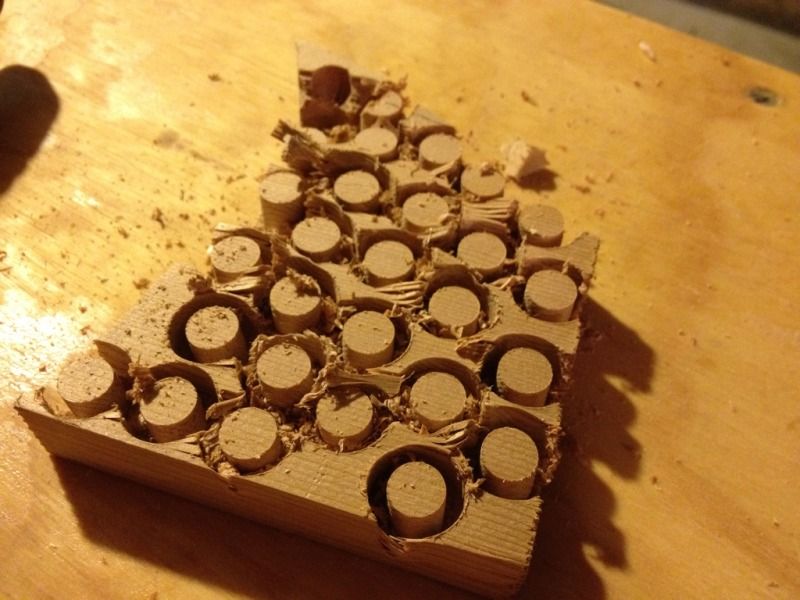
Plugs come from scraps which I was careful to keep since this cedar isn't cheap and I didn't want to waste any.


The plugs get a bit of glue and then pressed into place. It's the little details like this that I hope will set these apart when they are done and help them last a very long time.


I have run out of things to work on until I buy a couple more western red cedar boards so more to come soon.

Tuesday, June 19, 2012

Cutting the decks and floors

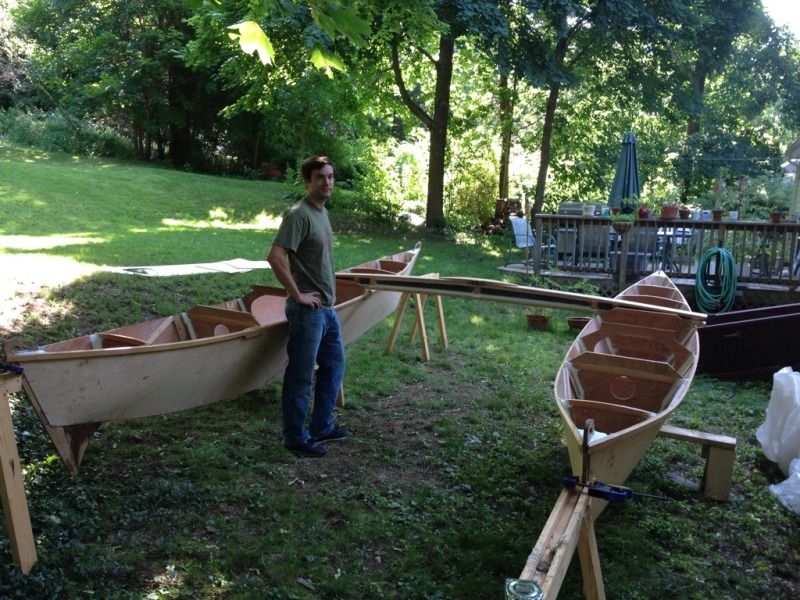
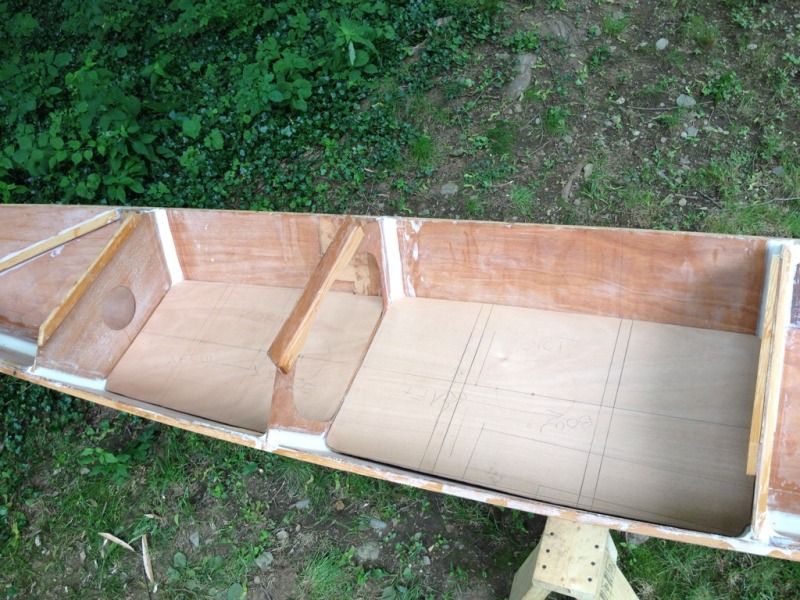
Another free day so we're keeping the momentum going. The hulls were already set up at their proper distance to get a sense of scale so we couldn't help but throw the main beam on to see how it looks. But enough daydreaming, today we are making the floors, fore decks, aft decks and side decks.


The first order of business was bringing out the scraps of plywood and seeing what we could get out of each piece to best use the material we had left. We knew after cutting all the bulkheads twice that we wouldn't have enough to finish, but we would like to buy as little extra as possible.

The first pieces cut were the floors. These two floors should be almost the same length according to the plans, but bulkhead 5 which forms the aft face of the aft most floor is about 5" too far forward. Not sure how this happened but we're going with it and will change some of the details on the hatches to make it all look right. The mast will be in the right place and that's what counts so hopefully we don't miss the extra seating space too much. In the end I don't think anyone will notice.


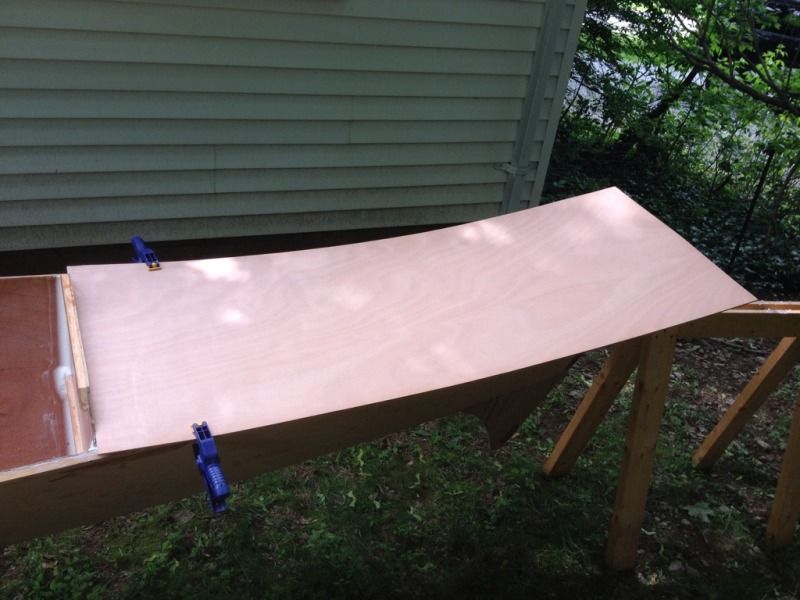
Here is our process for making the main decks. We start with a piece about the right size and put a straight edge up against the bulkhead. Clamps hold it tight against the bulkhead and centered across the hull.


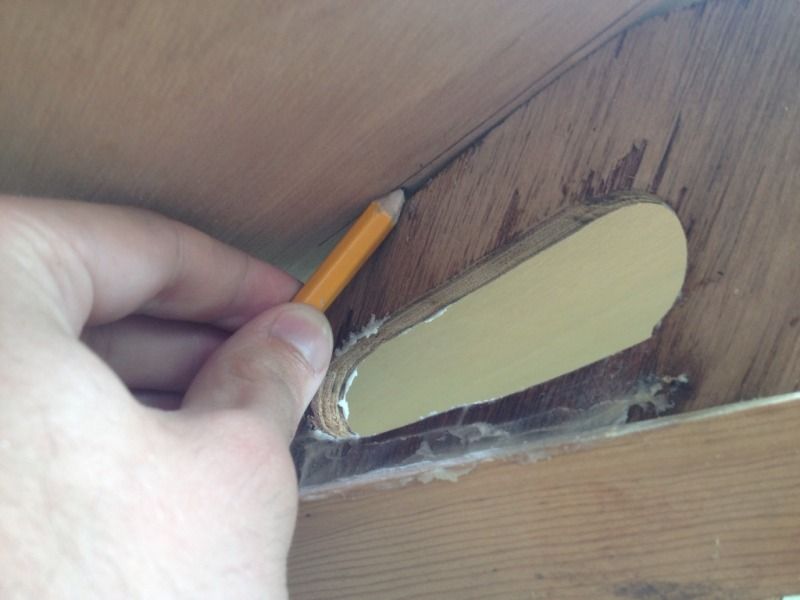
The stem location is marked on the underside holding the edge of the pencil point flush with the plywood.


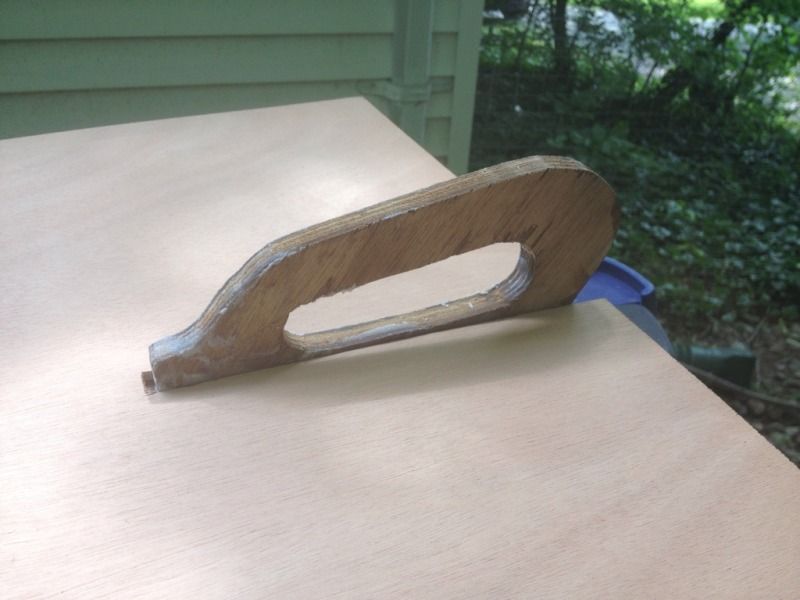
Then cut out the slot and fit it over the stem handle. Next it's pretty straight forward to mark the edges of the hull and trim it down with the jig saw.


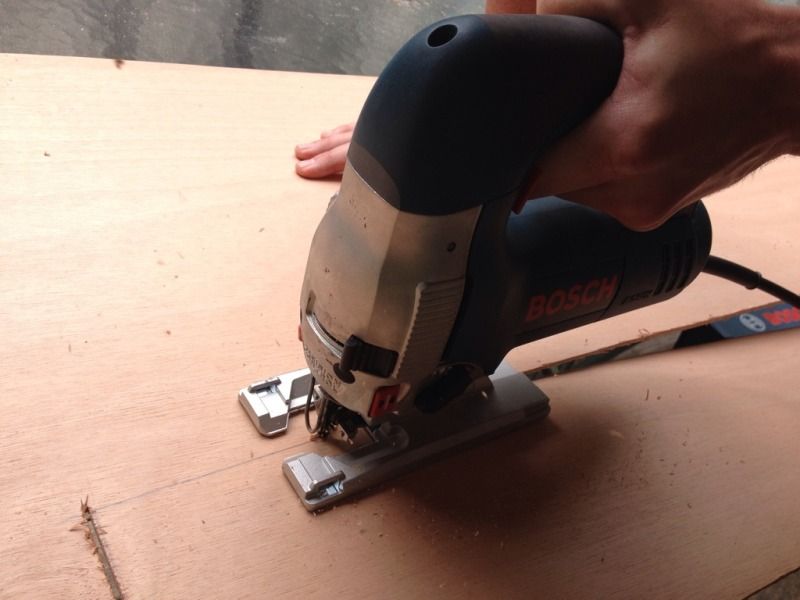
Speaking of the jig saw, this is my new Bosch saw which got quite a workout today. I can't believe we made it this far without one and this one is very heavy duty which helps with making nice smooth cuts.


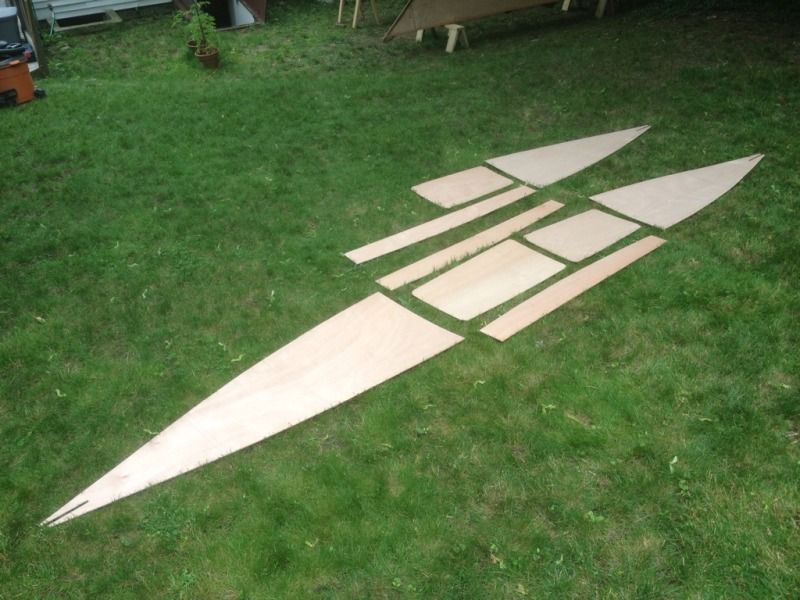
So after all that jig sawing this is what we have to show for it: noth aft decks, both aft floors, three side decks, one front floor and one front deck.


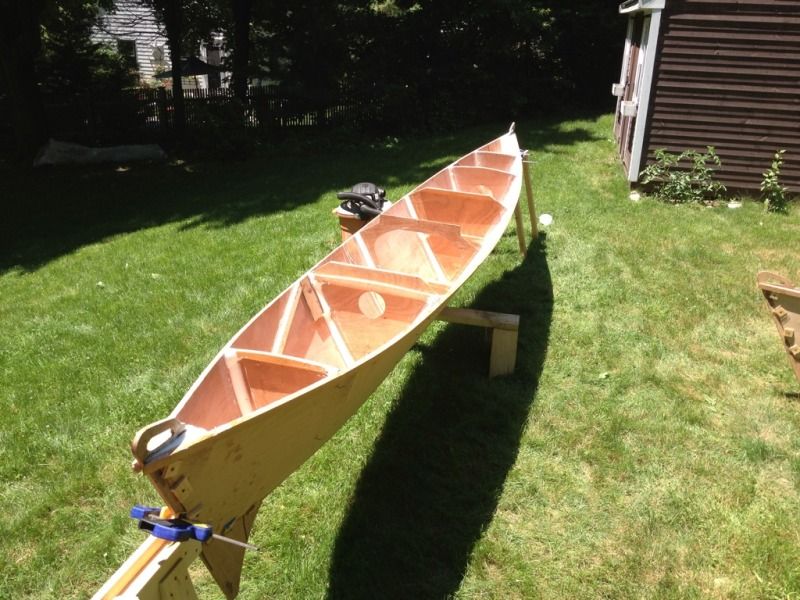
Next up: more epoxy coating, gluing on more fir stringers and back to the lumber store for another sheet of Okoume plywood. Pretty soon we'll be painting the interior and under sides of the decks to get them ready for glue and fiber glassing over the floors.

Thursday, June 14, 2012

The even bigger gluing day

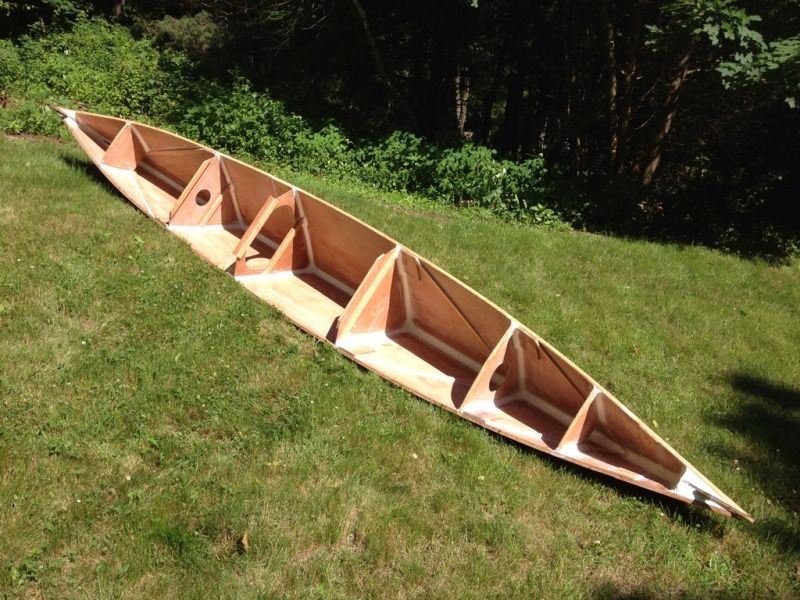
It's been a long time since we were able to work on the boat and it was time for a big push. The last big push only accomplished about a quarter of what we set out to do. But the days have gotten much longer and today we weren't going to stop until all the fillets were in both hulls and all the keel joints were fiber glassed.

The first hull was already half filleted, so the remaining fillets went pretty quickly. Part of the speed increase was because we moved our epoxy mixing station outside near where we were working to cut down on trips to the basement.


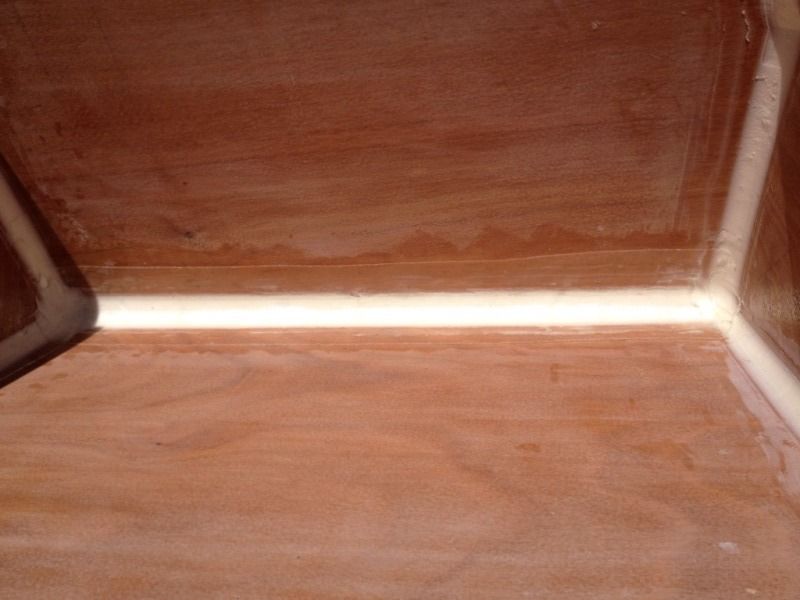
Before we knew it the first hull was fully filleted and ready for fiberglass.


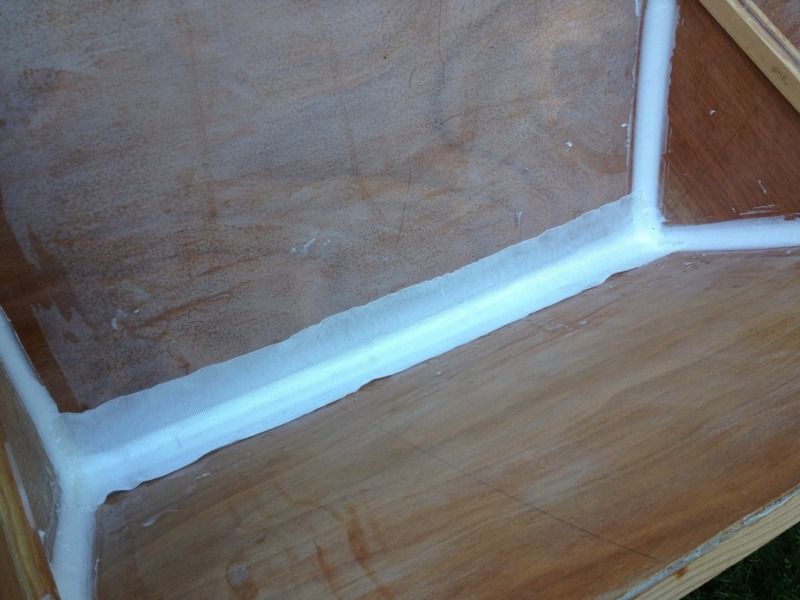
Most of the keel joints were fresh so we were able to press in the fiberglass tape while the epoxy was the consistency of a firm gel. This made smoothing out any bumps or edges easy and let the fiberglass sit nice and smooth against the fillet without any sanding.


Then we brushed on epoxy with a 2" chip brush and worked the tape with a gloved finger like a squeegee. All in all this was much easier than we thought it would be. The only trouble was a bit of unraveling at the ends when we were a bit rough with the tape.


By lunch time the first hull was filleted and taped and curing in the sun.


So we could take a small break, looked out over our work and get psyched up for the next round. The second hull had no epoxy at all, and we had about 6 hours of daylight to finish it.


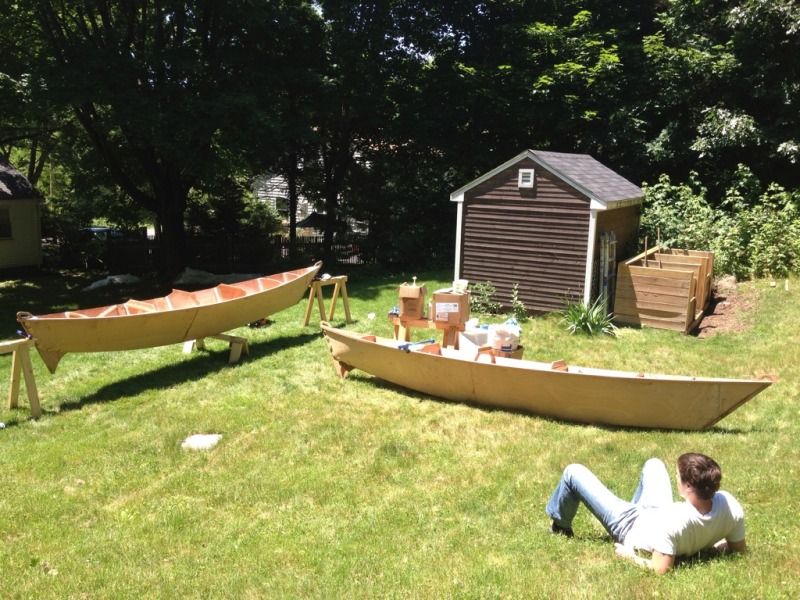
After lunch the first hull was cured enough to move off the saw horse and finish curing in the sun.


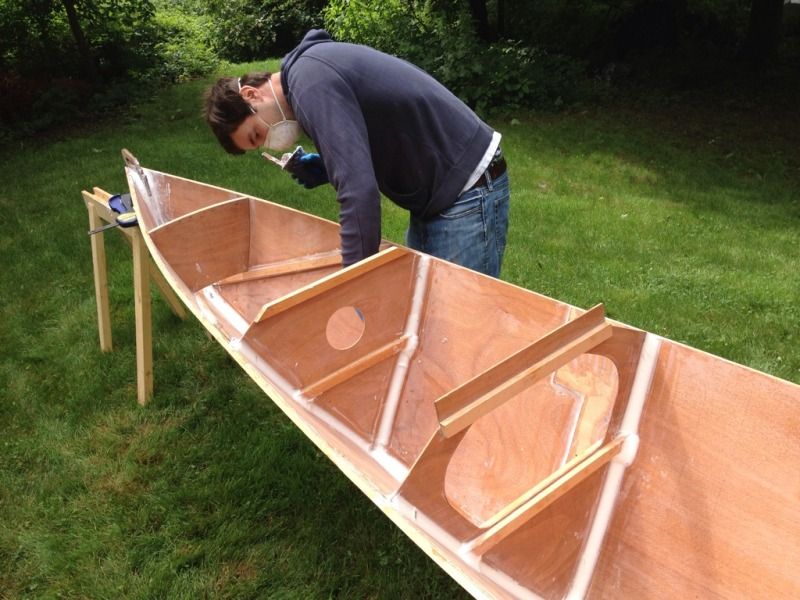
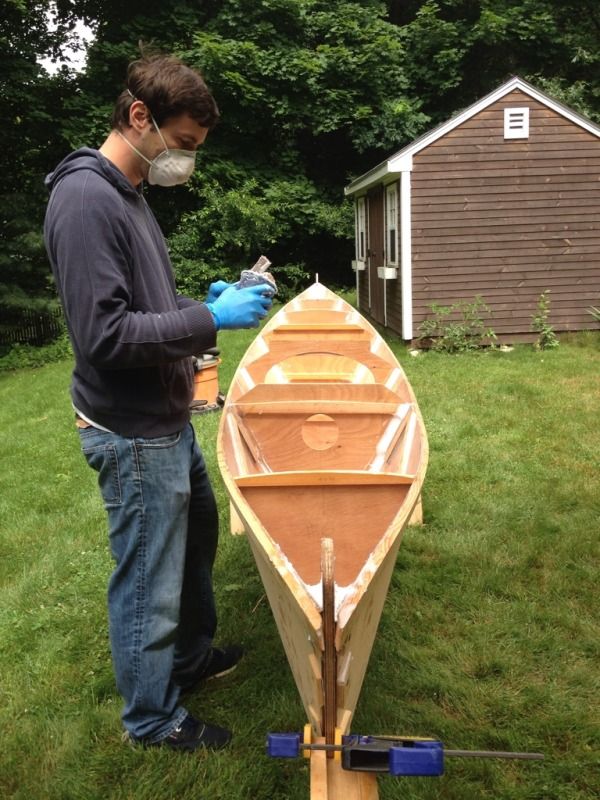
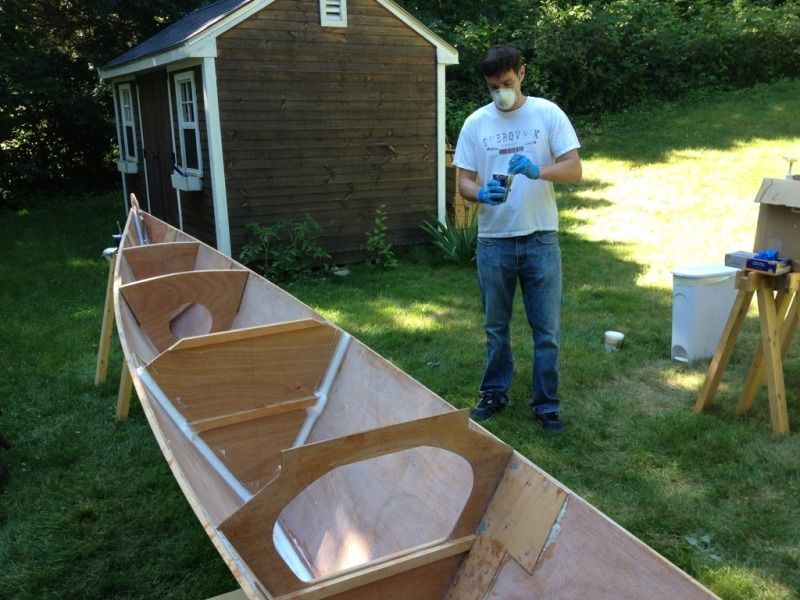
The second hull went just like the first with two exceptions. First, at the filleting stage we filled the stems in three to four passes to prevent excess heat buildup. Second, we worked one 'bay' at a time doing keel, then bulkheads and then glassed the keel. That way as we moved down the boat we left the previous segment complete. Here we have just completed the middle segment and are about to put another layer in the stems.


By the time we brushed epoxy on the last piece of fiberglass the sun was hanging low in the sky but we had reached our goal. We cleaned up our mess and called it a day.