Saturday, November 26, 2011

Gluing the bow pieces

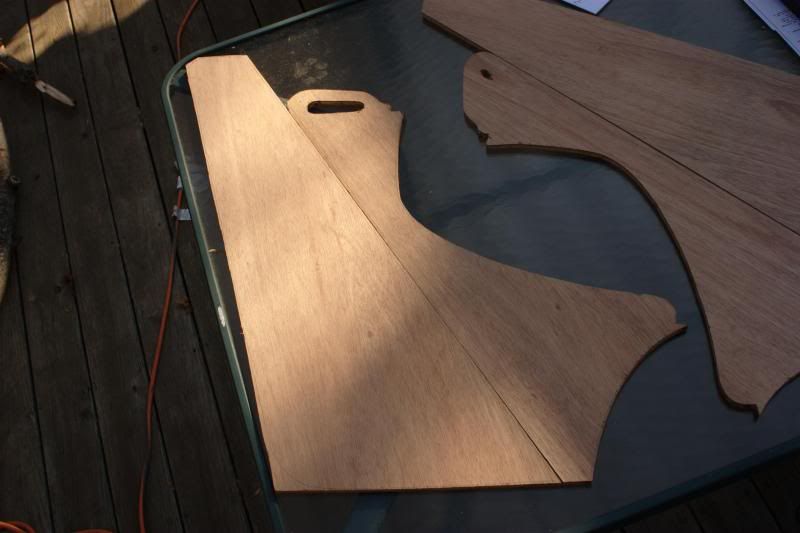
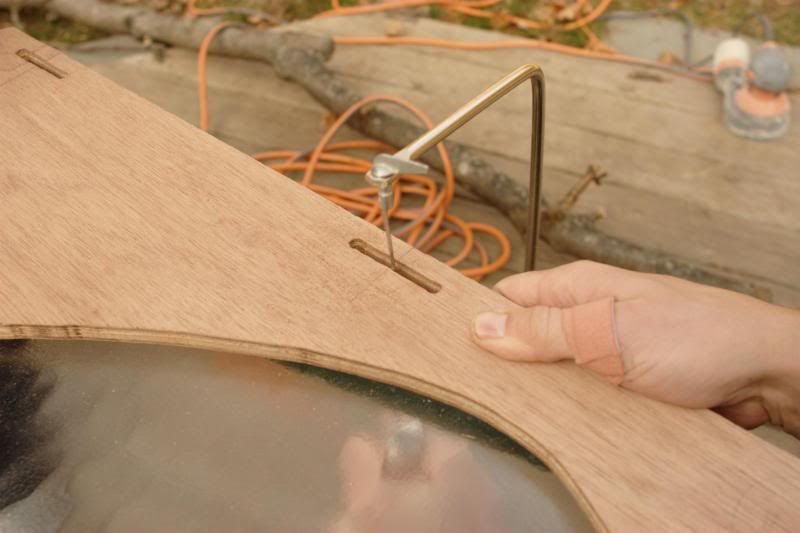
The final component of the hull panels is gluing on our funky shaped bow piece.


These glue on with butt blocks just like the joint in two main panels. We didn't glue the joint along the point because we couldn't come up with a good way to clamp it. After the main joint is cured everything should be held in place enough that we can get at the remaining edge joint.


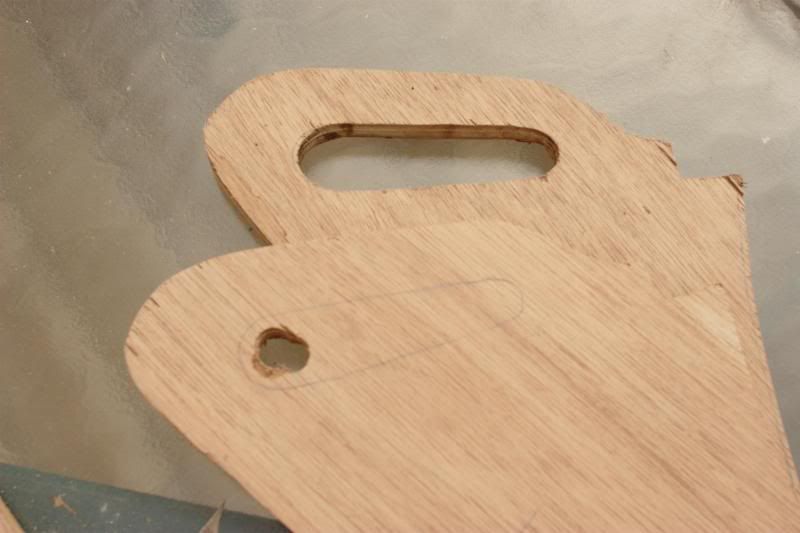
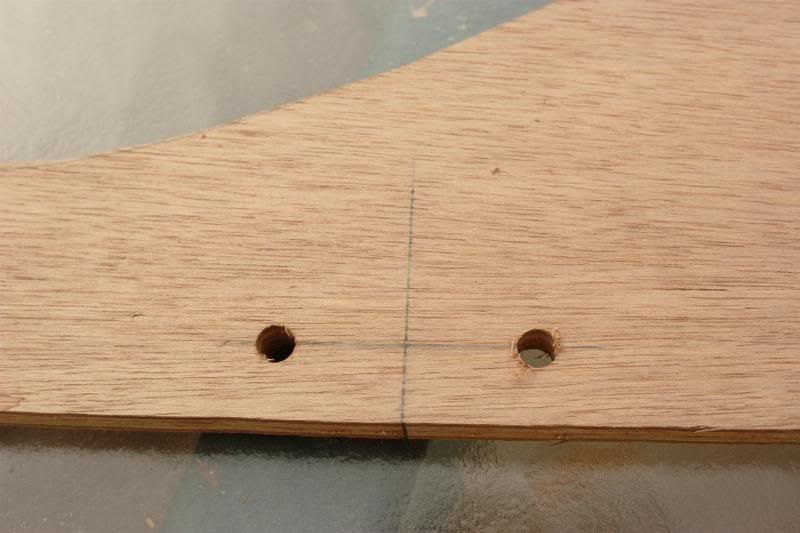
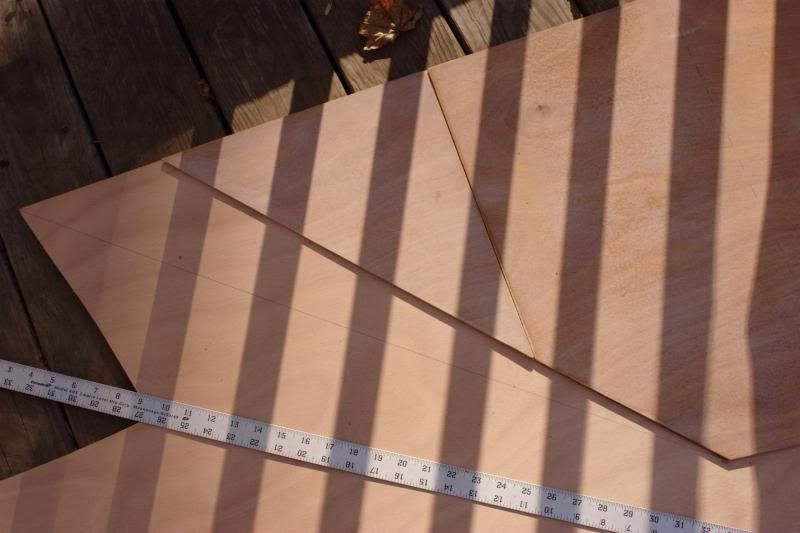
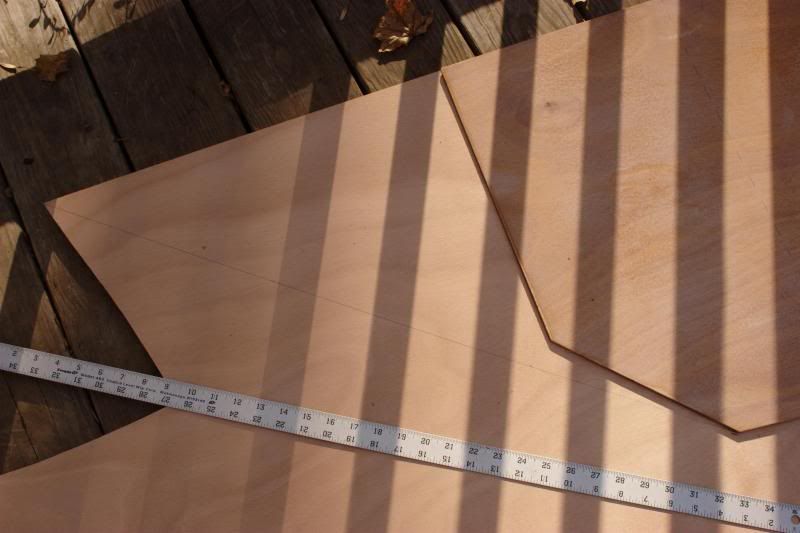
Since the hull sides were out and we were mixing up glue anyway, we moved on to cutting the backing pads for the lashing connections between the hulls and cross beams. These are glued to the inside of hulls and support the lashing pad bolts.


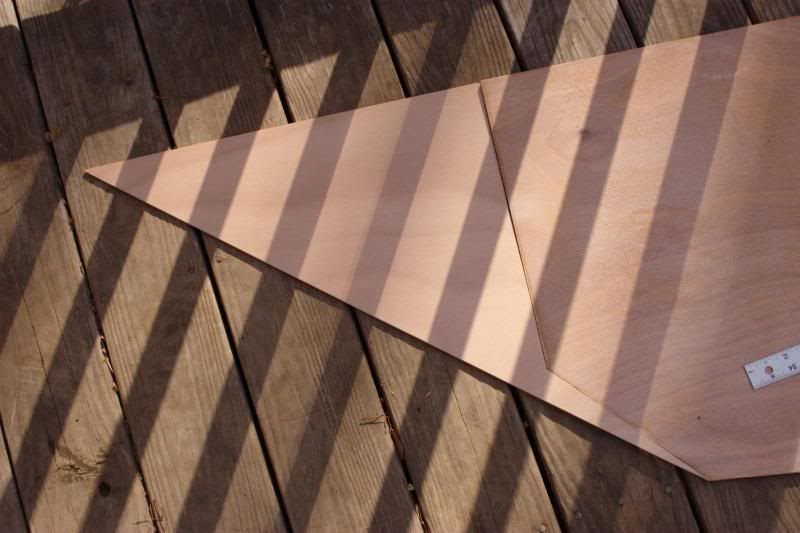
Glued in place with a small fillet except where the bulkhead will sit flush along one edge. These were pressed in place and stapled from the under side which proved to be adequate for holding them in place.


Here are all four hull panels assembled with backing pads glued on lounging in the sun. Just add sheer stringers and these are ready to stitch!


Thursday, November 24, 2011

Rudder lashing points

We aren't going to have the weather to epoxy the hull panels, stems, and bulkheads into their final shape until the spring, but we want to get everything stitched and ready to go before tucking them away in the basement for the winter. As soon as both hulls are stitched up and ready we will move on to the beams and mast for the duration of the winter.

We had already shaped the profile of the 1/2" plywood stems with patterns and the router table, but had saved the handles for later. First we used the drill press to create a pilot hole for the pattern bit and then cleaned out the handle. The bottom of the handle is cut to line up with the top of the plywood deck when everything goes together. The other divergence from the plan shape was to draw the front of the handle to flow into the 1/2" tall fir stringer that goes down the middle of the fore deck.


Here is how the rudders and rear stems fit together (the rudders haven't been routed to final shape yet). Wharram uses a unique lashing method instead of pintles and gudgeons which is very clever and light weight. We picked up the idea of over drilling the lashing hole locations and filling with epoxy from Scott Williams' blog and will be doing that on our boat as well.


The plans don't locate the lashing points exactly so we just eyeballed what looked right and marked the center lines on both stems and rudders.


We measure back for the center of the row of lashing holes . . .


and drill out each end with a 3/8" drill bit . . .


then use a coping saw to cut out the slots which are filled with an epoxy and wood flour mixture and set aside to cure. Now when we drill out the lashing holes there will be no way for water to get into the plywood end grain.


Monday, November 14, 2011

Gluing hull panels - round 2

This was our second try at gluing the hull panels together with butt blocks and it went much better which means we are learning. (always a good thing!) This time we used clear packaging tape instead of blue painting tape on the backing boards which releases better. We also used more screw clamps and less thickened epoxy both of which made a cleaner glue joint as well.


We got nice even glue squeeze out but without all the excess glue that made such a mess last time. The round corner of our epoxy squeegees left a nice fillet along the edges.


Then we left them out in the sun to cure. My dog, Cash, decided to help guard the wet epoxy to keep falling leaves and bugs away.


After a couple hours they were set enough to move but still pretty soft so we transported them down to the basement and put the halogen work lamps on them.


Now all four hull sides are ready for the bow panels and sheer stringer. That leaves cleaning up the stems and bulkheads we're ready to stitch everything together.

Sunday, November 13, 2011

Making new bow panels

It's been almost two months since we worked on the boat last. Between weather, busy schedules and a bit of burn-out we needed a good break. Yesterday we finally got going again and not only made significant progress but proved that our skills are improving.

Last time we caught a mistake we made in measuring the bow panels using the right measurement from the wrong reference point. As a result we cut the angle too steep and made the bow triangle piece too small. Here you can see what we cut and the line that is what we should have cut.


So that leaves us with this weird shape for a new bow panel.


A quick go with the Japanese pull saw and here is our new bow panel. We then used this piece to mark and cut the other four panels. We're a little worried about the narrow point breaking when the panels are stitched but hopefully the epoxy will hold it all together


Next, all four panels got two coats of epoxy on their inside faces making sure we had two 'lefts' and two 'rights'. All told it only took 2 hours and we were back on track. 

Next up for the day was gluing the last two of the main hull panels, but we'll save that for the next post.